- Published on
3 Things You Must Know To Make A To do checklist With Tailwind CSS
- What is Tailwind CSS?
- The Description of To do Checklist UI Component
- Why Use Tailwind CSS to Create a To do Checklist UI Component?
- The Preview of To do Checklist UI Component
- The Source Code of To do Checklist UI Component
- How to Create a To do Checklist with Tailwind CSS?
- Step 1: Create the HTML Markup
- Step 2: Style the Component with Tailwind CSS
- Step 3: Add Interactivity with JavaScript
- Conclusion
What is Tailwind CSS?
Tailwind CSS is a utility-first CSS framework that allows developers to quickly and easily create custom user interfaces. It provides a set of pre-defined classes that can be used to style HTML elements, making it easy to create complex layouts and designs without having to write a lot of custom CSS.
The Description of To do Checklist UI Component
A to-do checklist is a simple user interface component that allows users to create a list of tasks that need to be completed. Each task is represented by a checkbox that can be checked off once the task has been completed.
Why Use Tailwind CSS to Create a To do Checklist UI Component?
Tailwind CSS is an excellent choice for creating a to-do checklist UI component because it provides a set of pre-defined classes that can be used to style the various elements of the component. This makes it easy to create a visually appealing and functional UI component without having to write a lot of custom CSS.
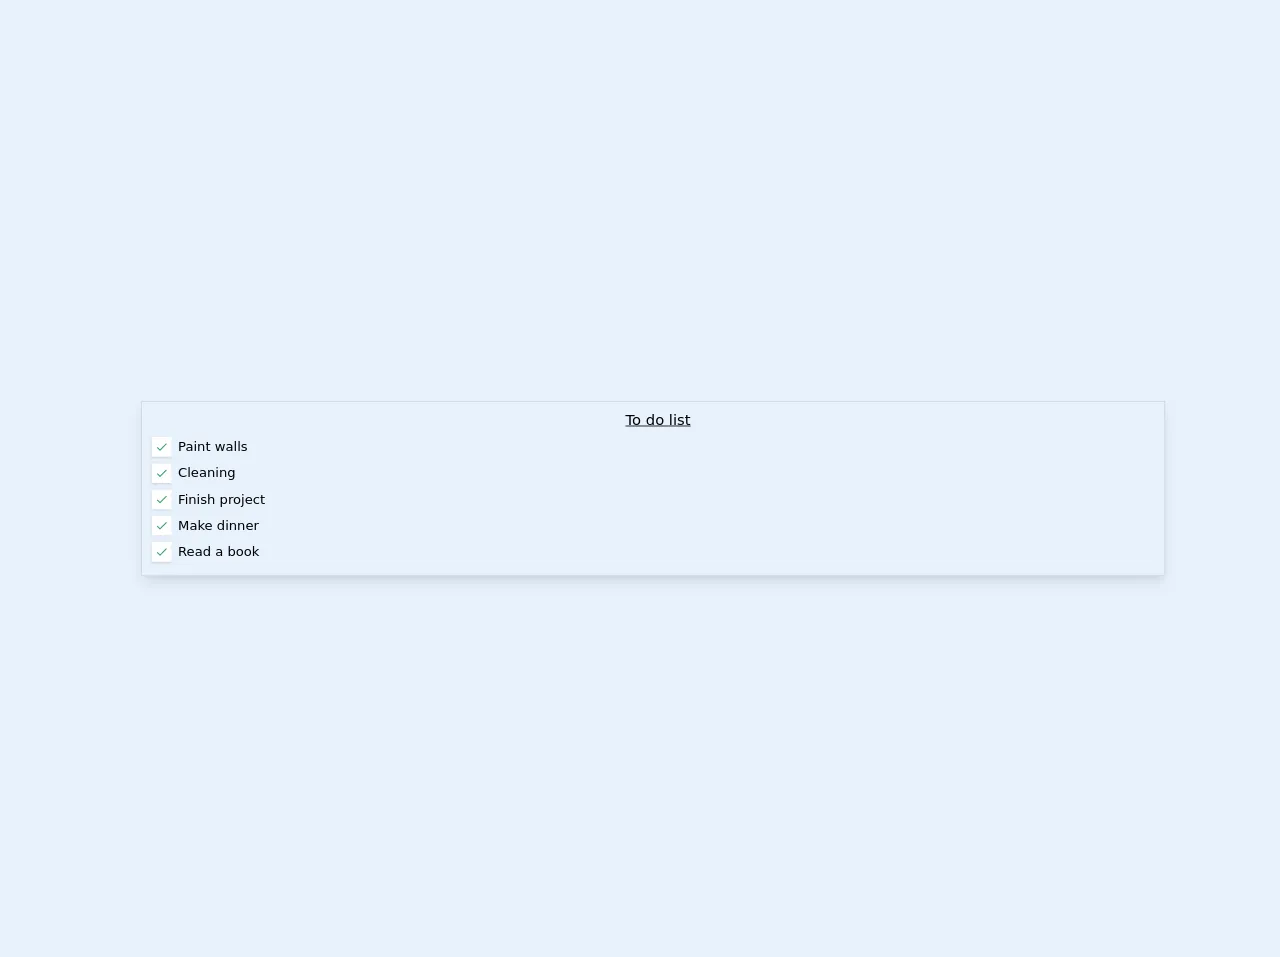
The Preview of To do Checklist UI Component
To do checklist UI component is a simple and intuitive user interface that allows users to create a list of tasks that they need to complete. Each task is represented by a checkbox that can be checked off once the task has been completed.
Free download of the To do checklist's source code
The Source Code of To do Checklist UI Component
To create a to-do checklist UI component with Tailwind CSS, you will need to write some HTML and CSS code. The HTML code will define the structure of the component, while the CSS code will define its appearance and behavior.
<!-- Change the size of the container "max-w-full", ideally to w-1/6-->
<div class="container max-w-full ml-8 mt-6 text-base font-sans">

    <div class="flex flex-col w-full border border-gray-400 shadow-lg overflow-hidden m-auto pb-4">
        <div class="justify-around flex flex-row items-baseline">
            <h1 class="underline text-lg mt-2 ml-3">To do list</h1>
        </div>
        <label class="custom-label flex mt-2 ml-3">
            <div class="bg-white shadow w-6 h-6 p-1 flex justify-center items-center mr-2">
                <input type="checkbox" class="hidden" checked>
                <svg class="hidden w-4 h-4 text-green-600 pointer-events-none" viewBox="0 0 172 172"><g fill="none" stroke-width="none" stroke-miterlimit="10" font-family="none" font-weight="none" font-size="none" text-anchor="none" style="mix-blend-mode:normal"><path d="M0 172V0h172v172z"/><path d="M145.433 37.933L64.5 118.8658 33.7337 88.0996l-10.134 10.1341L64.5 139.1341l91.067-91.067z" fill="currentColor" stroke-width="1"/></g></svg>
            </div>
            <span class="select-none"> Paint walls</span>
        </label>

        <label class="custom-label flex mt-2 ml-3">
            <div class="bg-white shadow w-6 h-6 p-1 flex justify-center items-center mr-2">
                <input type="checkbox" class="hidden" checked>
                <svg class="hidden w-4 h-4 text-green-600 pointer-events-none" viewBox="0 0 172 172"><g fill="none" stroke-width="none" stroke-miterlimit="10" font-family="none" font-weight="none" font-size="none" text-anchor="none" style="mix-blend-mode:normal"><path d="M0 172V0h172v172z"/><path d="M145.433 37.933L64.5 118.8658 33.7337 88.0996l-10.134 10.1341L64.5 139.1341l91.067-91.067z" fill="currentColor" stroke-width="1"/></g></svg>
            </div>
            <span class="select-none"> Cleaning</span>
        </label>

        <label class="custom-label flex mt-2 ml-3">
            <div class="bg-white shadow w-6 h-6 p-1 flex justify-center items-center mr-2">
                <input type="checkbox" class="hidden" checked>
                <svg class="hidden w-4 h-4 text-green-600 pointer-events-none" viewBox="0 0 172 172"><g fill="none" stroke-width="none" stroke-miterlimit="10" font-family="none" font-weight="none" font-size="none" text-anchor="none" style="mix-blend-mode:normal"><path d="M0 172V0h172v172z"/><path d="M145.433 37.933L64.5 118.8658 33.7337 88.0996l-10.134 10.1341L64.5 139.1341l91.067-91.067z" fill="currentColor" stroke-width="1"/></g></svg>
            </div>
            <span class="select-none">Finish project</span>
        </label>

        <label class="custom-label flex mt-2 ml-3">
            <div class="bg-white shadow w-6 h-6 p-1 flex justify-center items-center mr-2">
                <input type="checkbox" class="hidden" checked>
                <svg class="hidden w-4 h-4 text-green-600 pointer-events-none" viewBox="0 0 172 172"><g fill="none" stroke-width="none" stroke-miterlimit="10" font-family="none" font-weight="none" font-size="none" text-anchor="none" style="mix-blend-mode:normal"><path d="M0 172V0h172v172z"/><path d="M145.433 37.933L64.5 118.8658 33.7337 88.0996l-10.134 10.1341L64.5 139.1341l91.067-91.067z" fill="currentColor" stroke-width="1"/></g></svg>
            </div>
            <span class="select-none">Make dinner</span>
        </label>

        <label class="custom-label flex mt-2 ml-3">
            <div class="bg-white shadow w-6 h-6 p-1 flex justify-center items-center mr-2">
                <input type="checkbox" class="hidden" checked>
                <svg class="hidden w-4 h-4 text-green-600 pointer-events-none" viewBox="0 0 172 172"><g fill="none" stroke-width="none" stroke-miterlimit="10" font-family="none" font-weight="none" font-size="none" text-anchor="none" style="mix-blend-mode:normal"><path d="M0 172V0h172v172z"/><path d="M145.433 37.933L64.5 118.8658 33.7337 88.0996l-10.134 10.1341L64.5 139.1341l91.067-91.067z" fill="currentColor" stroke-width="1"/></g></svg>
            </div>
            <span class="select-none"> Read a book</span>
        </label>

    </div>

</div>


<style>
    .custom-label input:checked + svg {
        display: block !important;
    }

</style>
How to Create a To do Checklist with Tailwind CSS?
To create a to-do checklist with Tailwind CSS, follow these three simple steps:
Step 1: Create the HTML Markup
The first step in creating a to-do checklist with Tailwind CSS is to create the HTML markup for the component. This can be done using a simple unordered list and a series of checkboxes.
<div class="max-w-md mx-auto">
  <h1 class="text-2xl font-bold mb-4">To Do Checklist</h1>
  <ul class="list-disc pl-4">
    <li class="flex items-center mb-2">
      <input type="checkbox" class="mr-2">
      <span class="line-through">Task 1</span>
    </li>
    <li class="flex items-center mb-2">
      <input type="checkbox" class="mr-2">
      <span>Task 2</span>
    </li>
    <li class="flex items-center mb-2">
      <input type="checkbox" class="mr-2">
      <span>Task 3</span>
    </li>
  </ul>
</div>
In this example, we have used the max-w-md and mx-auto classes to center the component on the page. We have also used the text-2xl and font-bold classes to style the title of the component. The list-disc and pl-4 classes are used to style the unordered list, while the flex and items-center classes are used to align the checkboxes and task names.
Step 2: Style the Component with Tailwind CSS
Once you have created the HTML markup for the to-do checklist, you can begin styling it using Tailwind CSS. Here is an example of how you can style the component:
input[type="checkbox"]:checked + span {
  text-decoration: line-through;
  color: #6b7280;
}

input[type="checkbox"] {
  appearance: none;
  border: 2px solid #6b7280;
  border-radius: 4px;
  width: 1.2em;
  height: 1.2em;
  transition: all 0.2s ease-in-out;
}

input[type="checkbox"]:checked {
  background-color: #6b7280;
}

input[type="checkbox"]:focus {
  outline: none;
  box-shadow: 0 0 0 2px #6b7280;
}
In this example, we have used the text-decoration and color properties to style the task names when they are checked off. We have also used the appearance, border, border-radius, width, height, transition, background-color, outline, and box-shadow properties to style the checkboxes.
Step 3: Add Interactivity with JavaScript
Finally, you can add interactivity to the to-do checklist using JavaScript. Here is an example of how you can do this:
const checkboxes = document.querySelectorAll('input[type="checkbox"]');

checkboxes.forEach((checkbox) => {
  checkbox.addEventListener('change', (event) => {
    const taskName = event.target.nextElementSibling;
    if (event.target.checked) {
      taskName.classList.add('line-through');
      taskName.classList.add('text-gray-500');
    } else {
      taskName.classList.remove('line-through');
      taskName.classList.remove('text-gray-500');
    }
  });
});
In this example, we have used the querySelectorAll method to select all of the checkboxes in the to-do checklist. We have then used the forEach method to add an event listener to each checkbox. When a checkbox is checked or unchecked, we use the classList property to add or remove the line-through and text-gray-500 classes from the task name.
Conclusion
In conclusion, creating a to-do checklist with Tailwind CSS is a simple and straightforward process that can be accomplished in just a few steps. By following the steps outlined in this article, you can create a visually appealing and functional to-do checklist that will help you stay organized and on top of your tasks.