- Published on
Beginners Guide: Create A TimeLine With Tailwind CSS
- What is Tailwind CSS?
- The description of TimeLine UI component
- Why use Tailwind CSS to create a TimeLine UI component?
- The preview of TimeLine UI component
- The source code of TimeLine UI component
- How to create a TimeLine with Tailwind CSS?
- Step 1: Set up your HTML structure
- Step 2: Style the TimeLine with Tailwind CSS
- Step 3: Customize the TimeLine
- Conclusion
Are you looking to create a TimeLine UI component for your website or application? Look no further than Tailwind CSS! In this guide, we will walk you through the process of creating a TimeLine with Tailwind CSS, a popular utility-first CSS framework.
What is Tailwind CSS?
Tailwind CSS is a utility-first CSS framework that provides a set of pre-defined CSS classes to help you quickly build custom designs. It allows you to create complex layouts and designs without having to write custom CSS code. With Tailwind CSS, you can focus on building your application or website, rather than worrying about the CSS.
The description of TimeLine UI component
A TimeLine is a UI component that displays a list of events or milestones in chronological order. It is commonly used to showcase the history of a company or organization, or to display a series of steps in a process. A TimeLine typically consists of a vertical line with markers representing each event or milestone, along with a description of the event.
Why use Tailwind CSS to create a TimeLine UI component?
Tailwind CSS provides a set of pre-defined classes that make it easy to create a TimeLine UI component. With Tailwind CSS, you can quickly style each element of the TimeLine, including the markers, the vertical line, and the event descriptions. Additionally, Tailwind CSS is highly customizable, so you can easily adjust the design to match your brand or website.
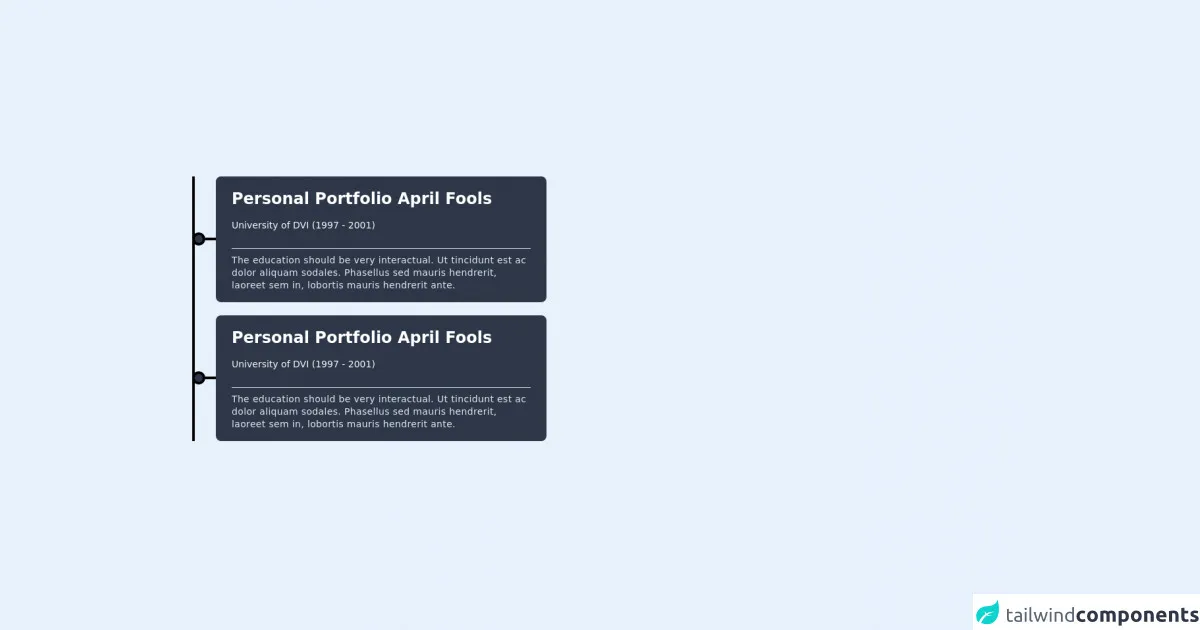
The preview of TimeLine UI component
To create a TimeLine with Tailwind CSS, we will use a combination of flexbox and custom CSS classes. The resulting TimeLine will consist of a vertical line with markers representing each event, along with a description of the event. Here is a preview of what the TimeLine will look like:
Free download of the TimeLine's source code
The source code of TimeLine UI component
To create the TimeLine UI component with Tailwind CSS, we will use a combination of HTML and CSS. The HTML will define the structure of the TimeLine, while the CSS will style each element of the TimeLine. Here is the source code for the TimeLine UI component:
<div class="py-10 container mx-auto px-5">
       <!-- component -->
            <div class="relative">
                <div class="border-r-4 border-black absolute h-full top-0" style={{ 'left': '9px' }}></div>
                <ul class="list-none m-0 p-0">
                    <li class="mb-5  ">
                        <div class="flex group items-center ">
                            <div class="bg-gray-800 group-hover:bg-red-700 z-10 rounded-full border-4 border-black  h-5 w-5">
                                <div class="bg-black h-1 w-6 items-center  ml-4 mt-1"></div>
                            </div>
                            <div class="flex-1 ml-4 z-10 font-medium">
                                <div class="order-1 space-y-2 bg-gray-800 rounded-lg shadow-only transition-ease lg:w-5/12 px-6 py-4">
                                    <h3 class="mb-3 font-bold text-white text-2xl">Personal Portfolio April Fools</h3>
                                    <p class="pb-4 text-sm text-gray-100">University of DVI (1997 - 2001)</p>
                                    <hr />
                                    <p class="text-sm font-medium leading-snug tracking-wide text-gray-300 text-opacity-100">The education should be very interactual. Ut tincidunt est ac dolor aliquam sodales. Phasellus sed mauris hendrerit, laoreet sem in, lobortis mauris hendrerit ante.</p>
                                </div>
                            </div>
                        </div>
                    </li>
                </ul>
            </div>
        </div>
How to create a TimeLine with Tailwind CSS?
Now that we have a preview and source code for the TimeLine UI component, let's walk through the steps to create it with Tailwind CSS.
Step 1: Set up your HTML structure
The first step is to set up the HTML structure for the TimeLine. We will use a combination of divs and spans to create the vertical line and markers. Here is the HTML code:
<div class="timeline">
  <div class="timeline__marker"></div>
  <div class="timeline__event">
    <h3 class="timeline__event-title">Event Title</h3>
    <p class="timeline__event-description">Event Description</p>
  </div>
  <div class="timeline__marker"></div>
  <div class="timeline__event">
    <h3 class="timeline__event-title">Event Title</h3>
    <p class="timeline__event-description">Event Description</p>
  </div>
  <div class="timeline__marker"></div>
  <div class="timeline__event">
    <h3 class="timeline__event-title">Event Title</h3>
    <p class="timeline__event-description">Event Description</p>
  </div>
</div>
Step 2: Style the TimeLine with Tailwind CSS
Now that we have our HTML structure in place, we can start styling the TimeLine with Tailwind CSS. We will use a combination of flexbox and custom CSS classes to create the vertical line and markers. Here is the CSS code:
.timeline {
  display: flex;
  flex-direction: column;
  align-items: center;
  position: relative;
}

.timeline__marker {
  width: 10px;
  height: 10px;
  border-radius: 50%;
  background-color: #38a169;
  margin-bottom: 20px;
}

.timeline__event {
  display: flex;
  flex-direction: column;
  align-items: flex-start;
  margin-left: 30px;
  position: relative;
}

.timeline__event-title {
  font-size: 18px;
  font-weight: bold;
  margin-bottom: 10px;
}

.timeline__event-description {
  font-size: 14px;
  margin-bottom: 20px;
}

.timeline__event:before {
  content: "";
  position: absolute;
  top: 0;
  left: -15px;
  width: 0;
  height: 0;
  border-top: 15px solid transparent;
  border-right: 15px solid #38a169;
  border-bottom: 15px solid transparent;
}
Step 3: Customize the TimeLine
Now that we have our basic TimeLine in place, we can customize it to match our brand or website. We can adjust the colors, fonts, and spacing to create a unique TimeLine that fits our needs.
Conclusion
Creating a TimeLine UI component with Tailwind CSS is a simple and effective way to showcase a series of events or milestones. With Tailwind CSS, you can quickly style each element of the TimeLine, and customize it to match your brand or website. We hope this guide has been helpful in getting you started with creating a TimeLine with Tailwind CSS. Happy coding!