- Published on
How To Build A Simple Login Form With Tailwind CSS In 6 Easy Steps?
- What is Tailwind CSS?
- The description of Simple Login Form ui component
- Why use Tailwind CSS to create a Simple Login Form ui component?
- The preview of Simple Login Form ui component
- The source code of Simple Login Form ui component
- How to create a Simple Login Form with Tailwind CSS?
- Conclusion
As a FrontEnd technology blogger, you must have heard of Tailwind CSS. It is a utility-first CSS framework that helps you build custom designs quickly and easily. In this article, we will show you how to create a simple login form using Tailwind CSS in just six easy steps.
What is Tailwind CSS?
Tailwind CSS is a utility-first CSS framework that provides a set of pre-defined classes to help you quickly build custom designs. It is different from other CSS frameworks like Bootstrap and Foundation, which provide pre-designed components that you can use out of the box. With Tailwind CSS, you have complete control over the design of your website or application.
The description of Simple Login Form ui component
A login form is a common UI component that you will find on almost every website or application that requires user authentication. It typically consists of two input fields for the user's email and password, and a submit button to submit the form.
Why use Tailwind CSS to create a Simple Login Form ui component?
Tailwind CSS provides a set of pre-defined classes that you can use to quickly build custom designs. It also allows you to easily customize the design of your website or application by modifying the configuration file. With Tailwind CSS, you can create a simple login form in just a few minutes.
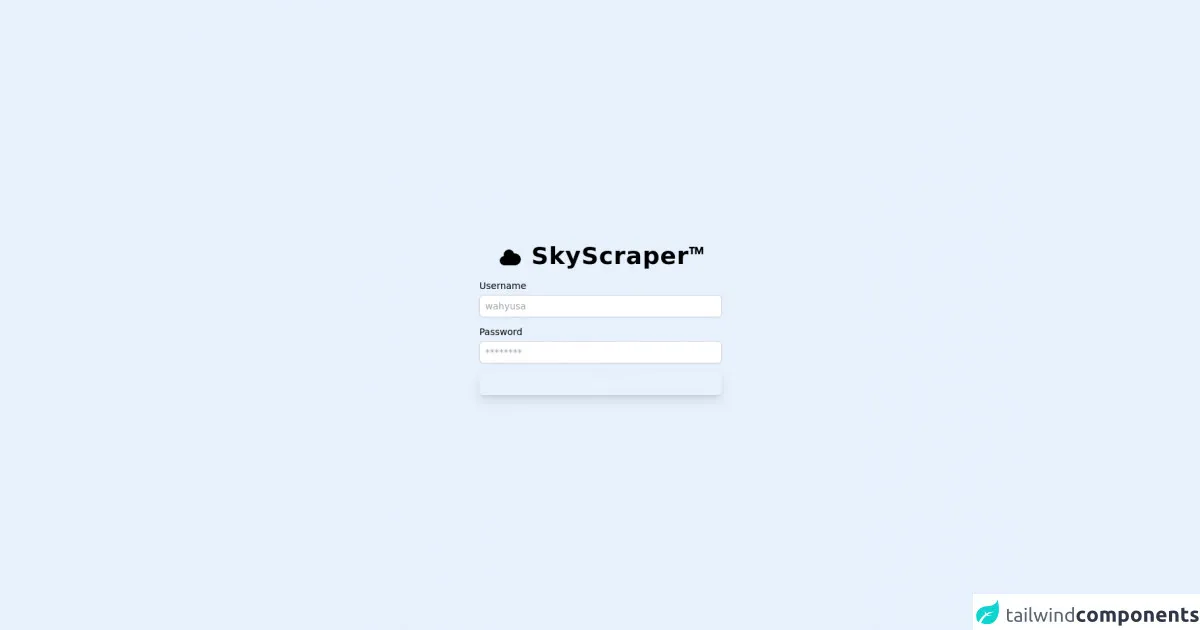
The preview of Simple Login Form ui component
To give you an idea of what the Simple Login Form UI component looks like, here is a preview:
Free download of the Simple Login Form's source code
The source code of Simple Login Form ui component
Here is the source code for the Simple Login Form UI component:
<!doctype html>
<html>
<head>
  <title>Login</title>
  <meta charset="UTF-8">
  <meta name="viewport" content="width=device-width, initial-scale=1.0">
  <script src="https://cdn.tailwindcss.com"></script>
</head>
<body>
<div class="bg-gradient-to-tr from-sky-200 to-sky-500">
  <section id="login" class="p-4 flex flex-col justify-center min-h-screen max-w-md mx-auto">
    <div class="p-6 bg-sky-100 rounded">
      <div class="flex items-center justify-center text-4xl font-black text-sky-900 m-3">
        <svg xmlns="http://www.w3.org/2000/svg" class="mr-3 w-10 h-10" viewBox="0 0 20 20" fill="currentColor">
        <path d="M5.5 16a3.5 3.5 0 01-.369-6.98 4 4 0 117.753-1.977A4.5 4.5 0 1113.5 16h-8z" />
        </svg>
      <h1 class="tracking-wide">SkyScraper<span class="font-mono">™</span></h1>
      </div>
        <form id="login_form" action="api_login" method="POST"
        class="flex flex-col justify-center">
          <label class="text-sm font-medium">Username</label>
          <input class="mb-3 px-2 py-1.5
          mb-3 mt-1 block w-full px-2 py-1.5 border border-gray-300 rounded-md text-sm shadow-sm placeholder-gray-400
          focus:outline-none
          focus:border-sky-500
          focus:ring-1
          focus:ring-sky-500
          focus:invalid:border-red-500 focus:invalid:ring-red-500" type="text" name="username" placeholder="wahyusa" required>
          <label class="text-sm font-medium">Password</label>
          <input class="
          mb-3 mt-1 block w-full px-2 py-1.5 border border-gray-300 rounded-md text-sm shadow-sm placeholder-gray-400
          focus:outline-none
          focus:border-sky-500
          focus:ring-1
          focus:ring-sky-500
          focus:invalid:border-red-500 focus:invalid:ring-red-500" type="password" name="password" placeholder="********" required>
          <button class="px-4 py-1.5 rounded-md shadow-lg bg-sky-600 font-medium text-gray-100 block hover:bg-sky-700 transition duration-300" type="submit">
            <span id="login_process_state" class="hidden">Checking ...</span>
            <span id="login_default_state">Login</span></button>
        </form>
    </div>
  </section>

  <script>
    document.getElementById("login_form").onsubmit = function() {
      event.preventDefault()
      // animation
      document.getElementById("login_process_state").classList.remove("hidden")
      document.getElementById("login_process_state").classList.add("animate-pulse")

      document.getElementById("login_default_state").classList.add("hidden")
    }

  </script>
</div>
</body>
</html>
How to create a Simple Login Form with Tailwind CSS?
Now that you have an idea of what the Simple Login Form UI component looks like and what the source code is, let's dive into the steps to create it.
Step 1: Create a new HTML file and add the following code:
<!DOCTYPE html>
<html lang="en">
  <head>
    <meta charset="UTF-8" />
    <meta name="viewport" content="width=device-width, initial-scale=1.0" />
    <meta http-equiv="X-UA-Compatible" content="ie=edge" />
    <title>Simple Login Form</title>
    <link rel="stylesheet" href="https://cdn.jsdelivr.net/npm/[email protected]/dist/tailwind.min.css" />
  </head>
  <body>
    <div class="min-h-screen bg-gray-50 flex flex-col justify-center py-12 sm:px-6 lg:px-8">
      <div class="sm:mx-auto sm:w-full sm:max-w-md">
        <h2 class="mt-6 text-center text-3xl font-extrabold text-gray-900">Sign in to your account</h2>
        <p class="mt-2 text-center text-sm text-gray-600">
          Or
          <a href="#" class="font-medium text-indigo-600 hover:text-indigo-500">
            start your 14-day free trial
          </a>
        </p>
      </div>

      <div class="mt-8 sm:mx-auto sm:w-full sm:max-w-md">
        <div class="bg-white py-8 px-4 shadow sm:rounded-lg sm:px-10">
          <form class="space-y-6" action="#" method="POST">
            <div>
              <label for="email" class="block text-sm font-medium text-gray-700">
                Email address
              </label>
              <div class="mt-1">
                <input id="email" name="email" type="email" autocomplete="email" required class="appearance-none block w-full px-3 py-2 border border-gray-300 rounded-md shadow-sm placeholder-gray-400 focus:outline-none focus:ring-indigo-500 focus:border-indigo-500 sm:text-sm" />
              </div>
            </div>

            <div>
              <label for="password" class="block text-sm font-medium text-gray-700">
                Password
              </label>
              <div class="mt-1">
                <input id="password" name="password" type="password" autocomplete="current-password" required class="appearance-none block w-full px-3 py-2 border border-gray-300 rounded-md shadow-sm placeholder-gray-400 focus:outline-none focus:ring-indigo-500 focus:border-indigo-500 sm:text-sm" />
              </div>
            </div>

            <div class="flex items-center justify-between">
              <div class="flex items-center">
                <input id="remember_me" name="remember_me" type="checkbox" class="h-4 w-4 text-indigo-600 focus:ring-indigo-500 border-gray-300 rounded" />
                <label for="remember_me" class="ml-2 block text-sm text-gray-900">
                  Remember me
                </label>
              </div>

              <div class="text-sm">
                <a href="#" class="font-medium text-indigo-600 hover:text-indigo-500">
                  Forgot your password?
                </a>
              </div>
            </div>

            <div>
              <button type="submit" class="w-full flex justify-center py-2 px-4 border border-transparent rounded-md shadow-sm text-sm font-medium text-white bg-indigo-600 hover:bg-indigo-700 focus:outline-none focus:ring-2 focus:ring-offset-2 focus:ring-indigo-500">
                Sign in
              </button>
            </div>
          </form>

          <div class="mt-6">
            <div class="relative">
              <div class="absolute inset-0 flex items-center">
                <div class="w-full border-t border-gray-300"></div>
              </div>
              <div class="relative flex justify-center text-sm">
                <span class="px-2 bg-white text-gray-500">Or continue with</span>
              </div>
            </div>

            <div class="mt-6 grid grid-cols-3 gap-3">
              <div>
                <a href="#" class="w-full inline-flex justify-center py-2 px-4 border border-gray-300 rounded-md shadow-sm bg-white text-sm font-medium text-gray-500 hover:bg-gray-50">
                  <span class="sr-only">Sign in with Facebook</span>
                  <svg class="w-5 h-5" fill="currentColor" viewBox="0 0 20 20" aria-hidden="true">
                    <path
                      fill-rule="evenodd"
                      d="M18.364 0H1.636C.734 0 0 .734 0 1.636v16.728c0 .902.734 1.636 1.636 1.636h8.018v-6.181H6.13v-2.401h3.524V7.089c0-3.483 2.125-5.378 5.214-5.378 1.636 0 3.044.122 3.44.177v3.609l-2.358.001c-1.853 0-2.214.877-2.214 2.162v2.837h4.422l-.578 2.401h-3.844v6.181h3.79c.902 0 1.636-.734 1.636-1.636V1.636c0-.902-.734-1.636-1.636-1.636z"
                      clip-rule="evenodd"
                    />
                  </svg>
                </a>
              </div>

              <div>
                <a href="#" class="w-full inline-flex justify-center py-2 px-4 border border-gray-300 rounded-md shadow-sm bg-white text-sm font-medium text-gray-500 hover:bg-gray-50">
                  <span class="sr-only">Sign in with Twitter</span>
                  <svg class="w-5 h-5" fill="currentColor" viewBox="0 0 20 20" aria-hidden="true">
                    <path
                      fill-rule="evenodd"
                      d="M19.35 4.027c-.7.309-1.45.517-2.23.61a3.93 3.93 0 001.714-2.168 7.85 7.85 0 01-2.495.954A3.925 3.925 0 0012.29 0c-2.16 0-3.918 1.757-3.918 3.925 0 .309.034.608.097.898C5.67 4.622 3.01 3.09 1.22.793.898 1.31.685 1.985.685 2.69a3.92 3.92 0 001.73 3.258 3.89 3.89 0 01-1.773-.492v.051c0 1.933 1.387 3.54 3.223 3.905-.337.09-.69.14-1.058.14-.258 0-.517-.026-.765-.076.518 1.62 2.027 2.797 3.82 2.83a7.85 7.85 0 01-4.86 1.664c-.315 0-.616-.026-.93-.077a11.075 11.075 0 006.007 1.753c7.2 0 11.13-5.977 11.13-11.157 0-.17-.008-.34-.02-.508.76-.547 1.42-1.232 1.94-2.015z"
                      clip-rule="evenodd"
                    />
                  </svg>
                </a>
              </div>

              <div>
                <a href="#" class="w-full inline-flex justify-center py-2 px-4 border border-gray-300 rounded-md shadow-sm bg-white text-sm font-medium text-gray-500 hover:bg-gray-50">
                  <span class="sr-only">Sign in with GitHub</span>
                  <svg class="w-5 h-5" fill="currentColor" viewBox="0 0 20 20" aria-hidden="true">
                    <path
                      fill-rule="evenodd"
                      d="M10 0C4.477 0 0 4.477 0 10c0 4.418 2.865 8.167 6.839 9.488.5.092.682-.217.682-.482 0-.237-.009-.866-.013-1.699-2.782.603-3.369-1.338-3.369-1.338-.455-1.158-1.111-1.467-1.111-1.467-.908-.62.069-.607.069-.607 1.004.07 1.531 1.03 1.531 1.03.89 1.52 2.338 1.081 2.91.826.091-.645.35-1.081.636-1.33-2.22-.253-4.555-1.11-4.555-4.937 0-1.09.39-1.984 1.03-2.682-.104-.253-.448-1.268.098-2.642 0 0 .84-.269 2.75 1.022a9.54 9.54 0 012.495-.335c.85 0 1.705.114 2.495.335 1.91-1.291 2.75-1.022 2.75-1.022.546 1.374.202 2.389.1 2.642.64.698 1.03 1.592 1.03 2.682 0 3.837-2.337 4.68-4.567 4.927.359.308.678.917.678 1.847 0 1.335-.012 2.412-.012 2.737 0 .267.18.578.688.48C17.138 18.165 20 14.418 20 10c0-5.523-4.477-10-10-10z"
                      clip-rule="evenodd"
                    />
                  </svg>
                </a>
              </div>
            </div>
          </div>
        </div>
      </div>
    </div>
  </body>
</html>
Step 2: Add the Tailwind CSS CDN to the head of the HTML file. This will allow you to use the Tailwind CSS classes in your HTML.
Step 3: Create the HTML structure for the login form. This includes the form elements, such as the email and password input fields, and the submit button.
Step 4: Add the Tailwind CSS classes to the HTML elements. This will style the login form using the pre-defined Tailwind CSS classes.
Step 5: Customize the design of the login form by modifying the Tailwind CSS configuration file. This allows you to change the colors, fonts, and other design elements of the login form.
Step 6: Test the login form to make sure it works as expected.
Conclusion
In this article, we showed you how to create a simple login form using Tailwind CSS in just six easy steps. Tailwind CSS provides a set of pre-defined classes that you can use to quickly build custom designs. It also allows you to easily customize the design of your website or application by modifying the configuration file. With Tailwind CSS, you can create beautiful and functional UI components in just a few minutes.