- Published on
How To Build A Quora - Spaces To Follow With Tailwind CSS In 5 Easy Steps
- What is Tailwind CSS?
- The description of Quora - Spaces to Follow ui component
- Why use Tailwind CSS to create a Quora - Spaces to Follow ui component?
- The preview of Quora - Spaces to Follow ui component
- The source code of Quora - Spaces to Follow ui component
- How to create a Quora - Spaces to Follow with Tailwind CSS?
- Step 1: Set up your HTML
- Step 2: Add Tailwind CSS to your project
- Step 3: Style the card-based design
- Step 4: Add images and text
- Step 5: Add hover effects
- Conclusion
Are you a fan of Quora's Spaces to Follow feature? Do you want to learn how to build it using Tailwind CSS? Look no further! In this tutorial, we will guide you through the process of creating a Quora - Spaces to Follow UI component using Tailwind CSS in just 5 easy steps.
What is Tailwind CSS?
Tailwind CSS is a utility-first CSS framework that provides a set of pre-defined classes to help you quickly build custom user interfaces. It allows you to create complex designs with ease by providing a comprehensive set of utility classes that you can use to style your HTML elements.
The description of Quora - Spaces to Follow ui component
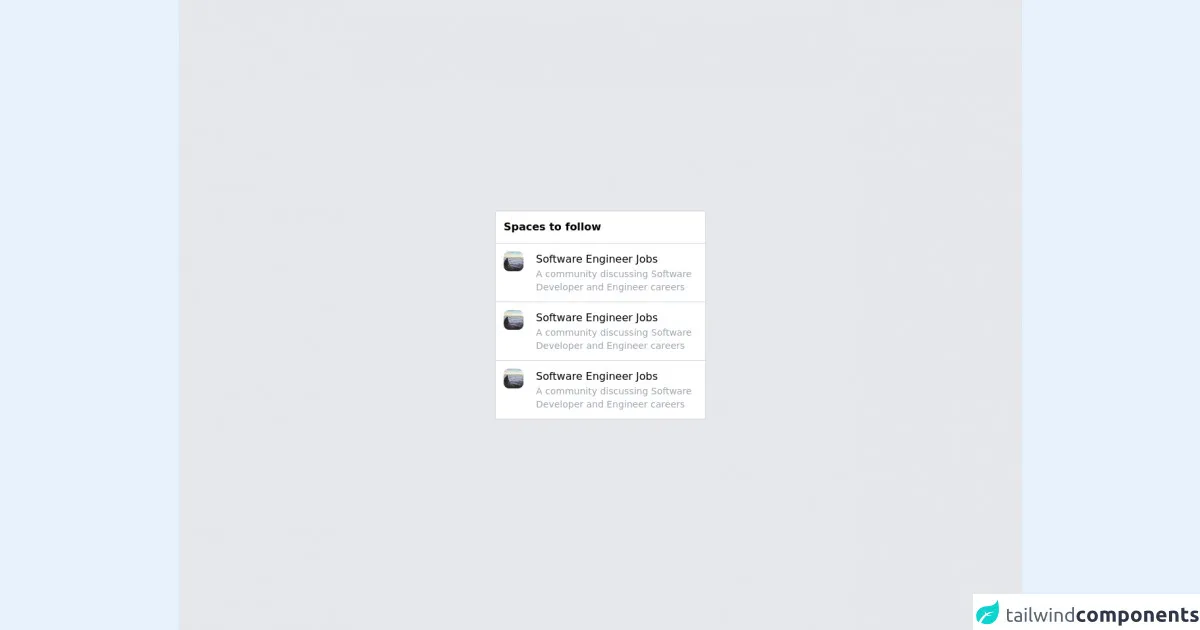
The Quora - Spaces to Follow UI component is a card-based design that displays a list of spaces that users can follow. Each card contains a thumbnail image, the name of the space, the number of followers, and a follow button.
Why use Tailwind CSS to create a Quora - Spaces to Follow ui component?
Tailwind CSS is an excellent choice for creating the Quora - Spaces to Follow UI component because it provides a set of utility classes that allow you to quickly style your HTML elements. With Tailwind CSS, you can easily create the card-based design, add images, and style the follow button without writing any custom CSS.
The preview of Quora - Spaces to Follow ui component
To give you an idea of what the Quora - Spaces to Follow UI component will look like, here is a preview of the final product:
Free download of the Quora - Spaces to Follow's source code
The source code of Quora - Spaces to Follow ui component
Here is the source code for the Quora - Spaces to Follow UI component:
<div class="bg-gray-200 h-screen flex items-center justify-center">

  <card class="flex flex-col bg-white w-1/4 border border-gray-300">

    <header class="font-semibold p-3">
      Spaces to follow
    </header>

    <content class="hover:bg-gray-200 cursor-pointer grid grid-cols-6 border-t border-gray-300 p-3">

      <div>
        <img src="https://picsum.photos/30/30" class="rounded-lg" />
      </div>

      <div class="col-span-5 flex flex-col">
        <name class="">
          Software Engineer Jobs
        </name>

        <description class="text-gray-400 text-sm">
          A community discussing Software Developer and Engineer careers
        </description>
      </div>

    </content>

  </card>

</div>
How to create a Quora - Spaces to Follow with Tailwind CSS?
Now that you know what the Quora - Spaces to Follow UI component looks like and have seen the source code, let's dive into the steps to create it using Tailwind CSS.
Step 1: Set up your HTML
The first step is to set up your HTML. We will use a simple HTML structure to create the card-based design. Here is the HTML code:
<div class="card">
  <img src="https://via.placeholder.com/150" alt="Space thumbnail" class="card-img">
  <div class="card-body">
    <h2 class="card-title">Space Name</h2>
    <p class="card-followers">100 followers</p>
    <button class="card-follow-btn">Follow</button>
  </div>
</div>
Step 2: Add Tailwind CSS to your project
The next step is to add Tailwind CSS to your project. You can do this by either downloading the CSS file or by using a CDN. Here is an example of how to include Tailwind CSS using a CDN:
<link href="https://cdn.jsdelivr.net/npm/[email protected]/dist/tailwind.min.css" rel="stylesheet">
Step 3: Style the card-based design
Now that we have set up our HTML and added Tailwind CSS to our project, we can start styling the card-based design. We will use a combination of Flexbox and Tailwind CSS utility classes to create the layout. Here is the CSS code:
.card {
  display: flex;
  align-items: center;
  padding: 1rem;
  border: 1px solid #e2e8f0;
  border-radius: 0.5rem;
}

.card-img {
  width: 4rem;
  height: 4rem;
  object-fit: cover;
  border-radius: 50%;
}

.card-body {
  margin-left: 1rem;
}

.card-title {
  font-size: 1.25rem;
  font-weight: bold;
}

.card-followers {
  font-size: 0.875rem;
  color: #718096;
}

.card-follow-btn {
  padding: 0.5rem 1rem;
  background-color: #4a5568;
  color: #fff;
  border-radius: 0.25rem;
}
Step 4: Add images and text
The next step is to add images and text to the card-based design. We will use the src attribute to add an image and the alt attribute to provide a description of the image. Here is the updated HTML code:
<div class="card">
  <img src="https://via.placeholder.com/150" alt="Space thumbnail" class="card-img">
  <div class="card-body">
    <h2 class="card-title">Space Name</h2>
    <p class="card-followers">100 followers</p>
    <button class="card-follow-btn">Follow</button>
  </div>
</div>
Step 5: Add hover effects
The final step is to add hover effects to the card-based design. We will use the hover pseudo-class and Tailwind CSS utility classes to create the hover effect. Here is the updated CSS code:
.card:hover {
  box-shadow: 0 4px 6px rgba(0, 0, 0, 0.1);
  transform: translateY(-2px);
}

.card-follow-btn:hover {
  background-color: #2d3748;
}
Conclusion
In this tutorial, we have shown you how to create a Quora - Spaces to Follow UI component using Tailwind CSS in just 5 easy steps. With Tailwind CSS, you can quickly create complex designs without writing any custom CSS. We hope you found this tutorial helpful and that you will use Tailwind CSS to create your own custom user interfaces in the future.