- Published on
How To Make A Mini Schedule With Tailwind CSS From Scratch
- What is Tailwind CSS?
- The description of Mini Schedule ui component
- Why use Tailwind CSS to create a Mini Schedule ui component?
- The preview of Mini Schedule ui component.
- The source code of Mini Schedule ui component.
- How to create a Mini Schedule with Tailwind CSS?
- Conclusion
What is Tailwind CSS?
Tailwind CSS is a utility-first CSS framework that allows developers to quickly and easily create custom designs without having to write any CSS. It provides a set of pre-defined classes that can be used to style HTML elements, making it easy to create beautiful and responsive designs.
The description of Mini Schedule ui component
A Mini Schedule ui component is a small widget that displays a schedule or calendar. It is typically used on websites or applications that need to display a schedule of events, appointments, or meetings. The Mini Schedule ui component is a simple and elegant way to display this information, and it can be customized to fit any design.
Why use Tailwind CSS to create a Mini Schedule ui component?
Tailwind CSS is a great choice for creating a Mini Schedule ui component because it provides a wide range of pre-defined classes that can be used to style the component quickly and easily. The framework is also highly customizable, so developers can easily modify the styles to fit their specific needs.
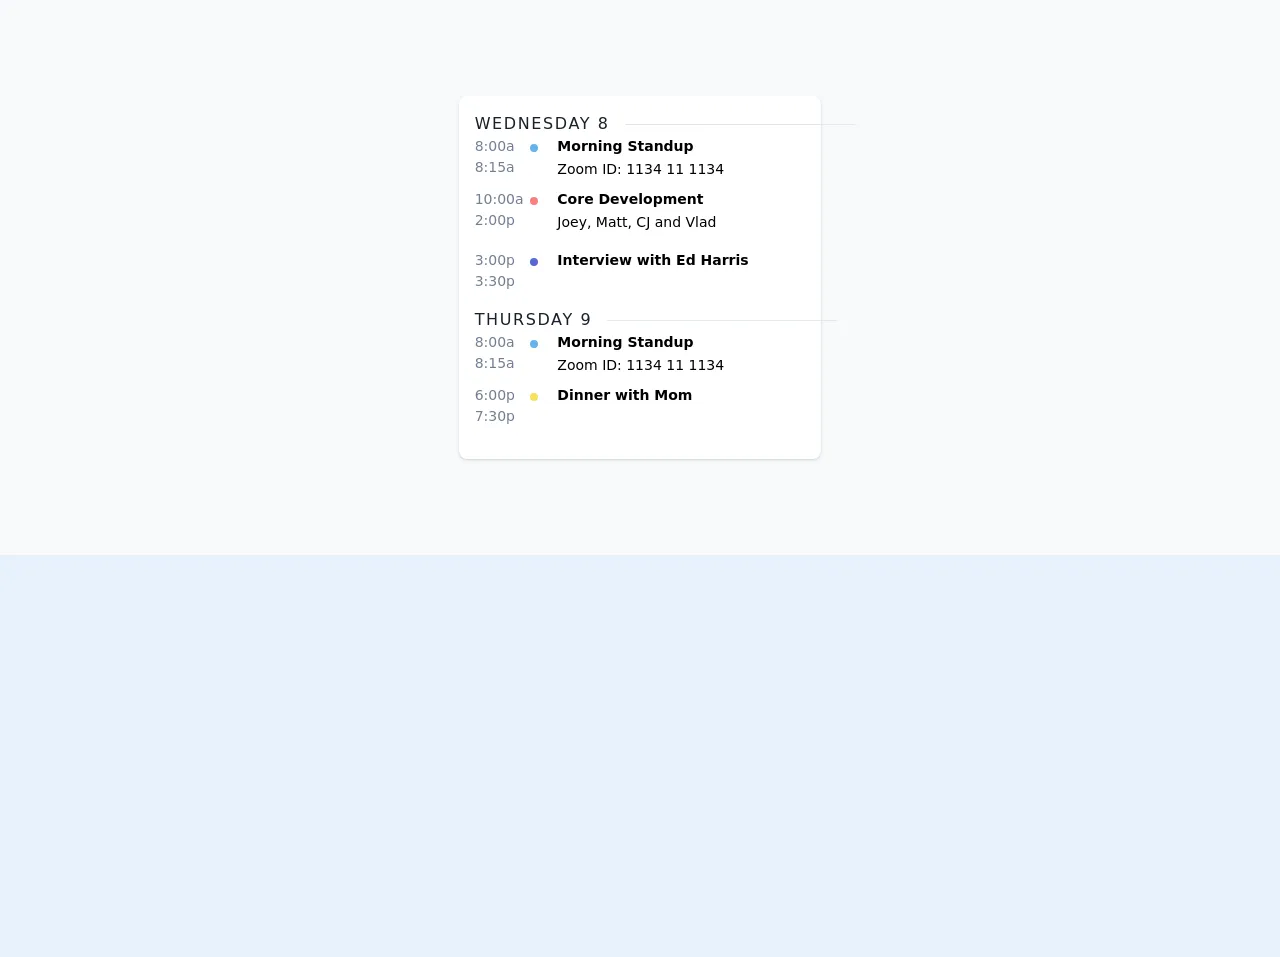
The preview of Mini Schedule ui component.
The Mini Schedule ui component is a simple and elegant way to display a schedule or calendar. It typically consists of a small widget that displays the current date and time, along with a list of upcoming events or appointments.
Free download of the Mini Schedule's source code
The source code of Mini Schedule ui component.
Creating a Mini Schedule ui component with Tailwind CSS is easy. The following code shows how to create a basic Mini Schedule widget:
<style>
.date:after {
  content: "";
  position: absolute;
  border-top: 1px solid #e2e8f0;
  top: 12px;
  width: 150px;
}

.date:after {
  margin-left: 15px;
}
</style>
<div class="flex justify-center p-24 bg-gray-100">
  <div class="bg-white rounded-lg w-2/3 lg:w-1/2 xl:w-1/3 p-4 shadow">
    <div>
      <span class="text-gray-900 relative inline-block date uppercase font-medium tracking-widest">Wednesday 8</span>
      <div class="flex mb-2">
        <div class="w-2/12">
          <span class="text-sm text-gray-600 block">8:00a</span>
          <span class="text-sm text-gray-600 block">8:15a</span>
        </div>
        <div class="w-1/12">
          <span class="bg-blue-400 h-2 w-2 rounded-full block mt-2"></span>
        </div>
        <div class="w-9/12">
          <span class="text-sm font-semibold block">Morning Standup</span>
          <span class="text-sm">Zoom ID: 1134 11 1134</span>
        </div>
      </div>
      <div class="flex mb-4">
        <div class="w-2/12">
          <span class="text-sm text-gray-600 block">10:00a</span>
          <span class="text-sm text-gray-600 block">2:00p</span>
        </div>
        <div class="w-1/12">
          <span class="bg-red-400 h-2 w-2 rounded-full block mt-2"></span>
        </div>
        <div class="w-9/12">
          <span class="text-sm font-semibold block">Core Development</span>
          <span class="text-sm">Joey, Matt, CJ and Vlad</span>
        </div>
      </div>
      <div class="flex mb-4">
        <div class="w-2/12">
          <span class="text-sm text-gray-600 block">3:00p</span>
          <span class="text-sm text-gray-600 block">3:30p</span>
        </div>
        <div class="w-1/12">
          <span class="bg-indigo-600 h-2 w-2 rounded-full block mt-2"></span>
        </div>
        <div class="w-9/12">
          <span class="text-sm font-semibold block">Interview with Ed Harris</span>
        </div>
      </div>
    </div>
    <div>
      <span class="text-gray-900 relative inline-block date uppercase font-medium tracking-widest">Thursday 9</span>
      <div class="flex mb-2">
        <div class="w-2/12">
          <span class="text-sm text-gray-600 block">8:00a</span>
          <span class="text-sm text-gray-600 block">8:15a</span>
        </div>
        <div class="w-1/12">
          <span class="bg-blue-400 h-2 w-2 rounded-full block mt-2"></span>
        </div>
        <div class="w-9/12">
          <span class="text-sm font-semibold block">Morning Standup</span>
          <span class="text-sm">Zoom ID: 1134 11 1134</span>
        </div>
      </div>
      <div class="flex mb-4">
        <div class="w-2/12">
          <span class="text-sm text-gray-600 block">6:00p</span>
          <span class="text-sm text-gray-600 block">7:30p</span>
        </div>
        <div class="w-1/12">
          <span class="bg-yellow-400 h-2 w-2 rounded-full block mt-2"></span>
        </div>
        <div class="w-9/12">
          <span class="text-sm font-semibold block">Dinner with Mom</span>
        </div>
      </div>
    </div>
  </div>
</div>
How to create a Mini Schedule with Tailwind CSS?
To create a Mini Schedule ui component with Tailwind CSS, follow these steps:
Start by creating a new HTML file and adding the necessary markup for the Mini Schedule widget. This typically consists of a container element, a header element to display the current date and time, and a list element to display the upcoming events.
Next, add the necessary Tailwind CSS classes to style the Mini Schedule widget. This can be done by adding the classes directly to the HTML elements, or by creating a separate CSS file and linking it to the HTML file.
Finally, add any additional custom styles or functionality to the Mini Schedule widget as needed. This can be done using JavaScript or other front-end technologies.
Conclusion
Creating a Mini Schedule ui component with Tailwind CSS is a great way to quickly and easily add a schedule or calendar to your website or application. The framework provides a wide range of pre-defined classes that can be used to style the component, making it easy to create a custom design that fits your specific needs. With a little bit of HTML, CSS, and JavaScript, you can create a beautiful and functional Mini Schedule widget in no time!