- Published on
What You Need To Create A Laravel Preset With Tailwind CSS
- What is Tailwind CSS?
- The description of Laravel preset UI component
- Why use Tailwind CSS to create a Laravel preset UI component?
- The preview of Laravel preset UI component
- The source code of Laravel preset UI component
- How to create a Laravel preset with Tailwind CSS?
- Conclusion
If you are a Laravel developer, you may have heard of Tailwind CSS. It is a utility-first CSS framework that allows you to quickly build custom designs without writing any CSS. Laravel, on the other hand, is a popular PHP framework that makes it easy to build web applications. In this article, we will discuss what you need to create a Laravel preset with Tailwind CSS.
What is Tailwind CSS?
Tailwind CSS is a utility-first CSS framework that provides you with a set of pre-defined CSS classes that you can use to style your HTML elements. It is designed to be highly customizable and allows you to create custom designs without writing any CSS. Tailwind CSS also provides you with a set of pre-defined color palettes, font sizes, and spacing values that you can use to quickly build your designs.
The description of Laravel preset UI component
Laravel preset UI component is a set of pre-defined UI components that you can use to quickly build your Laravel applications. It provides you with a set of pre-defined views, controllers, and routes that you can use to quickly build your application. Laravel preset UI component also provides you with a set of pre-defined CSS classes that you can use to style your HTML elements.
Why use Tailwind CSS to create a Laravel preset UI component?
Tailwind CSS is a highly customizable CSS framework that allows you to quickly build custom designs without writing any CSS. Using Tailwind CSS to create a Laravel preset UI component allows you to quickly build custom UI components that are consistent with your application's design. It also allows you to easily customize your UI components by modifying the pre-defined CSS classes.
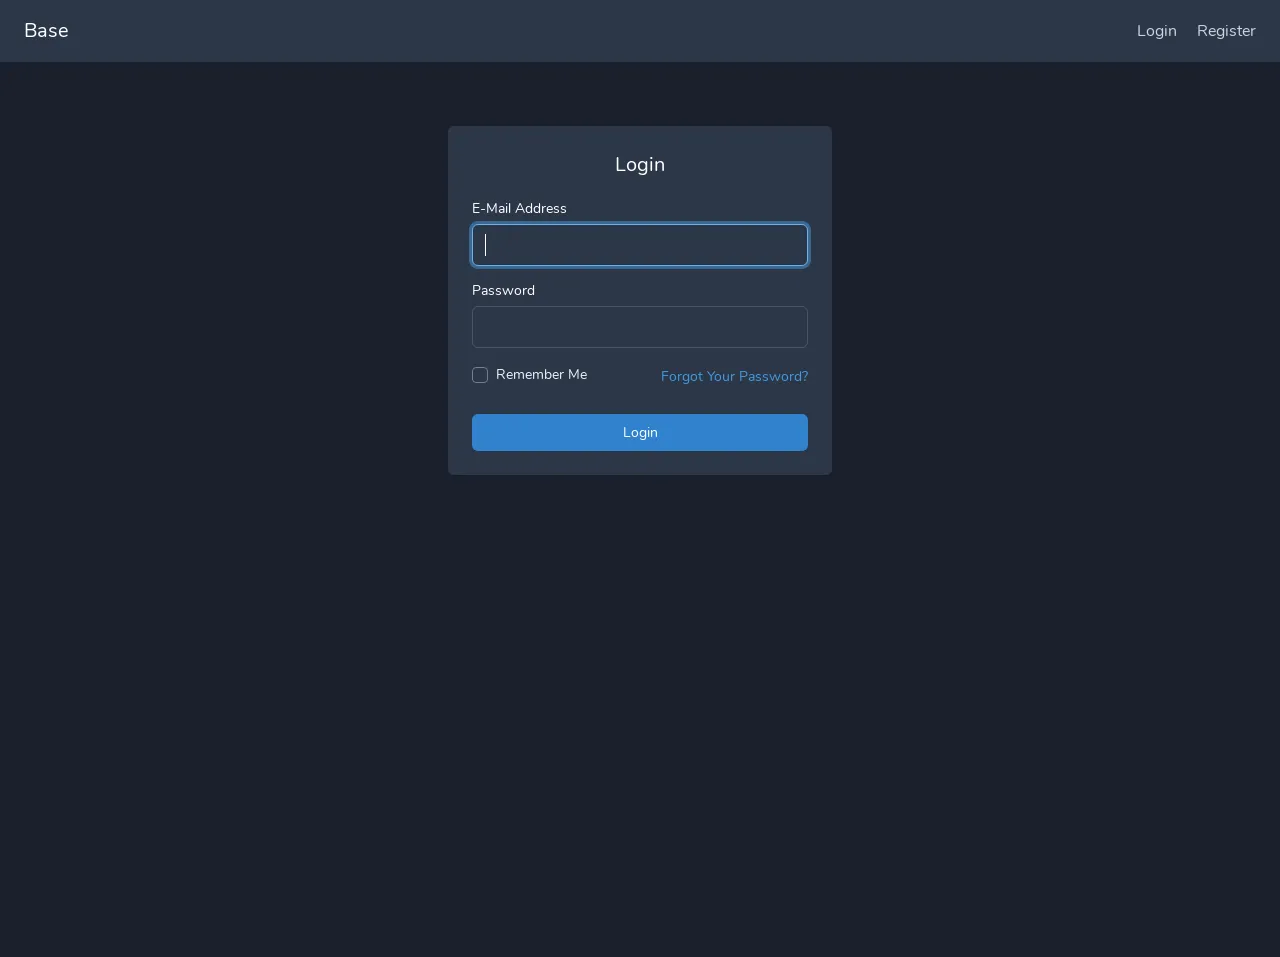
The preview of Laravel preset UI component
Free download of the Laravel preset's source code
The source code of Laravel preset UI component
<link href="https://fonts.googleapis.com/css?family=Nunito" rel="stylesheet">

<div class="h-screen bg-gray-900 font-nunito">
    <div id="app">
        <nav class="bg-gray-800 shadow-sm">
            <div class="container flex justify-between items-center mx-auto px-6 py-4">
                <div>
                    <a href="http://localhost:8000" class="text-xl text-white">Brand</a>
                </div>

                <div>
                    <a href="http://localhost:8000/login" class="text-gray-400 font-light mx-4 hover:underline">Login</a>
                    <a href="http://localhost:8000/register" class="text-gray-400 font-light hover:underline">Register</a>
                </div>
            </div>
        </nav>

        <main>
            <div class="flex items-center justify-center mt-16 mx-6">
                <div class="p-6 max-w-sm w-full bg-gray-800 shadow rounded-md">
                    <h3 class="text-white text-xl text-center">Login</h3>

                    <form class="mt-4" method="POST" action="http://localhost:8000/login">
                        <input type="hidden" name="_token" value="96LGLQC0ylNCwHDLyTqFuBvSMwOqHi7voLu8lwj4">
                        <label class="block">
                            <span class="text-white text-sm">E-Mail Address</span>
                            <input type="email" id="email" name="email" class="form-input mt-1 block w-full rounded-md bg-gray-800 border-gray-700 text-white" value="" required autocomplete="email" autofocus>

                        </label>

                        <label class="block mt-3">
                            <span class="text-white text-sm">Password</span>
                            <input id="password" type="password" class="form-input mt-1 block w-full rounded-md bg-gray-800 border-gray-700 text-white" name="password" required autocomplete="current-password">

                        </label>

                        <div class="flex justify-between items-center mt-4">
                            <div>
                                <label class="inline-flex items-center">
                                    <input type="checkbox" class="form-checkbox text-blue-500 bg-gray-800 border-gray-600" name="remember" id="remember" >
                                    <span class="mx-2 text-gray-200 text-sm">Remember Me</span>
                                </label>
                            </div>

                            <div>
                                <a class="block text-sm text-blue-500 hover:underline" href="http://localhost:8000/password/reset">
                                    Forgot Your Password?
                                </a>
                            </div>
                        </div>

                        <div class="mt-6">
                            <button type="submit" class="w-full py-2 px-4 text-center bg-blue-600 rounded-md text-white text-sm hover:bg-blue-500 focus:outline-none">
                                Login
                            </button>
                        </div>
                    </form>
                </div>
            </div>
        </main>
    </div>
</div>
How to create a Laravel preset with Tailwind CSS?
To create a Laravel preset with Tailwind CSS, you will need to follow these steps:
Install Laravel: If you haven't already, you will need to install Laravel on your system. You can do this by following the instructions on the Laravel website.
Install Tailwind CSS: Once you have Laravel installed, you will need to install Tailwind CSS. You can do this by following the instructions on the Tailwind CSS website.
Create a new Laravel preset: Once you have Laravel and Tailwind CSS installed, you can create a new Laravel preset by running the following command:
php artisan preset tailwind
This command will create a new Laravel preset that includes Tailwind CSS.
Customize your Laravel preset: Once you have created your Laravel preset, you can customize it by modifying the pre-defined CSS classes. You can also add your own custom CSS classes to the preset.
Use your Laravel preset: Once you have customized your Laravel preset, you can use it to quickly build your Laravel applications. You can use the pre-defined views, controllers, and routes to quickly build your application's UI components.
Conclusion
Creating a Laravel preset with Tailwind CSS allows you to quickly build custom UI components that are consistent with your application's design. It also allows you to easily customize your UI components by modifying the pre-defined CSS classes. By following the steps outlined in this article, you can create your own Laravel preset with Tailwind CSS and start building your custom UI components today.