- Published on
How To Build A A Free Trial Banner With CTA Button With Tailwind CSS In 5 Easy Steps
- What is Tailwind CSS?
- The description of A free trial Banner with CTA button ui component
- Why use Tailwind CSS to create a A free trial Banner with CTA button ui component?
- The preview of A free trial Banner with CTA button ui component.
- The source code of A free trial Banner with CTA button ui component.
- How to create a A free trial Banner with CTA button with Tailwind CSS?
- Step 1: Set up the HTML structure
- Step 2: Set up the banner message
- Step 3: Set up the call-to-action button
- Step 4: Customize the banner
- Step 5: Add the banner to your website
- Conclusion
What is Tailwind CSS?
Tailwind CSS is a utility-first CSS framework that is gaining popularity among developers. It provides pre-defined classes that can be used to style HTML elements. With Tailwind CSS, you can quickly create beautiful and responsive user interfaces.
The description of A free trial Banner with CTA button ui component
A free trial banner with CTA button is a user interface component that is commonly used to promote a product or service. It usually contains a message that encourages users to try out a product or service, along with a call-to-action button that leads to the sign-up page.
Why use Tailwind CSS to create a A free trial Banner with CTA button ui component?
Tailwind CSS makes it easy to create responsive user interfaces with minimal effort. It provides pre-defined classes that can be used to style HTML elements, which saves time and effort. With Tailwind CSS, you can create beautiful and responsive user interfaces without having to write custom CSS.
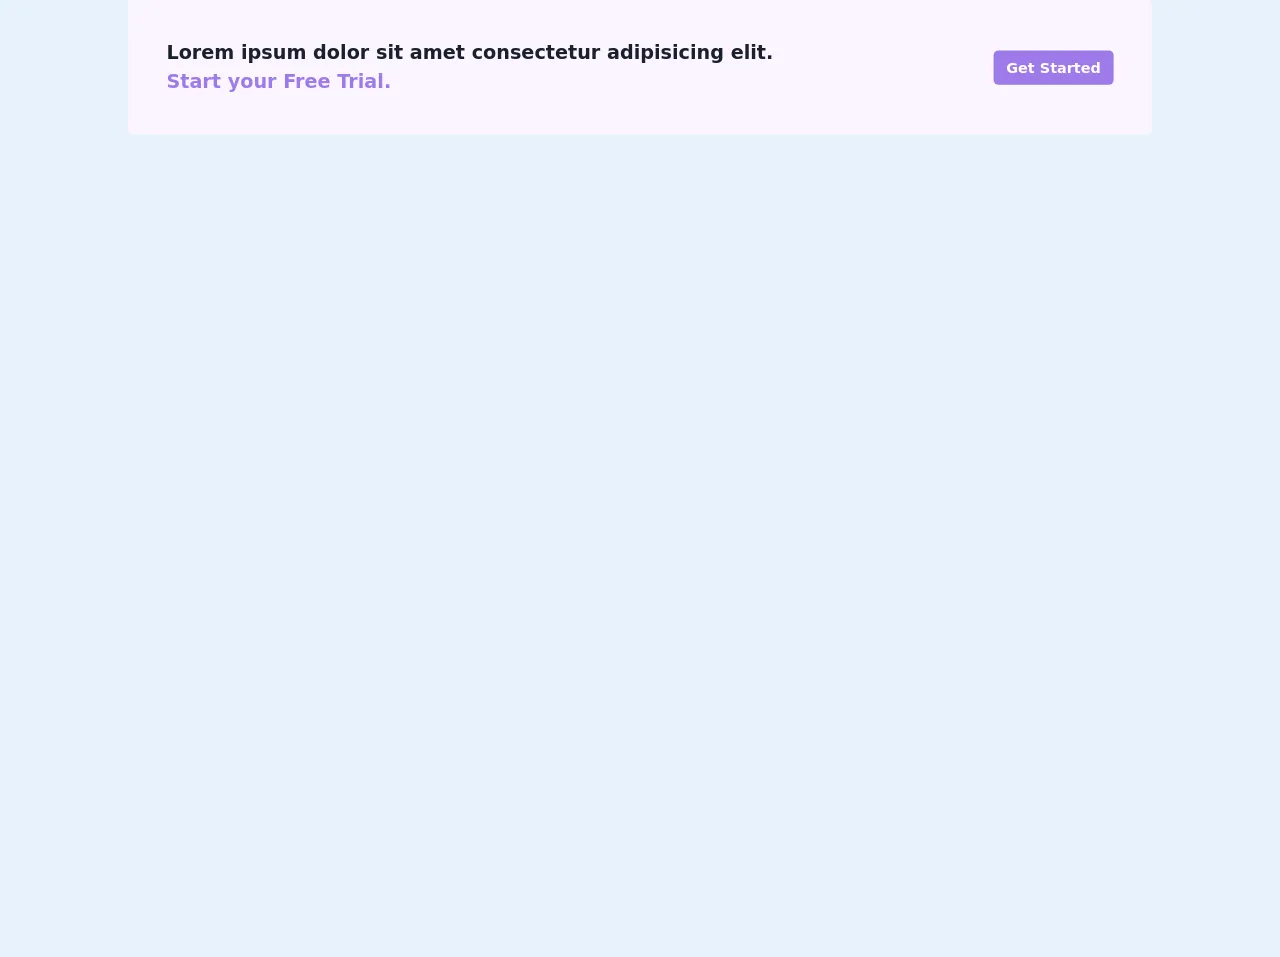
The preview of A free trial Banner with CTA button ui component.
To create a free trial banner with CTA button, we will be using Tailwind CSS. The banner will contain a message that encourages users to try out a product or service, along with a call-to-action button that leads to the sign-up page.
Free download of the A free trial Banner with CTA button's source code
The source code of A free trial Banner with CTA button ui component.
To create a free trial banner with CTA button, we will be using HTML and Tailwind CSS. The HTML code will contain a div element that will be styled using Tailwind CSS classes.
<div>
  <div
    class="flex flex-col rounded-md bg-purple-100 p-4 text-center md:flex-row md:items-center md:justify-between md:p-12 md:text-left"
  >
    <div class="text-2xl font-semibold">
      <div class="text-gray-900">Lorem ipsum dolor sit amet consectetur adipisicing elit.</div>
      <div class="text-purple-500">Start your Free Trial.</div>
    </div>

    <div class="mt-3 md:mt-0 md:ml-2">
      <div class="inline-block rounded-md bg-purple-500 py-2 px-4 text-lg font-semibold text-white">
        Get Started
      </div>
    </div>
  </div>
</div>
How to create a A free trial Banner with CTA button with Tailwind CSS?
To create a free trial banner with CTA button, follow these 5 easy steps:
Step 1: Set up the HTML structure
The first step is to set up the HTML structure for the banner. We will be using a div element to contain the banner message and the call-to-action button. Here's the HTML code:
<div class="bg-blue-500 text-white px-4 py-2 flex justify-between items-center">
  <p class="text-sm">Try our product for free</p>
  <button class="bg-white text-blue-500 px-4 py-2 rounded-lg">Sign up</button>
</div>
In this code, we have used the bg-blue-500 class to set the background color of the banner to blue. We have also used the text-white class to set the text color to white. The px-4 and py-2 classes are used to set the padding of the banner. The flex class is used to align the banner message and the call-to-action button side by side. The justify-between class is used to distribute the space between the banner message and the call-to-action button. The items-center class is used to center the banner message and the call-to-action button vertically.
Step 2: Set up the banner message
The next step is to set up the banner message. We will be using the text-sm class to set the font size of the banner message to small. Here's the updated HTML code:
<div class="bg-blue-500 text-white px-4 py-2 flex justify-between items-center">
  <p class="text-sm">Try our product for free</p>
  <button class="bg-white text-blue-500 px-4 py-2 rounded-lg">Sign up</button>
</div>
Step 3: Set up the call-to-action button
The third step is to set up the call-to-action button. We will be using the bg-white class to set the background color of the button to white. We will also be using the text-blue-500 class to set the text color of the button to blue. The px-4 and py-2 classes are used to set the padding of the button. The rounded-lg class is used to set the border radius of the button to rounded. Here's the updated HTML code:
<div class="bg-blue-500 text-white px-4 py-2 flex justify-between items-center">
  <p class="text-sm">Try our product for free</p>
  <button class="bg-white text-blue-500 px-4 py-2 rounded-lg">Sign up</button>
</div>
Step 4: Customize the banner
The fourth step is to customize the banner to match your brand. You can use Tailwind CSS classes to change the color, font size, and padding of the banner. Here's an example:
<div class="bg-green-500 text-white px-6 py-3 flex justify-between items-center">
  <p class="text-base">Get started with our product for free</p>
  <button class="bg-white text-green-500 px-4 py-2 rounded-lg">Sign up</button>
</div>
In this code, we have used the bg-green-500 class to set the background color of the banner to green. We have also used the text-white class to set the text color to white. The px-6 and py-3 classes are used to set the padding of the banner. The text-base class is used to set the font size of the banner message to base. The text-green-500 class is used to set the text color of the call-to-action button to green.
Step 5: Add the banner to your website
The final step is to add the banner to your website. You can copy the HTML code and paste it into your website's HTML file. You can also add the CSS code to your website's CSS file. Here's an example:
<!DOCTYPE html>
<html>
  <head>
    <title>My Website</title>
    <link rel="stylesheet" href="https://cdn.jsdelivr.net/npm/[email protected]/dist/tailwind.min.css">
  </head>
  <body>
    <div class="bg-green-500 text-white px-6 py-3 flex justify-between items-center">
      <p class="text-base">Get started with our product for free</p>
      <button class="bg-white text-green-500 px-4 py-2 rounded-lg">Sign up</button>
    </div>
  </body>
</html>
In this code, we have added the Tailwind CSS CDN link to the head section of the HTML file. We have also added the banner code to the body section of the HTML file.
Conclusion
In this article, we have learned how to create a free trial banner with CTA button using Tailwind CSS. We have also learned why Tailwind CSS is a great choice for creating user interfaces. With Tailwind CSS, you can quickly create beautiful and responsive user interfaces with minimal effort. So, go ahead and try out Tailwind CSS for your next project!