- Published on
What You Need To Make A WeTransfer style layout With Tailwind CSS
- What is Tailwind CSS?
- The Description of WeTransfer Style Layout UI Component
- Why Use Tailwind CSS to Create a WeTransfer Style Layout UI Component?
- The Preview of WeTransfer Style Layout UI Component
- The Source Code of WeTransfer Style Layout UI Component
- How to Create a WeTransfer Style Layout With Tailwind CSS?
- Step 1: Set Up Your HTML File
- Step 2: Add Tailwind CSS Classes
- Step 3: Add Background Image
- Step 4: Add File Upload Section
- Step 5: Add Progress Bar
- Conclusion
What is Tailwind CSS?
Tailwind CSS is a utility-first CSS framework that helps you quickly build custom designs without writing any CSS. It provides a set of pre-defined classes that you can use to style your HTML elements. With Tailwind CSS, you can create responsive designs, customize your design system, and speed up your development process.
The Description of WeTransfer Style Layout UI Component
WeTransfer is a popular file-sharing service that allows users to send large files up to 2GB for free. The WeTransfer style layout UI component is a simple and elegant design that features a large background image, a file upload section, and a progress bar. This UI component is perfect for any website that requires users to upload and share files.
Why Use Tailwind CSS to Create a WeTransfer Style Layout UI Component?
Tailwind CSS is an excellent choice for creating a WeTransfer style layout UI component because it offers a wide range of utility classes that you can use to style your elements. With Tailwind CSS, you can easily customize your design system and create a responsive layout that looks great on any device. Additionally, Tailwind CSS provides a set of pre-defined colors, fonts, and spacing values that can help you create a consistent design across your website.
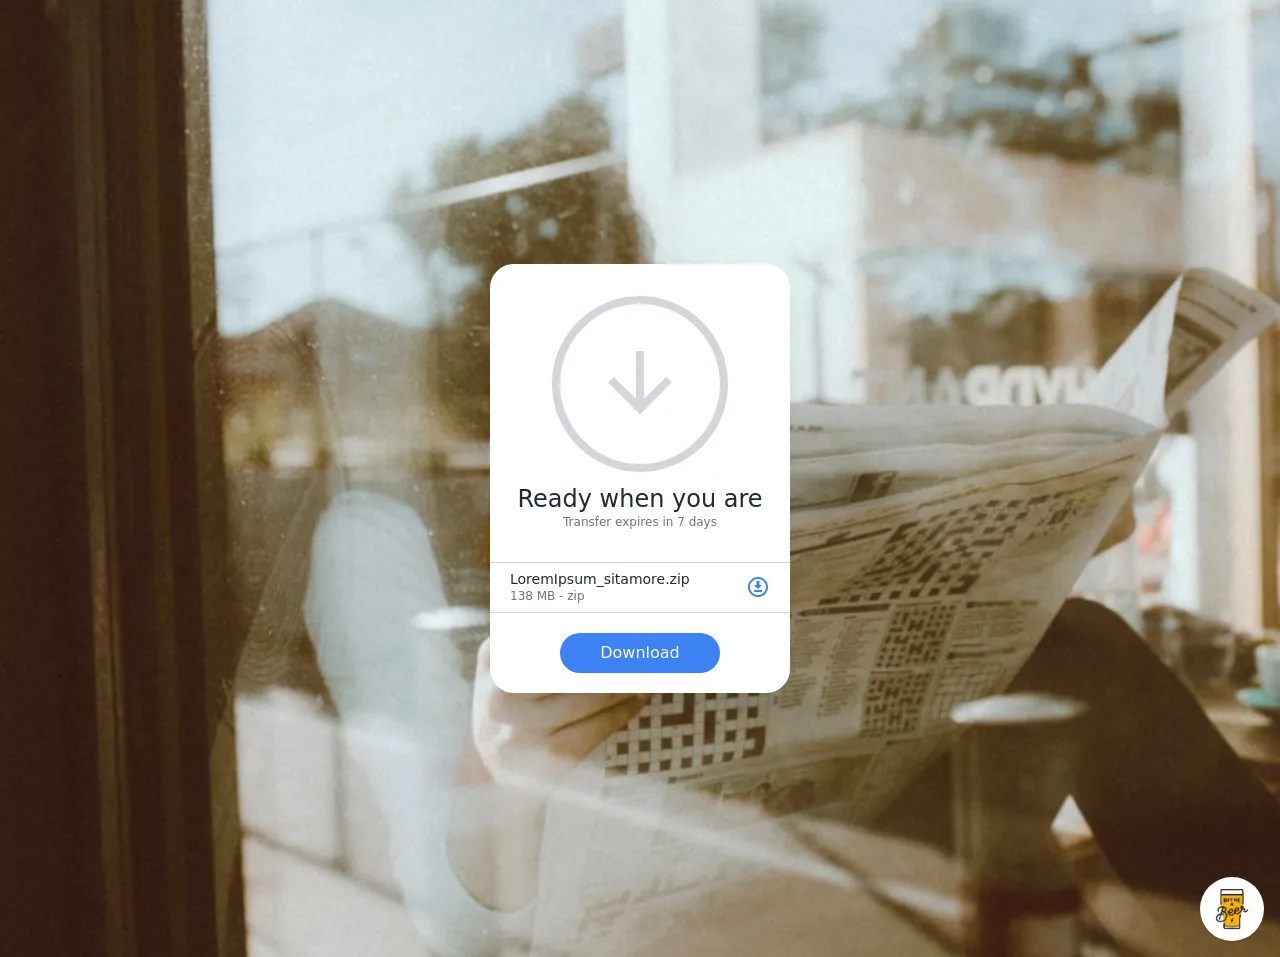
The Preview of WeTransfer Style Layout UI Component
To create a WeTransfer style layout UI component with Tailwind CSS, you'll need to use a combination of HTML and CSS. Here's a preview of what the final layout will look like:
Free download of the WeTransfer style layout's source code
The Source Code of WeTransfer Style Layout UI Component
To create a WeTransfer style layout UI component with Tailwind CSS, you'll need to use the following HTML and CSS code:
<style>
@import url(https://cdnjs.cloudflare.com/ajax/libs/MaterialDesign-Webfont/5.3.45/css/materialdesignicons.min.css);
.bg-random {
    /* @apply bg-cover bg-center */
    background-image: url(https://source.unsplash.com/random);
    background-size: cover;
    background-position: center;
}
</style>

<div class="min-w-screen min-h-screen bg-random flex items-center justify-center px-5 py-5">
    <div class="w-full mx-auto rounded-3xl shadow-xl bg-white" style="max-width: 300px">
        <div class="w-full px-5 pt-8 pb-3">
            <div class="rounded-full w-44 h-44 mx-auto border-8 border-gray-300 flex items-center justify-center">
                <i class="mdi mdi-arrow-down text-8xl text-gray-300 leading-none"></i>
            </div>
        </div>
        <div class="w-full px-5 text-center pb-8 border-b border-gray-300">
            <h1 class="text-2xl font-light text-gray-800 leading-tight">Ready when you are</h1>
            <p class="text-xs text-gray-500">Transfer expires in 7 days</p>
        </div>
        <ul>
            <li class="w-full px-5 py-2 border-b border-gray-300">
                <div class="w-full flex">
                    <div class="flex-grow">
                        <h3 class="text-sm text-gray-800 leading-tight">LoremIpsum_sitamore.zip</h3>
                        <p class="text-xs text-gray-500">138 MB - zip</p>
                    </div>
                    <div class="w-12 text-right">
                        <i class="mdi mdi-download-circle-outline text-blue-500 text-2xl"></i>
                    </div>
                </div>
            </li>
        </ul>
        <div class="w-full px-5 py-5 text-center">
            <button class="bg-blue-500 hover:bg-blue-600 text-white rounded-full px-10 py-2 transition-colors">Download</button>
        </div>
    </div>
</div>

<!-- BUY ME A BEER AND HELP SUPPORT OPEN-SOURCE RESOURCES -->
<div class="flex items-end justify-end fixed bottom-0 right-0 mb-4 mr-4 z-10">
    <div>
        <a title="Buy me a beer" href="https://www.buymeacoffee.com/scottwindon" target="_blank" class="block w-16 h-16 rounded-full transition-all shadow hover:shadow-lg transform hover:scale-110 hover:rotate-12">
            <img class="object-cover object-center w-full h-full rounded-full" src="https://i.pinimg.com/originals/60/fd/e8/60fde811b6be57094e0abc69d9c2622a.jpg"/>
        </a>
    </div>
</div>
How to Create a WeTransfer Style Layout With Tailwind CSS?
To create a WeTransfer style layout UI component with Tailwind CSS, follow these steps:
Step 1: Set Up Your HTML File
Create a new HTML file and add the following code:
<!DOCTYPE html>
<html lang="en">
<head>
  <meta charset="UTF-8">
  <title>WeTransfer Style Layout</title>
  <link rel="stylesheet" href="https://cdn.jsdelivr.net/npm/[email protected]/dist/tailwind.min.css">
</head>
<body>
  <div class="bg-gray-100 min-h-screen">
    <div class="max-w-3xl mx-auto py-6 sm:px-6 lg:px-8">
      <div class="px-4 py-6 sm:px-0">
        <div class="bg-white shadow sm:rounded-lg">
          <div class="bg-cover bg-center h-64 sm:h-96 rounded-t-lg" style="background-image: url('https://source.unsplash.com/random/800x600')"></div>
          <div class="px-4 py-6 sm:px-6">
            <h2 class="text-lg leading-6 font-medium text-gray-900">Upload Your Files</h2>
            <p class="mt-1 text-sm text-gray-500">Select up to 10 files to upload.</p>
            <form class="mt-6">
              <div class="space-y-4">
                <div class="flex items-center justify-between">
                  <div class="flex-1 min-w-0">
                    <label for="file-upload" class="sr-only">File Upload</label>
                    <div class="relative rounded-md shadow-sm">
                      <input id="file-upload" name="file-upload" type="file" class="block w-full py-2 px-3 border border-gray-300 rounded-md leading-5 bg-white text-gray-700 focus:outline-none focus:shadow-outline-blue focus:border-blue-300 focus:z-10 sm:text-sm sm:leading-5" multiple>
                      <div class="absolute inset-y-0 right-0 pr-3 flex items-center">
                        <svg class="h-5 w-5 text-gray-400" fill="none" viewBox="0 0 24 24" stroke="currentColor">
                          <path stroke-linecap="round" stroke-linejoin="round" stroke-width="2" d="M12 6v6m0 0v6m0-6h6m-6 0H6"></path>
                        </svg>
                      </div>
                    </div>
                  </div>
                  <button type="submit" class="ml-4 inline-flex items-center px-4 py-2 border border-transparent text-sm leading-5 font-medium rounded-md text-white bg-indigo-600 hover:bg-indigo-500 focus:outline-none focus:border-indigo-700 focus:shadow-outline-indigo active:bg-indigo-700 transition ease-in-out duration-150">
                    Upload
                  </button>
                </div>
                <div class="relative">
                  <div class="flex items-center justify-between">
                    <div class="flex-1 min-w-0">
                      <div class="overflow-hidden h-2 mb-4 text-xs flex rounded bg-pink-200">
                        <div style="width:30%" class="shadow-none flex flex-col text-center whitespace-nowrap text-white justify-center bg-pink-500"></div>
                      </div>
                    </div>
                    <div class="ml-4">
                      <div class="text-xs leading-5 font-medium text-gray-500">
                        30%
                      </div>
                    </div>
                  </div>
                </div>
              </div>
            </form>
          </div>
        </div>
      </div>
    </div>
  </div>
</body>
</html>
Step 2: Add Tailwind CSS Classes
In the HTML code, you'll notice that we've added several Tailwind CSS classes to style our elements. For example, we've used the bg-gray-100 class to set the background color of the page, the max-w-3xl class to set the maximum width of the container, and the px-4 class to set the padding of the container.
Step 3: Add Background Image
To add a background image to the layout, we've used the bg-cover and bg-center classes to center and scale the image. We've also set the height of the image using the h-64 and sm:h-96 classes to ensure that it looks good on both small and large screens.
Step 4: Add File Upload Section
To create the file upload section, we've used the py-6 and sm:px-6 classes to set the padding of the container. We've also used the bg-white and shadow classes to create a white background with a shadow effect.
Step 5: Add Progress Bar
To add a progress bar to the layout, we've used the overflow-hidden, h-2, and mb-4 classes to create a container for the progress bar. We've also used the bg-pink-200 class to set the background color of the progress bar and the bg-pink-500 class to set the color of the progress bar itself.
Conclusion
In this article, we've discussed how to create a WeTransfer style layout UI component using Tailwind CSS. We've covered the benefits of using Tailwind CSS, provided a preview of the layout, and shared the HTML and CSS code needed to create the layout. With Tailwind CSS, you can easily customize your design system and create beautiful, responsive layouts in no time.