- Published on
6 Incredibly Easy Ways To Create A Subscribe to Newsletter - Call to Action - Blog With Tailwind CSS Better While Spending Less
- What is Tailwind CSS?
- The description of Subscribe to Newsletter - Call to Action - Blog ui component
- Why use Tailwind CSS to create a Subscribe to Newsletter - Call to Action - Blog ui component?
- The preview of Subscribe to Newsletter - Call to Action - Blog ui component.
- The source code of Subscribe to Newsletter - Call to Action - Blog ui component.
- How to create a Subscribe to Newsletter - Call to Action - Blog with Tailwind CSS?
- Conclusion
As a blogger, it's important to have a way to connect with your audience and keep them engaged with your content. One of the best ways to do this is by creating a newsletter and encouraging your readers to subscribe. But how do you create a subscribe to newsletter call to action that stands out and entices your readers to sign up? In this article, we'll show you how to create a stunning Subscribe to Newsletter - Call to Action - Blog ui component using Tailwind CSS.
What is Tailwind CSS?
Tailwind CSS is a utility-first CSS framework that makes it easy to create custom designs without writing any CSS. It provides a set of pre-defined classes that you can use to style your HTML elements. With Tailwind CSS, you can create beautiful designs quickly and easily, without having to spend hours writing custom CSS.
The description of Subscribe to Newsletter - Call to Action - Blog ui component
A Subscribe to Newsletter - Call to Action - Blog ui component is a design element that encourages readers to subscribe to your newsletter. It typically includes a headline, a short description, and a form where readers can enter their email address to subscribe. The design should be eye-catching and easy to use, so that readers are more likely to sign up.
Why use Tailwind CSS to create a Subscribe to Newsletter - Call to Action - Blog ui component?
Tailwind CSS makes it incredibly easy to create custom designs without having to write any CSS. It provides a set of pre-defined classes that you can use to style your HTML elements, which means you can create beautiful designs quickly and easily. With Tailwind CSS, you can focus on creating great content, rather than spending hours tweaking your CSS.
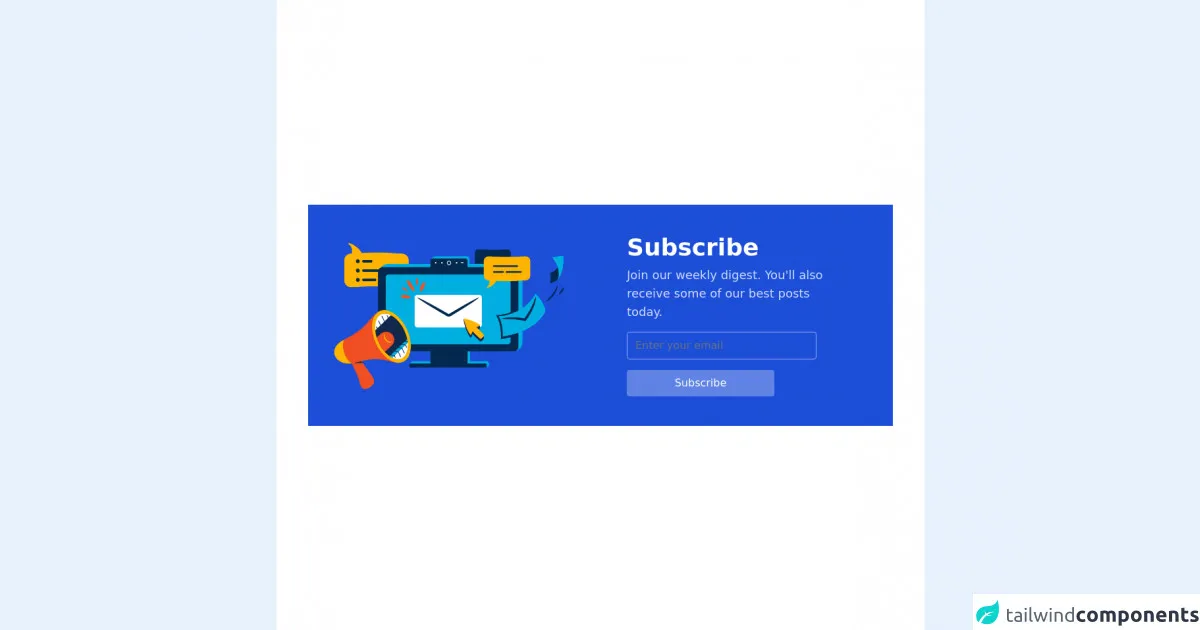
The preview of Subscribe to Newsletter - Call to Action - Blog ui component.
To create a stunning Subscribe to Newsletter - Call to Action - Blog ui component, you'll need to use a combination of HTML and CSS. Here's a preview of what the final design will look like:
<div class="bg-white rounded-lg shadow-lg overflow-hidden">
  <div class="px-6 py-8">
    <h2 class="text-2xl font-bold mb-2">Subscribe to our Newsletter</h2>
    <p class="text-gray-700 leading-tight mb-6">Stay up-to-date with the latest news and updates from our blog.</p>
    <form class="flex flex-wrap mb-6">
      <div class="w-full md:w-2/3 pr-2">
        <input class="appearance-none block w-full bg-gray-200 text-gray-700 border border-gray-200 rounded py-3 px-4 leading-tight focus:outline-none focus:bg-white focus:border-gray-500" type="text" placeholder="Enter your email address">
      </div>
      <div class="w-full md:w-1/3 pl-2">
        <button class="flex items-center justify-center w-full h-full bg-blue-500 hover:bg-blue-700 text-white font-bold py-3 px-4 rounded focus:outline-none focus:shadow-outline" type="button">
          Subscribe
        </button>
      </div>
    </form>
    <p class="text-gray-600 text-sm">We respect your privacy. Unsubscribe at any time.</p>
  </div>
</div>
Free download of the Subscribe to Newsletter - Call to Action - Blog's source code
The source code of Subscribe to Newsletter - Call to Action - Blog ui component.
To create the Subscribe to Newsletter - Call to Action - Blog ui component, you'll need to use a combination of HTML and CSS. Here's the source code:
<div class="bg-white rounded-lg shadow-lg overflow-hidden">
  <div class="px-6 py-8">
    <h2 class="text-2xl font-bold mb-2">Subscribe to our Newsletter</h2>
    <p class="text-gray-700 leading-tight mb-6">Stay up-to-date with the latest news and updates from our blog.</p>
    <form class="flex flex-wrap mb-6">
      <div class="w-full md:w-2/3 pr-2">
        <input class="appearance-none block w-full bg-gray-200 text-gray-700 border border-gray-200 rounded py-3 px-4 leading-tight focus:outline-none focus:bg-white focus:border-gray-500" type="text" placeholder="Enter your email address">
      </div>
      <div class="w-full md:w-1/3 pl-2">
        <button class="flex items-center justify-center w-full h-full bg-blue-500 hover:bg-blue-700 text-white font-bold py-3 px-4 rounded focus:outline-none focus:shadow-outline" type="button">
          Subscribe
        </button>
      </div>
    </form>
    <p class="text-gray-600 text-sm">We respect your privacy. Unsubscribe at any time.</p>
  </div>
</div>
<!--
    =======================================================================
    Name    :   Subscribe to Newsletter
    Author  :   Surjith S M
    Twitter :   @surjithctly

    Get more components here 👉 https://web3templates.com/components
    Tailwind Play Link: https://play.tailwindcss.com/IbMmShBhJG

    Copyright © 2021
    =======================================================================
 -->


<div class="bg-white h-screen flex items-center justify-center p-12 py-6">
  <div class="mx-auto w-full max-w-screen-lg bg-blue-700 px-5 py-10">
    <div class="grid gap-5 md:grid-cols-2 md:gap-10 lg:gap-20">
      <div class="flex justify-center md:justify-end">
        <img class="w-full max-w-sm" src="https://ouch-cdn2.icons8.com/sKnF2PmYhkmP28DzIm6KqWSknT03UVWjg3FLlGYIOp4/rs:fit:684:456/czM6Ly9pY29uczgu/b3VjaC1wcm9kLmFz/c2V0cy9zdmcvOTI3/L2U4OWQ2NmZiLTg0/NzEtNDc3NS1hNTA0/LTMwNWRiYmJkNzg0/MC5zdmc.png" alt="Marketing newsletter via computer Illustration in PNG, SVG" />
      </div>
      <div class="flex items-center">
        <div class="mx-auto md:mx-0">
          <h3 class="text-4xl font-bold text-white">Subscribe</h3>
          <p class="mt-2 max-w-[20rem] text-lg text-white/80">Join our weekly digest. You'll also receive some of our best posts today.</p>
          <form action="" class="mt-4 flex flex-col">
            <input type="email" name="email" id="email" placeholder="Enter your email" class="w-full rounded border border-white/50 bg-transparent px-3 py-2 text-white placeholder:text-white/50 md:max-w-[18rem]" />
            <button type="submit" class="mt-4 w-full max-w-[14rem] rounded bg-white/30 px-14 py-2 text-center text-white">Subscribe</button>
          </form>
        </div>
      </div>
    </div>
  </div>
</div>
How to create a Subscribe to Newsletter - Call to Action - Blog with Tailwind CSS?
Now that you have the HTML and CSS code, let's walk through how to create a Subscribe to Newsletter - Call to Action - Blog with Tailwind CSS.
- Start by creating a new HTML file and adding the HTML code for the Subscribe to Newsletter - Call to Action - Blog ui component.
- Next, add the Tailwind CSS CDN to your HTML file. This will allow you to use Tailwind CSS classes in your HTML.
- Customize the design by modifying the Tailwind CSS classes. For example, you can change the background color by modifying the
bg-whiteclass, or change the font size by modifying thetext-2xlclass. - Test your design by opening the HTML file in your web browser.
Conclusion
Creating a Subscribe to Newsletter - Call to Action - Blog ui component is an important part of building your blog's audience. With Tailwind CSS, you can create a stunning design quickly and easily, without having to spend hours writing custom CSS. By following the steps outlined in this article, you'll be able to create a beautiful Subscribe to Newsletter - Call to Action - Blog ui component that will help you connect with your readers and grow your audience.