- Published on
6 Steps To Create A Subscribe form With Tailwind CSS Like A Pro In Under An Hour
- What is Tailwind CSS?
- The description of Subscribe form ui component
- Why use Tailwind CSS to create a Subscribe form ui component?
- The preview of Subscribe form ui component
- The source code of Subscribe form ui component
- How to create a Subscribe form with Tailwind CSS?
- Step 1: Create the HTML structure
- Step 2: Add Tailwind CSS classes
- Step 3: Style the form container
- Step 4: Style the form inputs
- Step 5: Style the submit button
- Step 6: Add JavaScript functionality
- Conclusion
What is Tailwind CSS?
Tailwind CSS is a utility-first CSS framework that allows developers to quickly build custom user interfaces. It provides a set of pre-defined CSS classes that can be combined to create any design.
The description of Subscribe form ui component
A Subscribe form is a common UI component used on websites and blogs to allow users to sign up for newsletters or updates. It typically includes fields for users to enter their name and email address, as well as a button to submit the form.
Why use Tailwind CSS to create a Subscribe form ui component?
Tailwind CSS makes it easy to create custom UI components quickly. It provides a set of pre-defined CSS classes that can be combined to create any design, which saves time and effort.
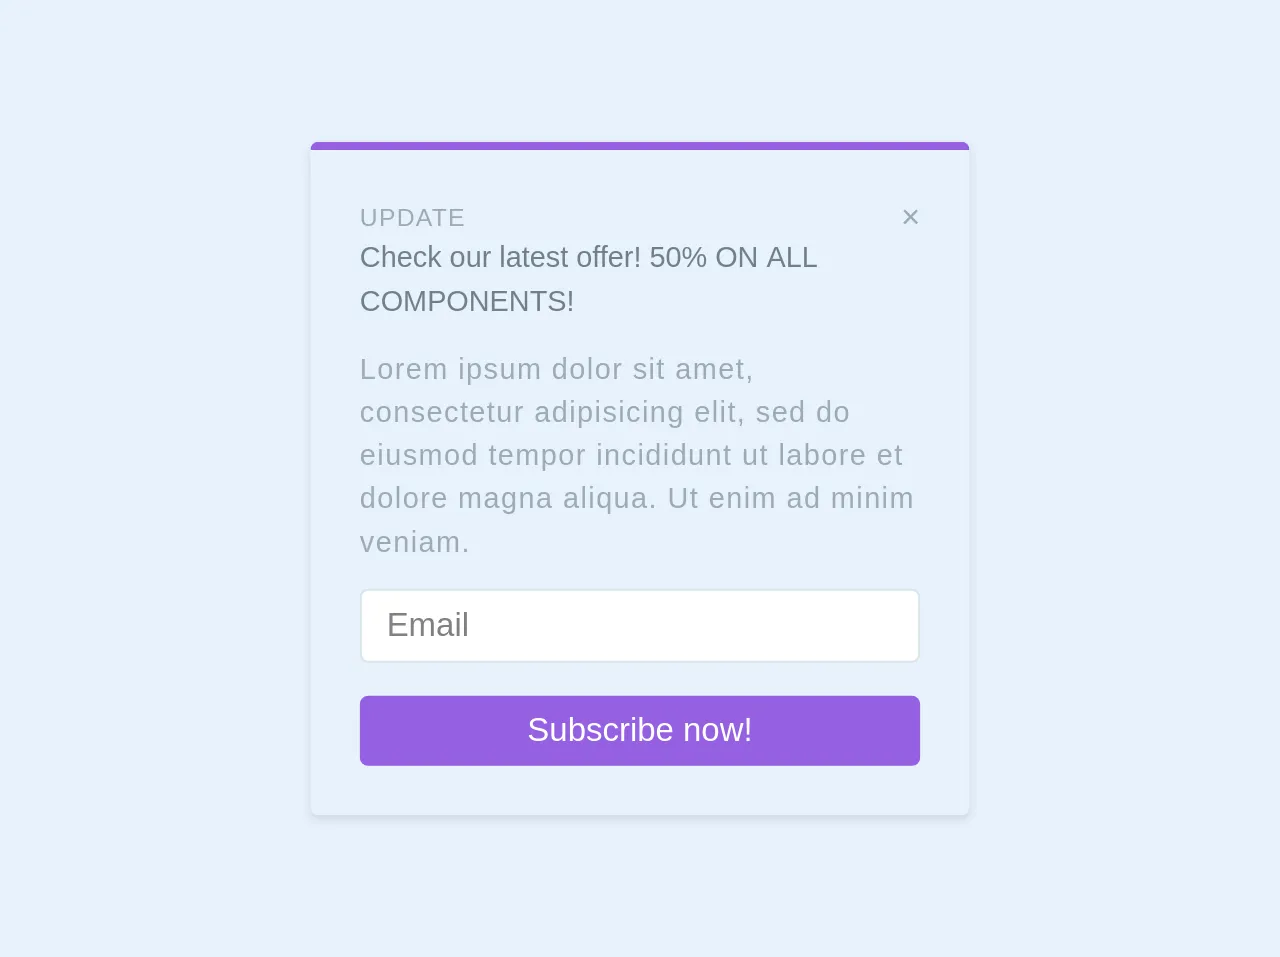
The preview of Subscribe form ui component
To create a Subscribe form with Tailwind CSS, we will use a combination of form elements and utility classes. Here's what the final result will look like:
Free download of the Subscribe form's source code
The source code of Subscribe form ui component
To create the Subscribe form, we will use HTML and Tailwind CSS classes. Here's the source code:
<div class="shadow rounded to w-full md:w-1/4 border-solid border-t-4 border-purple p-6 my-2">
  <div class="flex justify-between items-center">
    <h4 class="uppercase text-grey text-xs text-wide tracking-wide font-thin ">Update</h4>
    <span class="text-grey" aria-hidden="true">×</span>
  </div>
  <h3 class="text-grey-dark text-sm font-medium font-sans leading-normal">Check our latest offer! 50% ON ALL COMPONENTS!</h3>
  <p class="my-3 text-grey font-light tracking-wide font-sans leading-normal text-sm">Lorem ipsum dolor sit amet, consectetur adipisicing elit, sed do eiusmod tempor incididunt ut labore et dolore magna aliqua. Ut enim ad minim veniam. </p>

  <input type="email" class="border-solid border w-full rounded px-3 py-2" placeholder="Email"/>

  <button class="bg-purple text-white px-3 py-2 rounded w-full mt-4">Subscribe now!</button>
</div>
How to create a Subscribe form with Tailwind CSS?
Follow these 6 steps to create a Subscribe form with Tailwind CSS:
Step 1: Create the HTML structure
The first step is to create the HTML structure for the form. We will use the form element and add input elements for the name and email fields, and a button element for the submit button.
<form class="bg-white p-6 rounded-lg shadow-md">
  <div class="mb-4">
    <label class="block text-gray-700 font-bold mb-2" for="name">
      Name
    </label>
    <input
      class="appearance-none border rounded w-full py-2 px-3 text-gray-700 leading-tight focus:outline-none focus:shadow-outline"
      id="name"
      type="text"
      placeholder="Enter your name"
    />
  </div>
  <div class="mb-4">
    <label class="block text-gray-700 font-bold mb-2" for="email">
      Email
    </label>
    <input
      class="appearance-none border rounded w-full py-2 px-3 text-gray-700 leading-tight focus:outline-none focus:shadow-outline"
      id="email"
      type="email"
      placeholder="Enter your email"
    />
  </div>
  <div>
    <button
      class="bg-blue-500 hover:bg-blue-700 text-white font-bold py-2 px-4 rounded focus:outline-none focus:shadow-outline"
      type="button"
    >
      Subscribe
    </button>
  </div>
</form>
Step 2: Add Tailwind CSS classes
Next, we will add Tailwind CSS classes to the HTML elements to style the form. We will use classes like bg-white, p-6, rounded-lg, shadow-md to style the form container. We will also use classes like mb-4, block, text-gray-700, font-bold to style the labels and inputs.
<form class="bg-white p-6 rounded-lg shadow-md">
  <div class="mb-4">
    <label class="block text-gray-700 font-bold mb-2" for="name">
      Name
    </label>
    <input
      class="appearance-none border rounded w-full py-2 px-3 text-gray-700 leading-tight focus:outline-none focus:shadow-outline"
      id="name"
      type="text"
      placeholder="Enter your name"
    />
  </div>
  <div class="mb-4">
    <label class="block text-gray-700 font-bold mb-2" for="email">
      Email
    </label>
    <input
      class="appearance-none border rounded w-full py-2 px-3 text-gray-700 leading-tight focus:outline-none focus:shadow-outline"
      id="email"
      type="email"
      placeholder="Enter your email"
    />
  </div>
  <div>
    <button
      class="bg-blue-500 hover:bg-blue-700 text-white font-bold py-2 px-4 rounded focus:outline-none focus:shadow-outline"
      type="button"
    >
      Subscribe
    </button>
  </div>
</form>
Step 3: Style the form container
We will use the max-w-sm class to set the maximum width of the form container to 30rem. We will also use the mx-auto class to center the form horizontally on the page.
<div class="max-w-sm mx-auto">
  <form class="bg-white p-6 rounded-lg shadow-md">
    ...
  </form>
</div>
Step 4: Style the form inputs
We will use the focus:outline-none and focus:shadow-outline classes to remove the default focus outline and add a custom focus outline to the inputs.
<input
  class="appearance-none border rounded w-full py-2 px-3 text-gray-700 leading-tight focus:outline-none focus:shadow-outline"
  id="name"
  type="text"
  placeholder="Enter your name"
/>
Step 5: Style the submit button
We will use the bg-blue-500, hover:bg-blue-700, text-white, font-bold, py-2, px-4, and rounded classes to style the submit button.
<button
  class="bg-blue-500 hover:bg-blue-700 text-white font-bold py-2 px-4 rounded focus:outline-none focus:shadow-outline"
  type="button"
>
  Subscribe
</button>
Step 6: Add JavaScript functionality
Finally, we will add JavaScript functionality to the form to handle form submission and validation.
const form = document.querySelector('form');

form.addEventListener('submit', (event) => {
  event.preventDefault();

  const name = document.querySelector('#name').value;
  const email = document.querySelector('#email').value;

  if (!name || !email) {
    alert('Please enter your name and email');
    return;
  }

  // Submit form data to server
});
Conclusion
Creating a Subscribe form with Tailwind CSS is easy and efficient. By using pre-defined CSS classes, we can quickly build custom UI components that look great and are easy to maintain. Follow these 6 steps to create a Subscribe form with Tailwind CSS like a pro in under an hour.