- Published on
6 Critical Skills To Create A Pin Code Field With Tailwind CSS Remarkably Well
- What is Tailwind CSS?
- The description of Pin Code Field ui component
- Why use Tailwind CSS to create a Pin Code Field ui component?
- The preview of Pin Code Field ui component
- The source code of Pin Code Field ui component
- How to create a Pin Code Field with Tailwind CSS?
- Step 1: Create the HTML markup
- Step 2: Style the Pin Code Field component
- Step 3: Add interactivity to the Pin Code Field component
- Conclusion
What is Tailwind CSS?
Tailwind CSS is a utility-first CSS framework that allows developers to rapidly build custom user interfaces. It provides a set of pre-defined CSS classes that can be used to style HTML elements. With Tailwind CSS, developers can create complex layouts and designs with ease, without having to write custom CSS code.
The description of Pin Code Field ui component
A Pin Code Field is a user interface component that allows users to enter a numeric code, typically used for authentication or security purposes. It is composed of a set of input fields, each accepting a single digit of the code. The Pin Code Field component is a crucial part of many applications, including banking and e-commerce apps.
Why use Tailwind CSS to create a Pin Code Field ui component?
Tailwind CSS is an excellent choice for creating a Pin Code Field UI component for several reasons. Firstly, it provides a wide range of pre-defined CSS classes that can be used to style the component quickly. Secondly, it is highly customizable, allowing developers to create a unique design that matches the application's overall look and feel. Finally, Tailwind CSS is easy to learn, making it an excellent choice for developers of all skill levels.
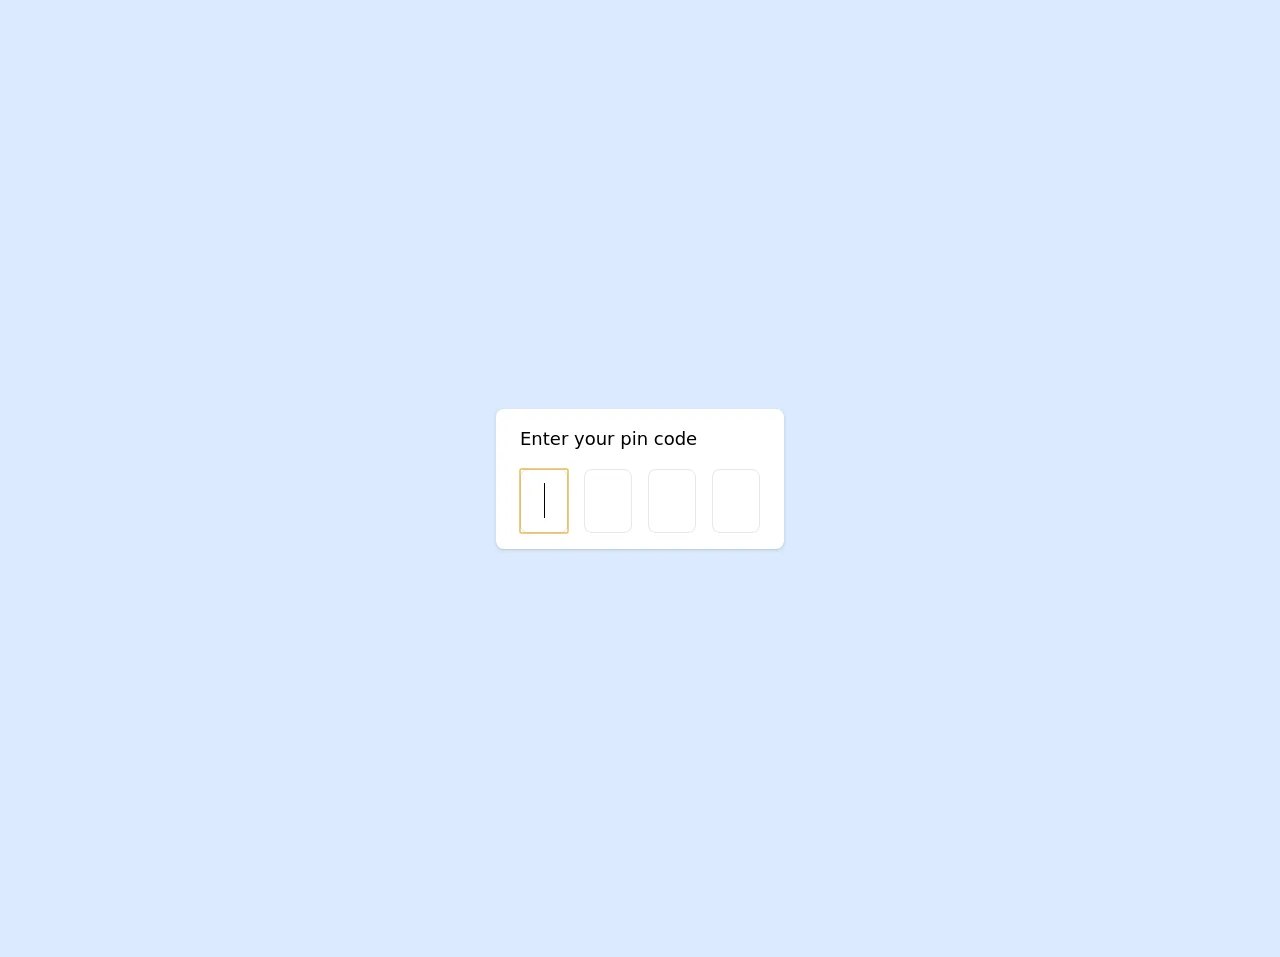
The preview of Pin Code Field ui component
Creating a Pin Code Field UI component with Tailwind CSS is relatively straightforward. The component consists of a set of input fields, each accepting a single digit of the code. To create the component, we will use Tailwind CSS's grid system to layout the input fields in a 3x3 grid. We will also use Tailwind CSS's border and padding classes to style the input fields.
Free download of the Pin Code Field's source code
The source code of Pin Code Field ui component
To create the Pin Code Field UI component, we will use HTML and Tailwind CSS classes. The HTML code for the component is relatively simple, consisting of a set of input fields wrapped in a div element. The Tailwind CSS classes are used to style the input fields and layout the component.
<script src="https://cdn.jsdelivr.net/gh/alpinejs/[email protected]/dist/alpine.min.js" defer></script>
<script src="https://cdn.jsdelivr.net/npm/[email protected]/lodash.min.js"></script>

<div class="fixed inset-0 w-full h-full flex bg-blue-100 items-center justify-center">
    <div class="bg-white rounded-lg shadow p-4" x-data="app()">
        <div class="font-thin px-2 pb-4 text-lg">Enter your pin code</div>
        <div class="flex">
            <template x-for="(l,i) in pinlength" :key="`codefield_${i}`">
                <input :autofocus="i == 0" :id="`codefield_${i}`" class="h-16 w-12 border mx-2 rounded-lg flex items-center text-center font-thin text-3xl" value="" maxlength="1" max="9" min="0" inputmode="decimal" @keyup="stepForward(i)" @keydown.backspace="stepBack(i)" @focus="resetValue(i)"></input>
            </template>
        </div>
    </div>
</div>

<script type="text/javascript">
function app() {
    return {
        pinlength: 4,
        resetValue(i) {
            for (x = 0; x < this.pinlength; x++) {
                if (x >= i) document.getElementById(`codefield_${x}`).value = ''
            }
        },
        stepForward(i) {
            if (document.getElementById(`codefield_${i}`).value && i != this.pinlength - 1) {
                document.getElementById(`codefield_${i+1}`).focus()
                document.getElementById(`codefield_${i+1}`).value = ''
            }
            this.checkPin()
        },
        stepBack(i) {
            if (document.getElementById(`codefield_${i-1}`).value && i != 0) {
                document.getElementById(`codefield_${i-1}`).focus()
                document.getElementById(`codefield_${i-1}`).value = ''
            }
        },
        checkPin() {
            let code = ''
            for (i = 0; i < this.pinlength; i++) {
                code = code + document.getElementById(`codefield_${i}`).value
            }
            if (code.length == this.pinlength) {
                this.validatePin(code)
            }
        },
        validatePin(code) {
            // Check pin on server
            if (code == '1234') alert('success')
        }
    }
}
</script>
How to create a Pin Code Field with Tailwind CSS?
To create a Pin Code Field UI component with Tailwind CSS, follow these steps:
Step 1: Create the HTML markup
The first step is to create the HTML markup for the Pin Code Field component. We will create a set of input fields wrapped in a div element. Each input field will have a unique ID and a maxlength attribute set to 1, limiting the input to a single digit.
<div class="pin-code-field">
  <input type="text" id="digit-1" maxlength="1" />
  <input type="text" id="digit-2" maxlength="1" />
  <input type="text" id="digit-3" maxlength="1" />
  <input type="text" id="digit-4" maxlength="1" />
  <input type="text" id="digit-5" maxlength="1" />
  <input type="text" id="digit-6" maxlength="1" />
</div>
Step 2: Style the Pin Code Field component
Next, we will use Tailwind CSS classes to style the Pin Code Field component. We will use the grid system to layout the input fields in a 3x3 grid. We will also use border and padding classes to style the input fields.
<div class="pin-code-field grid grid-cols-3 gap-4">
  <input type="text" id="digit-1" maxlength="1" class="border border-gray-400 rounded-md p-2 text-center text-xl font-bold" />
  <input type="text" id="digit-2" maxlength="1" class="border border-gray-400 rounded-md p-2 text-center text-xl font-bold" />
  <input type="text" id="digit-3" maxlength="1" class="border border-gray-400 rounded-md p-2 text-center text-xl font-bold" />
  <input type="text" id="digit-4" maxlength="1" class="border border-gray-400 rounded-md p-2 text-center text-xl font-bold" />
  <input type="text" id="digit-5" maxlength="1" class="border border-gray-400 rounded-md p-2 text-center text-xl font-bold" />
  <input type="text" id="digit-6" maxlength="1" class="border border-gray-400 rounded-md p-2 text-center text-xl font-bold" />
</div>
Step 3: Add interactivity to the Pin Code Field component
Finally, we can add interactivity to the Pin Code Field component using JavaScript. We can listen for the input event on each input field and move the focus to the next input field when the user enters a digit.
const inputs = document.querySelectorAll('.pin-code-field input');

inputs.forEach((input, index) => {
  input.addEventListener('input', (event) => {
    const { value } = event.target;

    if (value.length === 1) {
      if (index < inputs.length - 1) {
        inputs[index + 1].focus();
      } else {
        inputs[index].blur();
      }
    } else if (value.length === 0) {
      if (index > 0) {
        inputs[index - 1].focus();
      }
    }
  });
});
Conclusion
Creating a Pin Code Field UI component with Tailwind CSS is a straightforward process that requires only a few lines of HTML and CSS code. With Tailwind CSS's grid system and pre-defined classes, developers can create a unique and highly customizable design that matches the application's overall look and feel. By following the steps outlined in this article, developers can create a Pin Code Field UI component with Tailwind CSS that is both functional and visually appealing.