- Published on
Here Are 6 Ways To Create A Header 1 With Tailwind CSS
- What is Tailwind CSS?
- The description of Header 1 ui component
- Why use Tailwind CSS to create a Header 1 ui component?
- The preview of Header 1 ui component
- The source code of Header 1 ui component
- How to create a Header 1 with Tailwind CSS?
- 1. Using text-4xl, font-bold, and text-center classes
- 2. Using the text-5xl class
- 3. Using the text-indigo-600 class
- 4. Using the leading-tight class
- 5. Using the tracking-tight class
- 6. Using custom classes
- Conclusion
As a FrontEnd technology blogger, it's always exciting to explore new CSS frameworks that can make our lives easier. Tailwind CSS is one such framework that has gained a lot of popularity in recent years. In this article, we will explore how to create a Header 1 ui component with Tailwind CSS.
What is Tailwind CSS?
Tailwind CSS is a utility-first CSS framework that allows you to create custom designs without writing any CSS from scratch. It provides a set of pre-defined classes that you can use to style your HTML elements. Tailwind CSS is highly customizable and can be configured to match your design requirements.
The description of Header 1 ui component
Header 1 is a common UI component used in web development. It is typically used to display the main heading of a page. A Header 1 usually has a large font size, bold text, and is centered on the page.
Why use Tailwind CSS to create a Header 1 ui component?
Tailwind CSS provides a set of pre-defined classes that can be used to create a Header 1 ui component quickly. It allows you to customize the Header 1 to match your design requirements easily. Using Tailwind CSS can save you a lot of time and effort compared to writing CSS from scratch.
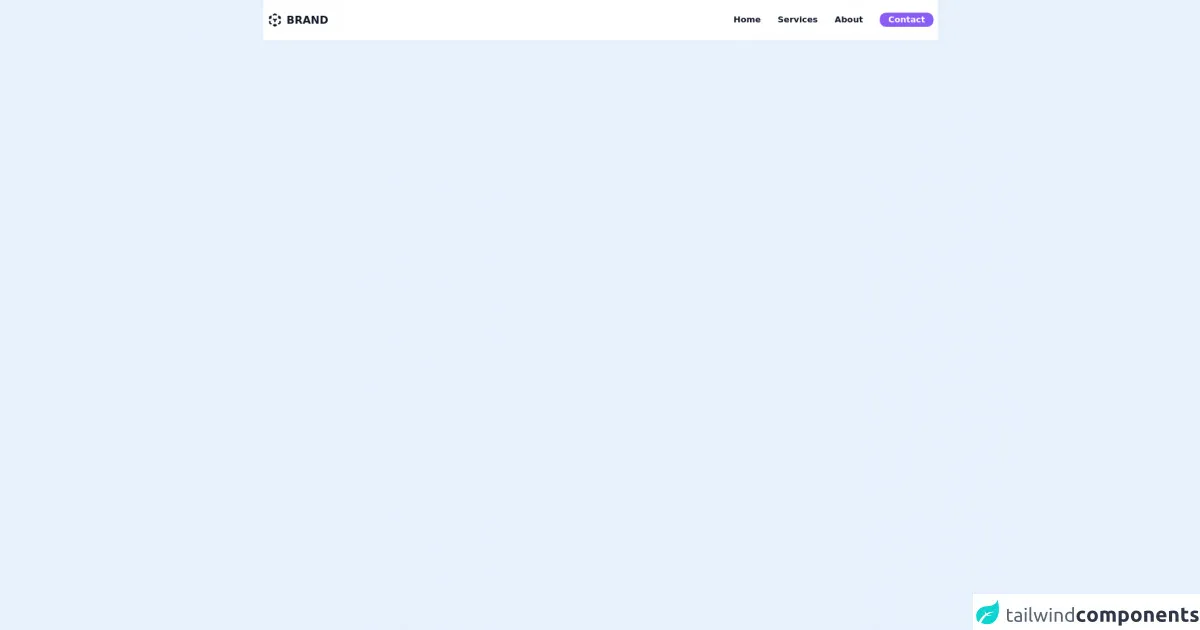
The preview of Header 1 ui component
To create a Header 1 ui component with Tailwind CSS, you can use the text-4xl class to set the font size to 4xl, the font-bold class to make the text bold, and the text-center class to center the text. Here is a preview of what the Header 1 ui component looks like:
Free download of the Header 1's source code
The source code of Header 1 ui component
To create a Header 1 ui component with Tailwind CSS, you can use the following HTML code:
<h1 class="text-4xl font-bold text-center">Header 1</h1>
To use Tailwind CSS classes, you need to include the Tailwind CSS stylesheet in your HTML file. Here is an example of how to include the Tailwind CSS stylesheet:
<link href="https://cdn.jsdelivr.net/npm/tailwindcss@latest/dist/tailwind.min.css" rel="stylesheet">
<nav class="w-full py-6 bg-white w-screen">
  <div class="flex items-center justify-between mx-auto xl:max-w-7xl lg:max-w-5xl md:max-w-3xl md:px-2 px-4">
    <section class="flex items-center text-gray-900 space-x-2">
      <svg xmlns="http://www.w3.org/2000/svg" class="h-7 w-7" viewBox="0 0 20 20" fill="currentColor">
        <path fill-rule="evenodd" d="M9.504 1.132a1 1 0 01.992 0l1.75 1a1 1 0 11-.992 1.736L10 3.152l-1.254.716a1 1 0 11-.992-1.736l1.75-1zM5.618 4.504a1 1 0 01-.372 1.364L5.016 6l.23.132a1 1 0 11-.992 1.736L4 7.723V8a1 1 0 01-2 0V6a.996.996 0 01.52-.878l1.734-.99a1 1 0 011.364.372zm8.764 0a1 1 0 011.364-.372l1.733.99A1.002 1.002 0 0118 6v2a1 1 0 11-2 0v-.277l-.254.145a1 1 0 11-.992-1.736l.23-.132-.23-.132a1 1 0 01-.372-1.364zm-7 4a1 1 0 011.364-.372L10 8.848l1.254-.716a1 1 0 11.992 1.736L11 10.58V12a1 1 0 11-2 0v-1.42l-1.246-.712a1 1 0 01-.372-1.364zM3 11a1 1 0 011 1v1.42l1.246.712a1 1 0 11-.992 1.736l-1.75-1A1 1 0 012 14v-2a1 1 0 011-1zm14 0a1 1 0 011 1v2a1 1 0 01-.504.868l-1.75 1a1 1 0 11-.992-1.736L16 13.42V12a1 1 0 011-1zm-9.618 5.504a1 1 0 011.364-.372l.254.145V16a1 1 0 112 0v.277l.254-.145a1 1 0 11.992 1.736l-1.735.992a.995.995 0 01-1.022 0l-1.735-.992a1 1 0 01-.372-1.364z" clip-rule="evenodd" />
      </svg>
      <a href="#" class="font-bold text-xl focus:ring focus:ring-purple-500 focus:ring-opacity-25 outline-none rounded-lg">BRAND</a>
    </section>
    <section>
      <ul class="md:space-x-8 space-x-6 text-gray-900 font-semibold hidden md:flex">
        <li class="relative group">
          <a href="#" class="group focus:ring focus:ring-purple-500 focus:ring-opacity-25 outline-none rounded-lg"> Home </a>
          <div class="w-full h-0.5 bg-transparent group-hover:bg-purple-500 transition-al absolute bottom-0" />
        </li>
        <li class="relative group">
          <a href="#" class="focus:ring focus:ring-purple-500 focus:ring-opacity-25 outline-none rounded-lg">Services</a>
          <div class="w-full h-0.5 bg-transparent group-hover:bg-purple-500 transition-al absolute bottom-0" />
        </li>
        <li class="relative group">
          <a href="#" class="focus:ring focus:ring-purple-500 focus:ring-opacity-25 outline-none rounded-lg">About</a>
          <div class="w-full h-0.5 bg-transparent group-hover:bg-purple-500 transition-al absolute bottom-0" />
        </li>
        <li><a href="#" class="bg-purple-500 px-4 py-1 rounded-xl text-white hover:bg-purple-400 active:bg-purple-600 focus:ring focus:ring-purple-500 focus:ring-opacity-25 outline-none">Contact</a></li>
      </ul>
      <button class="flex md:hidden hover:bg-gray-100 p-2 rounded-full transition-all focus:ring focus:ring-purple-500 focus:ring-opacity-25 active:bg-gray-200 outline-none">
        <svg xmlns="http://www.w3.org/2000/svg" class="h-5 w-5" viewBox="0 0 20 20" fill="currentColor">
          <path fill-rule="evenodd" d="M3 5a1 1 0 011-1h12a1 1 0 110 2H4a1 1 0 01-1-1zM3 10a1 1 0 011-1h12a1 1 0 110 2H4a1 1 0 01-1-1zM9 15a1 1 0 011-1h6a1 1 0 110 2h-6a1 1 0 01-1-1z" clip-rule="evenodd" />
        </svg>
      </button>
    </section>
  </div>
</nav>
How to create a Header 1 with Tailwind CSS?
Now that we have seen the preview and source code of the Header 1 ui component let's explore how to create it in detail. Here are six ways to create a Header 1 with Tailwind CSS:
1. Using text-4xl, font-bold, and text-center classes
As mentioned earlier, you can use the text-4xl, font-bold, and text-center classes to create a Header 1 ui component. Here is the code:
<h1 class="text-4xl font-bold text-center">Header 1</h1>
2. Using the text-5xl class
If you want a larger font size for your Header 1, you can use the text-5xl class. Here is the code:
<h1 class="text-5xl font-bold text-center">Header 1</h1>
3. Using the text-indigo-600 class
If you want to add some color to your Header 1, you can use the text-indigo-600 class. Here is the code:
<h1 class="text-4xl font-bold text-center text-indigo-600">Header 1</h1>
4. Using the leading-tight class
If you want to reduce the line height of your Header 1, you can use the leading-tight class. Here is the code:
<h1 class="text-4xl font-bold text-center leading-tight">Header 1</h1>
5. Using the tracking-tight class
If you want to reduce the letter spacing of your Header 1, you can use the tracking-tight class. Here is the code:
<h1 class="text-4xl font-bold text-center tracking-tight">Header 1</h1>
6. Using custom classes
If you want to create a custom Header 1 ui component, you can define your own classes in the Tailwind CSS configuration file. Here is an example of how to define custom classes:
module.exports = {
  theme: {
    extend: {
      fontSize: {
        '7xl': '5rem',
      },
      colors: {
        'custom-blue': '#0d47a1',
      },
    },
  },
  variants: {},
  plugins: [],
}
In the above code, we have defined a custom font size class 7xl and a custom color custom-blue. You can use these classes to create a custom Header 1 ui component. Here is the code:
<h1 class="text-7xl font-bold text-center text-custom-blue">Header 1</h1>
Conclusion
Creating a Header 1 ui component with Tailwind CSS is easy and straightforward. You can use the pre-defined classes or define your own custom classes to create a Header 1 that matches your design requirements. With Tailwind CSS, you can save a lot of time and effort compared to writing CSS from scratch. Give it a try, and you won't be disappointed!