- Published on
Here Are 6 Ways To Make A Form Floating With Tailwind CSS
- What is Tailwind CSS?
- The description of Form Floating ui component
- Why use Tailwind CSS to create a Form Floating ui component?
- The preview of Form Floating ui component
- The source code of Form Floating ui component
- How to create a Form Floating with Tailwind CSS?
- 1. Using the fixed class
- 2. Using the absolute class
- 3. Using the sticky class
- 4. Using the transform class
- 5. Using the z-index class
- 6. Using the transition class
- Conclusion
What is Tailwind CSS?
Tailwind CSS is a utility-first CSS framework that allows you to quickly build custom designs without writing any CSS code. It provides a set of pre-defined classes that can be used to style HTML elements. Tailwind CSS is gaining popularity among developers because it enables them to create beautiful designs in a short amount of time.
The description of Form Floating ui component
Form Floating is a user interface (UI) component that makes a form float above the page content when the user interacts with it. This component is commonly used in web applications to provide a better user experience. When the user clicks on a form field, the form floats above the page content, making it easier to fill out the form.
Why use Tailwind CSS to create a Form Floating ui component?
Tailwind CSS provides a set of pre-defined classes that can be used to create a Form Floating UI component quickly. These classes can be used to style the form, the floating container, and the page content. Using Tailwind CSS to create a Form Floating UI component saves time and effort, as you don't have to write any CSS code from scratch.
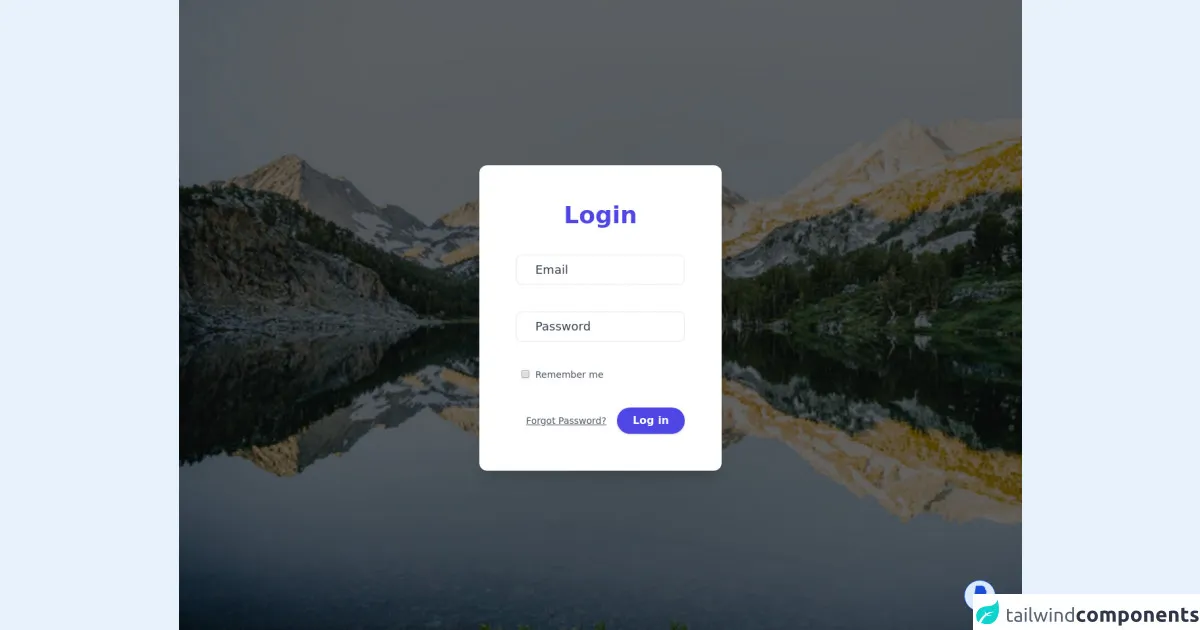
The preview of Form Floating ui component
To create a Form Floating UI component, you need to use HTML, CSS, and JavaScript. Here's a preview of what the Form Floating UI component looks like:
Free download of the Form Floating's source code
The source code of Form Floating ui component
Here's the source code for the Form Floating UI component:
<link rel="stylesheet" href="https://pro.fontawesome.com/releases/v5.10.0/css/all.css"
integrity="sha384-AYmEC3Yw5cVb3ZcuHtOA93w35dYTsvhLPVnYs9eStHfGJvOvKxVfELGroGkvsg+p" crossorigin="anonymous" />
<div class="relative min-h-screen flex items-center justify-center bg-gray-50 py-12 px-4 sm:px-6 lg:px-8 bg-gray-500 bg-no-repeat bg-cover relative items-center"
style="background-image: url(https://images.unsplash.com/photo-1624916888581-48904076264b?ixid=MnwxMjA3fDB8MHxwaG90by1wYWdlfHx8fGVufDB8fHx8&ixlib=rb-1.2.1&auto=format&fit=crop&w=750&q=80);">
<div class="absolute bg-black opacity-60 inset-0 z-0"></div>
<div class="mt-2 items-center z-10">
<form class="p-14 bg-white max-w-sm mx-auto rounded-xl shadow-xl overflow-hidden p-6 space-y-10">
<h2 class="text-4xl font-bold text-center text-indigo-600">Login</h2>
<div class="f-outline px-2 relative border rounded-lg focus-within:border-indigo-500">
<input type="email" name="email" placeholder=" "
class="block p-2 w-full text-lg appearance-none focus:outline-none bg-transparent" />
<label for="email"
class="absolute ml-5 top-0 text-lg text-gray-700 bg-white mt-2 -z-1 duration-300 origin-0">Email</label>
</div>
<div class="f-outline px-2 relative border rounded-lg focus-within:border-indigo-500">
<input type="password" name="password" placeholder=" "
class="block p-2 w-full text-lg appearance-none focus:outline-none bg-transparent" />
<label for="password"
class="absolute ml-5 top-0 text-lg text-gray-700 bg-white mt-2 -z-1 duration-300 origin-0">Password</label>
</div>
<div class="block mt-2">
<label for="" class="flex items-center">
<input type="checkbox"
class="ml-2 rounded border-gray-300 text-indigo-600 shadow-sm focus:border-indigo-300 focus:ring focus:ring-indigo-200 focus:ring-opacity-50">
</input>
<span class="ml-2 text-sm text-gray-600">Remember me</span>
</label>
</div>
<div class="flex items-center flex items-center justify-end mt-4">
<a class="underline text-sm text-gray-600 hover:text-gray-900" href="#">
Forgot Password?
</a>
<button
class="px-6 py-2 ml-4 font-semibold cursor-pointer text-center focus:outline-none transition hover:shadow-lg shadow hover:bg-indigo-700 rounded-full text-white bg-indigo-600 ">
Log in
</button>
</div>
</form>
</div>
</div>
<style>
.f-outline input:focus-within ~ label,
.f-outline input:not(:placeholder-shown) ~ label {
transform: translateY(-1.5rem) translatex(-1rem) scaleX(0.80) scaleY(0.80);
}
</style>
<!--Spanish:
Me gusta mucho la programación y el diseño,
acabe de iniciar en la universidad,
si me desas apoyar con una pequeña donación para mis estudios,
te lo agredeceria,
Espero que mi aporte te haya servido :)
English:
I really like programming and design,
I just started university,
If you want to support me with a small donation for my studies,
I would really appreciate it.
I hope my contribution has served you :) -->
<div class=" flex items-end justify-end fixed bottom-2 right-6 mb-5 mr-4 z-20">
<a href="https://www.paypal.com/donate?business=SVND7YAGBPDGU&no_recurring=0&item_name=I+save+for+my+studies¤cy_code=USD"
target="_blank"
class="inline-block font-semibold text-center text-2xl p-1 transition focus:outline-none shadow hover:shadow-lg hover:bg-blue-700 p-0 w-12 h-12 rounded-full border text-blue-700 bg-blue-100 hover:text-white border-blue-700 shadow hover:shadow-lg">
<i class="fab fa-paypal"></i>
</a>
</div>
How to create a Form Floating with Tailwind CSS?
There are several ways to create a Form Floating UI component with Tailwind CSS. Here are six different approaches:
1. Using the fixed class
One way to create a Form Floating UI component is to use the fixed class. The fixed class makes an element fixed in position on the screen. Here's an example:
<div class="fixed bottom-0 right-0">
  <!-- Form goes here -->
</div>
2. Using the absolute class
Another way to create a Form Floating UI component is to use the absolute class. The absolute class positions an element relative to its nearest positioned ancestor. Here's an example:
<div class="absolute bottom-0 right-0">
  <!-- Form goes here -->
</div>
3. Using the sticky class
The sticky class is another way to create a Form Floating UI component. The sticky class makes an element stick to the top or bottom of the screen when the user scrolls. Here's an example:
<div class="sticky bottom-0 right-0">
  <!-- Form goes here -->
</div>
4. Using the transform class
The transform class can also be used to create a Form Floating UI component. The transform class can be used to move an element in any direction. Here's an example:
<div class="transform translate-x-full translate-y-full">
  <!-- Form goes here -->
</div>
5. Using the z-index class
The z-index class can be used to create a Form Floating UI component. The z-index class sets the z-order of an element. Here's an example:
<div class="z-50">
  <!-- Form goes here -->
</div>
6. Using the transition class
The transition class can be used to create a Form Floating UI component with animation. The transition class adds a transition effect to an element. Here's an example:
<div class="transition-all duration-500 ease-in-out">
  <!-- Form goes here -->
</div>
Conclusion
In this article, we've explored six different ways to create a Form Floating UI component with Tailwind CSS. Tailwind CSS provides a set of pre-defined classes that can be used to create custom designs quickly and easily. By using Tailwind CSS, developers can save time and effort and focus on building great web applications.