- Published on
Create A Bubbles With Tailwind CSS Like A Pro With The Help Of These 6 Tips
- What is Tailwind CSS?
- The description of Bubbles ui component
- Why use Tailwind CSS to create a Bubbles ui component?
- The preview of Bubbles ui component
- The source code of Bubbles ui component
- How to create a Bubbles with Tailwind CSS?
- Step 1: Set up your HTML
- Step 2: Style the Bubbles container
- Step 3: Style the Bubbles
- Step 4: Style the tail
- Conclusion
What is Tailwind CSS?
Tailwind CSS is a utility-first CSS framework that allows you to create custom designs quickly and easily. It provides a set of pre-defined classes that you can use to style your HTML elements. With Tailwind CSS, you can create beautiful and responsive designs without writing a single line of CSS.
The description of Bubbles ui component
Bubbles are a common UI component used in messaging applications. They are used to display messages in a conversational format. Bubbles are usually rounded rectangles with a tail pointing to the sender. They are a great way to visually distinguish between different messages and make the conversation more engaging.
Why use Tailwind CSS to create a Bubbles ui component?
Tailwind CSS provides a set of pre-defined classes that you can use to create a Bubbles ui component quickly and easily. You don't need to write any custom CSS, which saves you time and effort. Additionally, Tailwind CSS is highly customizable, so you can easily tweak the styles to match your design requirements.
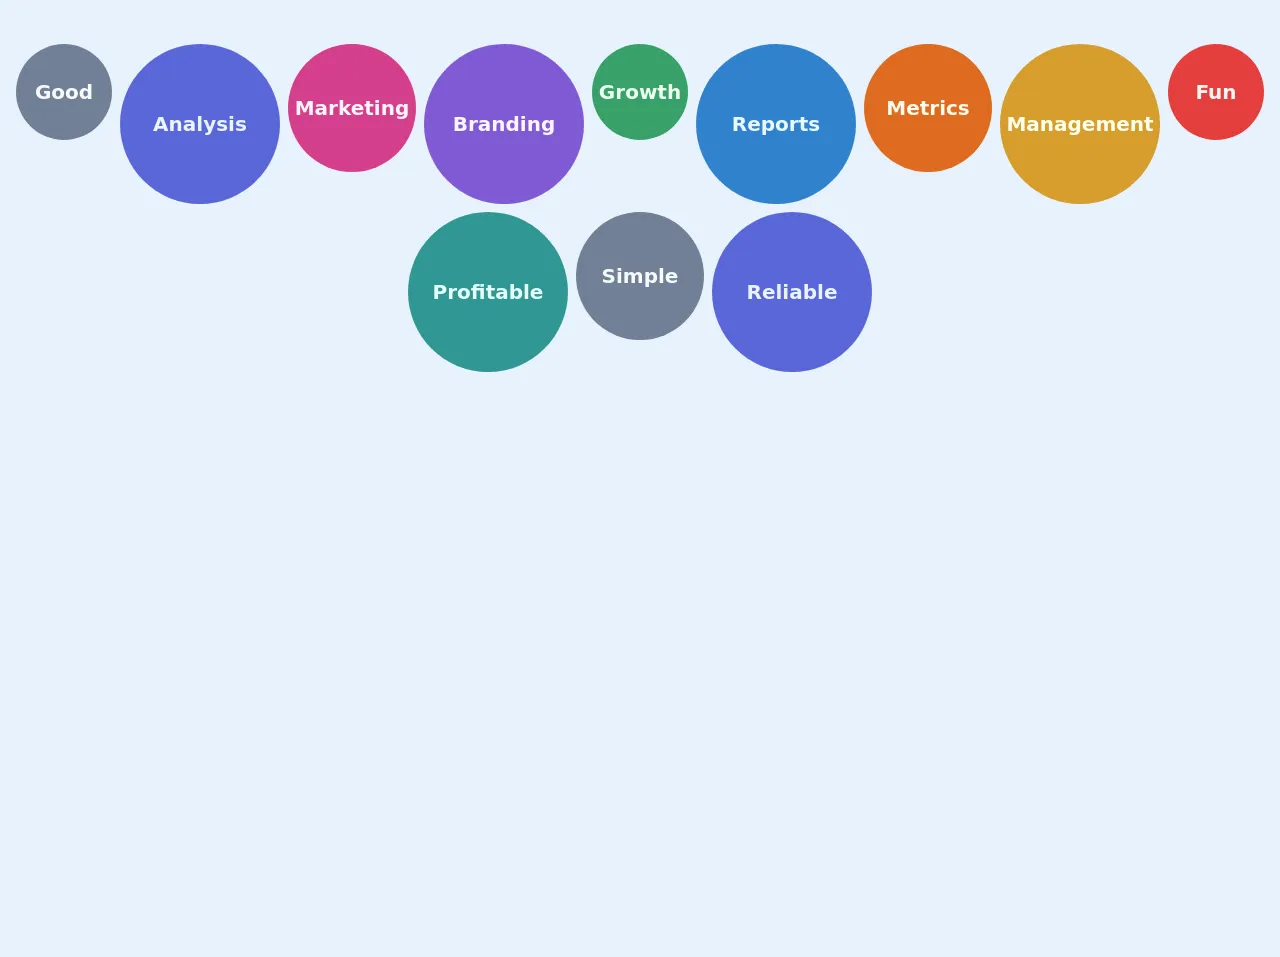
The preview of Bubbles ui component
To create a Bubbles ui component with Tailwind CSS, you need to use a combination of classes to style the bubble and the tail. Here's a preview of what the final Bubbles ui component will look like:
Free download of the Bubbles's source code
The source code of Bubbles ui component
To create a Bubbles ui component with Tailwind CSS, you need to use a combination of classes to style the bubble and the tail. Here's the source code for the Bubbles ui component:
<div class=" mt-10 flex flex-row justify-center items-start flex-wrap min-w-full">
    <div class="rounded-full p-2 m-1 bg-gray-600 text-gray-100  w-24 h-24 flex items-center justify-center text-xl font-bold">Good </div>
    <div class="rounded-full p-2 m-1 bg-indigo-600 text-indigo-100  w-40 h-40 flex items-center justify-center text-xl font-bold">Analysis </div>
    <div class="rounded-full p-2 m-1 bg-pink-600 text-pink-100  w-32 h-32 flex items-center justify-center text-xl font-bold">Marketing </div>
    <div class="rounded-full p-2 m-1 bg-purple-600 text-purple-100  w-40 h-40 flex items-center justify-center text-xl font-bold">Branding </div>
    <div class="rounded-full p-2 m-1 bg-green-600 text-green-100  w-24 h-24 flex items-center justify-center text-xl font-bold">Growth </div>
    <div class="rounded-full p-2 m-1 bg-blue-600 text-blue-100  w-40 h-40 flex items-center justify-center text-xl font-bold">Reports </div>
    <div class="rounded-full p-2 m-1 bg-orange-600 text-orange-100  w-32 h-32 flex items-center justify-center text-xl font-bold">Metrics </div>
    <div class="rounded-full p-2 m-1 bg-yellow-600 text-yellow-100  w-40 h-40 flex items-center justify-center text-xl font-bold">Management </div>
    <div class="rounded-full p-2 m-1 bg-red-600 text-red-100  w-24 h-24 flex items-center justify-center text-xl font-bold">Fun </div>
    <div class="rounded-full p-2 m-1 bg-teal-600 text-teal-100  w-40 h-40 flex items-center justify-center text-xl font-bold">Profitable </div>
    <div class="rounded-full p-2 m-1 bg-gray-600 text-gray-100  w-32 h-32 flex items-center justify-center text-xl font-bold">Simple </div>
    <div class="rounded-full p-2 m-1 bg-indigo-600 text-indigo-100  w-40 h-40 flex items-center justify-center text-xl font-bold">Reliable </div>
</div>
How to create a Bubbles with Tailwind CSS?
Now that you have an idea of what the final Bubbles ui component will look like and the source code, let's dive into the steps to create a Bubbles with Tailwind CSS.
Step 1: Set up your HTML
The first step is to set up your HTML structure. You need to create a container element for the Bubbles and a child element for each message. Here's an example:
<div class="bubbles-container">
  <div class="bubble">Hello, how are you?</div>
  <div class="bubble bubble-right">I'm good, thanks for asking!</div>
</div>
Step 2: Style the Bubbles container
The next step is to style the Bubbles container. You can use the flex and flex-col classes to create a column layout for the Bubbles. Additionally, you can use the gap class to add some spacing between the Bubbles. Here's an example:
.bubbles-container {
  display: flex;
  flex-direction: column;
  gap: 10px;
}
Step 3: Style the Bubbles
The next step is to style the Bubbles themselves. You can use the rounded-lg class to create rounded corners for the Bubbles. Additionally, you can use the bg-blue-500 class to set the background color of the Bubbles to blue. Here's an example:
.bubble {
  padding: 10px;
  border-radius: 20px;
  max-width: 80%;
  color: white;
}

.bubble-right {
  align-self: flex-end;
  background-color: #4caf50;
}
Step 4: Style the tail
The final step is to add the tail to the Bubbles. You can use the after pseudo-element to create the tail. Additionally, you can use the border and transform properties to create the triangular shape of the tail. Here's an example:
.bubble:after {
  content: "";
  position: absolute;
  right: -20px;
  top: 50%;
  border: 20px solid transparent;
  border-left-color: #3b82f6;
  transform: translateY(-50%);
}

.bubble-right:after {
  content: "";
  position: absolute;
  left: -20px;
  top: 50%;
  border: 20px solid transparent;
  border-right-color: #4caf50;
  transform: translateY(-50%);
}
Conclusion
Creating a Bubbles ui component with Tailwind CSS is easy and straightforward. By using a combination of pre-defined classes, you can create a beautiful and responsive design without writing any custom CSS. With these 6 tips, you can create a Bubbles ui component like a pro.