- Published on
Create A Username Checker With Tailwind CSS Like A Pro With The Help Of These 6 Tips
- What is Tailwind CSS?
- The description of Username Checker UI component
- Why use Tailwind CSS to create a Username Checker UI component?
- The preview of Username Checker UI component
- The source code of Username Checker UI component
- How to create a Username Checker with Tailwind CSS?
- Step 1: Set up your HTML
- Step 2: Add JavaScript code
- Step 3: Style your UI component
- Conclusion
As a FrontEnd technology blogger, it's essential to stay up-to-date with the latest trends and techniques in web development. One of the most popular CSS frameworks today is Tailwind CSS. It's a utility-first CSS framework that allows developers to create beautiful and responsive UI components quickly. In this article, we'll show you how to create a Username Checker UI component with Tailwind CSS.
What is Tailwind CSS?
Tailwind CSS is a utility-first CSS framework that provides a set of pre-defined CSS classes that you can use to style your HTML elements. It's different from other CSS frameworks as it doesn't provide pre-designed UI components. Instead, it gives you the building blocks to create your own custom UI components.
The description of Username Checker UI component
A Username Checker UI component is a simple form that allows users to check if a username is available or not. It's a common UI component used in many web applications, including social media platforms, online marketplaces, and more.
Why use Tailwind CSS to create a Username Checker UI component?
Tailwind CSS is an excellent choice for creating a Username Checker UI component for several reasons:
Tailwind CSS provides a set of pre-defined utility classes that make it easy to style your UI components quickly.
Tailwind CSS is highly customizable, allowing you to create unique and beautiful UI components that match your brand's style.
Tailwind CSS is lightweight, which means your web pages will load faster.
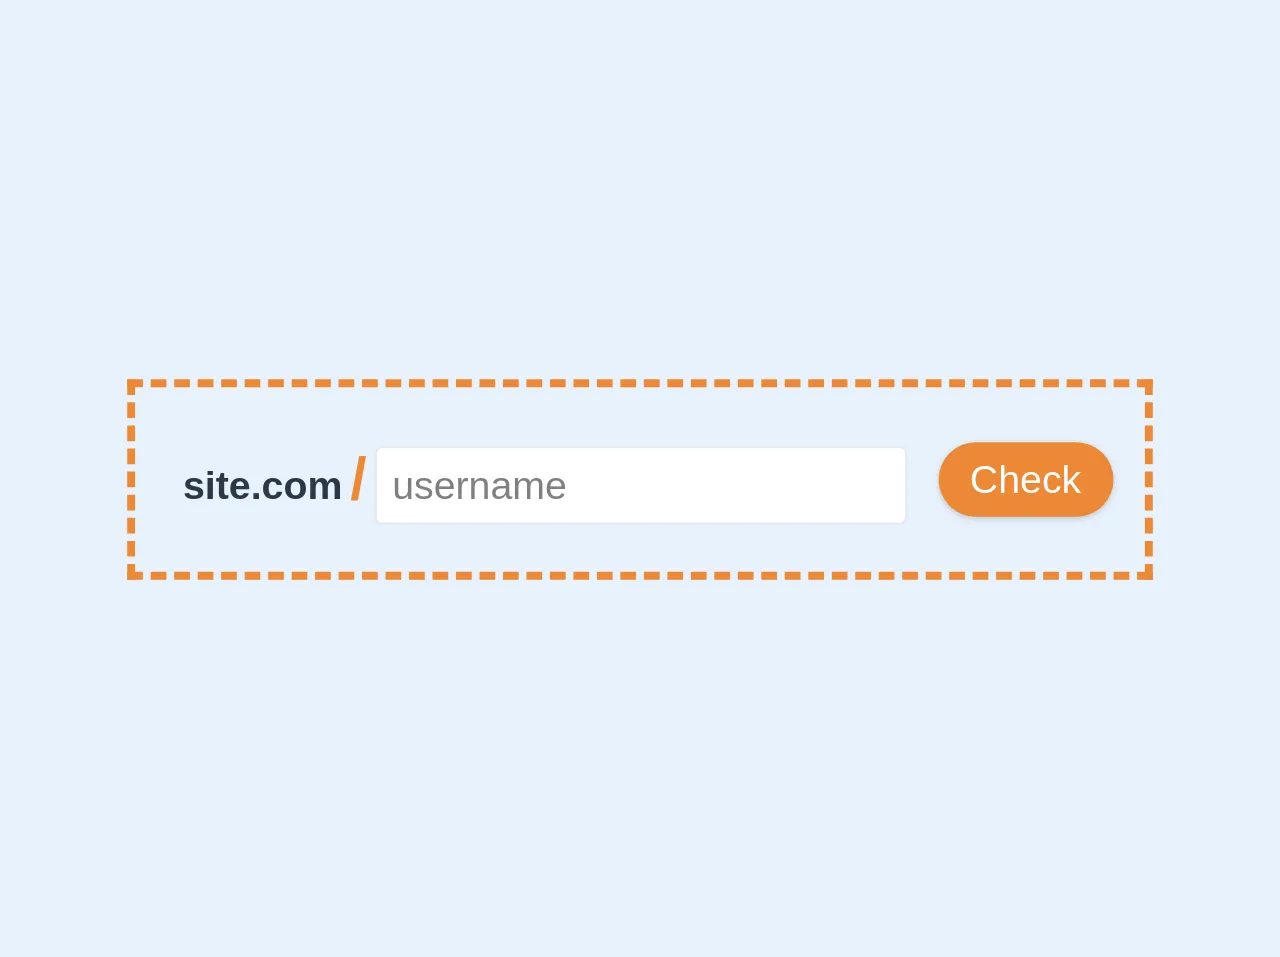
The preview of Username Checker UI component
To create a Username Checker UI component with Tailwind CSS, we'll use a simple form that consists of an input field and a button. When the user enters a username and clicks the button, the component will check if the username is available or not.
Free download of the Username Checker's source code
The source code of Username Checker UI component
To create a Username Checker UI component with Tailwind CSS, you'll need to write some HTML and CSS code. Here's an example of how you can create a Username Checker UI component:
<div class="lg:flex md:flex text-xl justify-center items-center border-4 border-dashed mx-auto border-orange-500 max-w-2xl py-4 px-4">

		<div class="font-semibold p-2"><span class="text-gray-800">site.com</span><span class="text-orange-500 mx-1 text-3xl">/</span><input type="text" class="focus:outline-none border rounded px-2 py-1" placeholder="username"></div>
		<button class="px-4 py-1 rounded-full focus:outline-none bg-orange-500 text-white shadow ml-2">Check</button>

		</div>
How to create a Username Checker with Tailwind CSS?
Now that we've seen the preview and source code of the Username Checker UI component let's dive into the steps required to create it.
Step 1: Set up your HTML
The first step is to set up your HTML code. Here's an example of what your HTML code should look like:
<form class="bg-white shadow-md rounded px-8 pt-6 pb-8 mb-4">
  <div class="mb-4">
    <label class="block text-gray-700 font-bold mb-2" for="username">
      Username
    </label>
    <input
      class="shadow appearance-none border rounded w-full py-2 px-3 text-gray-700 leading-tight focus:outline-none focus:shadow-outline"
      id="username"
      type="text"
      placeholder="Enter username"
    />
  </div>
  <div class="flex items-center justify-between">
    <button
      class="bg-blue-500 hover:bg-blue-700 text-white font-bold py-2 px-4 rounded focus:outline-none focus:shadow-outline"
      type="button"
    >
      Check Availability
    </button>
  </div>
</form>
In this code, we've used Tailwind CSS classes to style our form, input field, and button.
Step 2: Add JavaScript code
The next step is to add JavaScript code to check if the entered username is available or not. Here's an example of what your JavaScript code should look like:
const button = document.querySelector('button');
const input = document.querySelector('input');

button.addEventListener('click', () => {
  const username = input.value;
  // Check if the username is available
  // Display a message to the user
});
In this code, we've added an event listener to the button that checks if the entered username is available or not.
Step 3: Style your UI component
The final step is to style your UI component to match your brand's style. You can use Tailwind CSS classes to customize the colors, fonts, and other visual elements of your UI component.
Conclusion
In this article, we've shown you how to create a Username Checker UI component with Tailwind CSS. We've discussed why Tailwind CSS is an excellent choice for creating UI components and provided a preview and source code of the component. We've also outlined the steps required to create the component and customize it to match your brand's style. With these tips, you can create beautiful and responsive UI components like a pro with Tailwind CSS.