- Published on
How To Build A user list With Tailwind CSS In 5 Easy Steps
- What is Tailwind CSS?
- The Description of User List UI Component
- Why Use Tailwind CSS to Create a User List UI Component?
- The Preview of User List UI Component
- The Source Code of User List UI Component
- How to Create a User List with Tailwind CSS?
- Step 1: Set up the HTML structure
- Step 2: Add the Tailwind CSS classes
- Step 3: Add the user profile picture
- Step 4: Add the user name and other information
- Step 5: Repeat for each user
- Conclusion
As a FrontEnd technology blogger, it is important to stay up-to-date with the latest tools and techniques. One such tool that has gained popularity in recent years is Tailwind CSS. In this article, we will explore how to build a user list with Tailwind CSS in 5 easy steps.
What is Tailwind CSS?
Tailwind CSS is a utility-first CSS framework that allows developers to quickly build custom user interfaces. It provides a set of pre-defined classes that can be used to style HTML elements without writing any custom CSS code.
The Description of User List UI Component
A user list is a common UI component that is used in many web applications. It displays a list of users along with their profile pictures, names, and other relevant information. The user list can be used in various contexts, such as a social media platform, a team collaboration tool, or an e-commerce website.
Why Use Tailwind CSS to Create a User List UI Component?
Tailwind CSS provides a set of pre-defined classes that can be used to quickly style HTML elements. This makes it easy to create a user list UI component without writing any custom CSS code. Additionally, Tailwind CSS is highly customizable, which means that developers can easily modify the styles to match their design requirements.
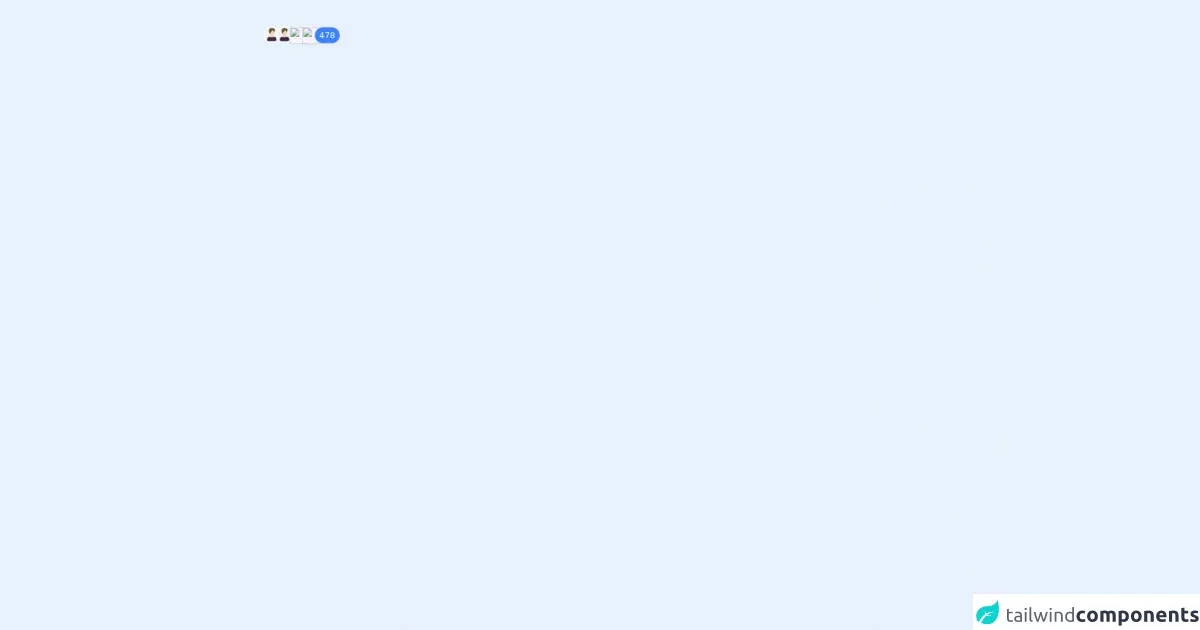
The Preview of User List UI Component
To create a user list UI component with Tailwind CSS, we will use a combination of HTML and CSS code. The final result will look something like this:
Free download of the user list's source code
The Source Code of User List UI Component
To create the user list UI component, we will use the following HTML and CSS code:
<div>
    <div class="mb-10 relative">
        <img src="https://encrypted-tbn0.gstatic.com/images?q=tbn:ANd9GcQMG3yglIzWddpd0S2Gy_d6O69vNxvV-dA41A&usqp=CAU'" class="w-8 h-8 rounded-full border-2 border-white bg-[#f6efff] hover:border-blue-500 float-left absolute">
        <img src="https://encrypted-tbn0.gstatic.com/images?q=tbn:ANd9GcQMG3yglIzWddpd0S2Gy_d6O69vNxvV-dA41A&usqp=CAU" class="w-8 h-8 rounded-full border-2 border-white bg-[#f6efff] hover:border-blue-500 float-left absolute left-[24px]">
        <img src="https://w7.pngwing.com/pngs/246/366/png-transparent-computer-icons-avatar-user-profile-man-avatars-logo-monochrome-black-thumbnail.png" class="w-8 h-8 rounded-full hover:border-blue-500 border-2 border-white bg-[#f6efff] float-left absolute left-[48px]">
        <img src="https://w7.pngwing.com/pngs/246/366/png-transparent-computer-icons-avatar-user-profile-man-avatars-logo-monochrome-black-thumbnail.png" class="w-8 h-8 rounded-full hover:border-blue-500 border-2 border-white bg-[#f6efff] float-left absolute left-[72px]">
        <button class="min-w-8 bg-blue-500 text-white rounded-full border-2 float-left absolute left-[96px] py-[3px] px-2">478</button>
    </div>
  </div>
How to Create a User List with Tailwind CSS?
Now that we have a basic understanding of Tailwind CSS and the user list UI component, let's dive into the steps required to create it.
Step 1: Set up the HTML structure
The first step is to set up the HTML structure for the user list. We will use an unordered list (<ul>) to display the list of users. Each user will be represented by a list item (<li>), which will contain their profile picture, name, and other relevant information.
Step 2: Add the Tailwind CSS classes
Next, we will add the Tailwind CSS classes to style the user list. We will use classes such as flex, items-center, gap-4, and text-gray-700 to align the user information and add spacing between the elements.
Step 3: Add the user profile picture
To add the user profile picture, we will use the rounded-full and h-8 w-8 classes to create a circular image with a height and width of 8 pixels.
Step 4: Add the user name and other information
Next, we will add the user name and other relevant information. We will use classes such as font-medium and text-sm to style the text.
Step 5: Repeat for each user
Finally, we will repeat the above steps for each user in the list. This can be done by using a loop in a server-side language such as PHP or by manually adding the HTML code for each user.
Conclusion
In this article, we have explored how to build a user list with Tailwind CSS in 5 easy steps. Tailwind CSS provides a set of pre-defined classes that can be used to quickly style HTML elements, making it easy to create custom UI components such as the user list. By following the steps outlined in this article, you can create a user list that is both functional and visually appealing.