- Published on
Practical Guide: Create A Terminal (KDE Plasma) With Tailwind CSS
- What is Tailwind CSS?
- The description of Terminal (KDE Plasma) UI component
- Why use Tailwind CSS to create a Terminal (KDE Plasma) UI component?
- The preview of Terminal (KDE Plasma) UI component
- The source code of Terminal (KDE Plasma) UI component
- How to create a Terminal (KDE Plasma) with Tailwind CSS?
- Conclusion
As a FrontEnd technology blogger, it's important to stay up to date with the latest trends and tools in web development. One such tool that has gained popularity in recent years is Tailwind CSS. In this article, we will explore how to create a Terminal (KDE Plasma) UI component using Tailwind CSS.
What is Tailwind CSS?
Tailwind CSS is a utility-first CSS framework that provides a set of pre-defined CSS classes to quickly style your HTML elements. It allows you to create custom designs without writing any CSS code. With Tailwind CSS, you can easily create responsive and mobile-first designs.
The description of Terminal (KDE Plasma) UI component
A Terminal (KDE Plasma) is a user interface component that provides a command-line interface to interact with the operating system. It is commonly used in Linux-based operating systems like KDE Plasma. The Terminal (KDE Plasma) UI component consists of a text area where the user can enter commands, and a console that displays the output of those commands.
Why use Tailwind CSS to create a Terminal (KDE Plasma) UI component?
Tailwind CSS provides a set of pre-defined CSS classes that can be used to quickly style the Terminal (KDE Plasma) UI component. This saves time and effort in writing custom CSS code. Additionally, Tailwind CSS provides responsive design classes, which makes it easy to create a mobile-first design for the Terminal (KDE Plasma) UI component.
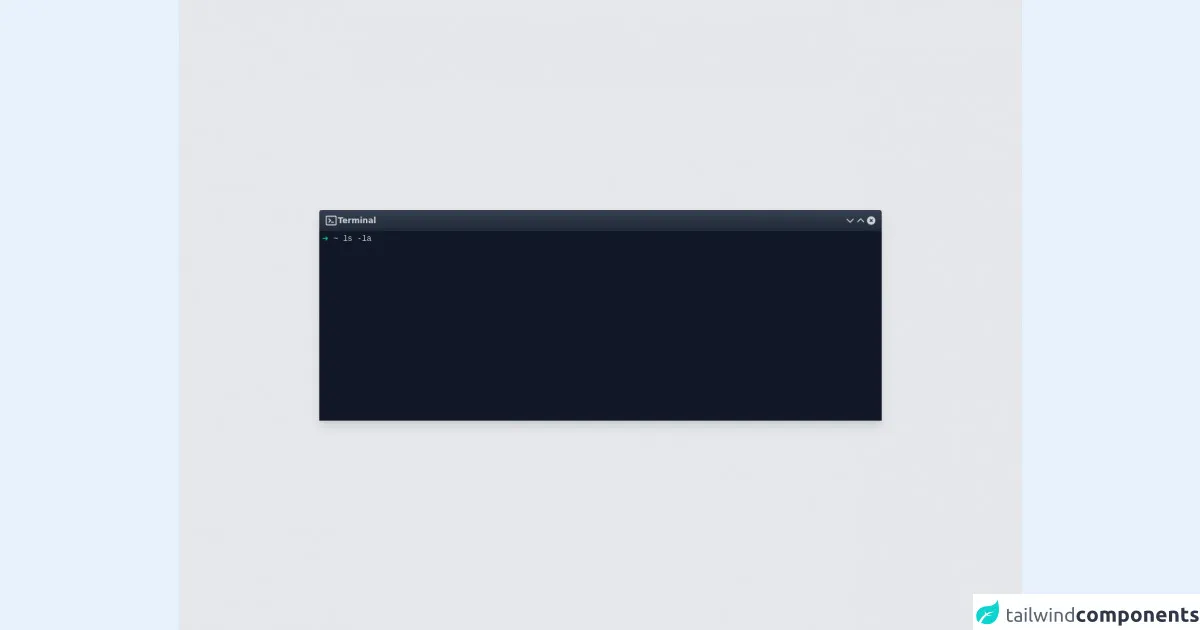
The preview of Terminal (KDE Plasma) UI component
To create a Terminal (KDE Plasma) UI component using Tailwind CSS, we will use the following HTML structure:
<div class="terminal">
  <div class="console">
    <p>Welcome to Terminal</p>
  </div>
  <div class="input">
    <span>$</span>
    <input type="text" placeholder="Enter command here">
  </div>
</div>
Free download of the Terminal (KDE Plasma)'s source code
The source code of Terminal (KDE Plasma) UI component
To create the Terminal (KDE Plasma) UI component using Tailwind CSS, we will use the following CSS code:
.terminal {
  background-color: #1a1a1a;
  color: #fff;
  font-family: 'Courier New', Courier, monospace;
  height: 400px;
  width: 600px;
  margin: 0 auto;
}

.console {
  height: 80%;
  overflow-y: scroll;
  padding: 10px;
}

.input {
  display: flex;
  align-items: center;
  height: 20%;
  padding: 10px;
}

.input span {
  color: #fff;
  font-weight: bold;
  margin-right: 10px;
}

.input input {
  background-color: transparent;
  border: none;
  color: #fff;
  font-size: 16px;
  width: 100%;
}

/* Tailwind CSS classes */
.bg-gray-900 {
  background-color: #1a1a1a;
}

.text-white {
  color: #fff;
}

.font-mono {
  font-family: 'Courier New', Courier, monospace;
}

.h-3\\/4 {
  height: 75%;
}

.h-1\\/4 {
  height: 25%;
}

.flex {
  display: flex;
}

.items-center {
  align-items: center;
}

.p-4 {
  padding: 1rem;
}

.text-xl {
  font-size: 1.25rem;
  font-weight: 700;
}
<div class="h-screen bg-gray-200 flex justify-center items-center">
  <div class="w-2/3 text-gray-300 rounded-t shadow-lg overflow-hidden text-xs">
    <div class="h-8 flex items-center p-2 justify-between bg-gradient-to-b from-gray-700 to-gray-800">
      <div class="flex items-center gap-1">
        <svg class="w-5 h-5 cursor-pointer" fill="none" stroke="currentColor" viewBox="0 0 24 24" xmlns="http://www.w3.org/2000/svg"><path stroke-linecap="round" stroke-linejoin="round" stroke-width="2" d="M8 9l3 3-3 3m5 0h3M5 20h14a2 2 0 002-2V6a2 2 0 00-2-2H5a2 2 0 00-2 2v12a2 2 0 002 2z"></path></svg>
        <span class="font-bold select-none">Terminal</span>
      </div>
      <div class="flex items-center gap-1">
        <svg class="w-4 h-4 cursor-pointer hover:text-red-400" fill="none" stroke="currentColor" viewBox="0 0 24 24" xmlns="http://www.w3.org/2000/svg"><path stroke-linecap="round" stroke-linejoin="round" stroke-width="2" d="M19 9l-7 7-7-7"></path></svg>
        <svg class="w-4 h-4 cursor-pointer hover:text-red-400" fill="none" stroke="currentColor" viewBox="0 0 24 24" xmlns="http://www.w3.org/2000/svg"><path stroke-linecap="round" stroke-linejoin="round" stroke-width="2" d="M5 15l7-7 7 7"></path></svg>
        <svg class="w-4 h-4 cursor-pointer hover:text-red-400" fill="currentColor" viewBox="0 0 20 20" xmlns="http://www.w3.org/2000/svg"><path fill-rule="evenodd" d="M10 18a8 8 0 100-16 8 8 0 000 16zM8.707 7.293a1 1 0 00-1.414 1.414L8.586 10l-1.293 1.293a1 1 0 101.414 1.414L10 11.414l1.293 1.293a1 1 0 001.414-1.414L11.414 10l1.293-1.293a1 1 0 00-1.414-1.414L10 8.586 8.707 7.293z" clip-rule="evenodd"></path></svg>
      </div>
    </div>
    <div class="h-72 p-1 bg-gray-900 font-mono">
      <span class="text-green-500">➜</span>
      <span class="text-cyan-500">~</span>
      <span>ls -la</span>
    </div>
  </div>
</div>
How to create a Terminal (KDE Plasma) with Tailwind CSS?
To create a Terminal (KDE Plasma) UI component with Tailwind CSS, follow these steps:
- Create a new HTML file and add the HTML structure mentioned above.
- Add the Tailwind CSS CDN to the
<head>section of your HTML file.
<head>
  <link href="https://cdn.jsdelivr.net/npm/[email protected]/dist/tailwind.min.css" rel="stylesheet">
</head>
- Add the CSS code mentioned above to your CSS file.
- Customize the Terminal (KDE Plasma) UI component by adding or removing Tailwind CSS classes.
- Save the files and open the HTML file in your browser to see the Terminal (KDE Plasma) UI component.
Conclusion
In this article, we have explored how to create a Terminal (KDE Plasma) UI component using Tailwind CSS. Tailwind CSS provides a set of pre-defined CSS classes that can be used to quickly style the Terminal (KDE Plasma) UI component. With Tailwind CSS, you can easily create responsive and mobile-first designs. I hope this practical guide has been helpful in creating your own Terminal (KDE Plasma) UI component.