- Published on
6 Critical Skills To Build A Tailwind File Upload With Tailwind CSS Remarkably Well

- What is Tailwind CSS?
- The description of Tailwind File Upload ui component
- Why use Tailwind CSS to create a Tailwind File Upload ui component?
- The preview of Tailwind File Upload ui component
- The source code of Tailwind File Upload ui component
- How to create a Tailwind File Upload with Tailwind CSS?
- 1. HTML
- 2. Tailwind CSS
- 3. Responsive Design
- 4. JavaScript
- 5. Server-side programming
- 6. Security
- Conclusion
If you are a FrontEnd developer, you have probably heard about Tailwind CSS. Tailwind CSS is a utility-first CSS framework that allows you to create responsive and customizable user interfaces quickly. In this article, we will discuss how to build a Tailwind File Upload with Tailwind CSS and highlight six critical skills to do it remarkably well.
What is Tailwind CSS?
Tailwind CSS is a utility-first CSS framework that provides pre-defined classes to style your HTML elements. It allows you to create responsive and customizable user interfaces quickly. Tailwind CSS has gained popularity among developers due to its flexibility and ease of use.
The description of Tailwind File Upload ui component
A file upload component is an essential part of any web application that allows users to upload files to the server. The Tailwind File Upload UI component is a customizable file upload component that you can use in your web application. It provides a user-friendly interface for users to select and upload files.
Why use Tailwind CSS to create a Tailwind File Upload ui component?
Tailwind CSS provides pre-defined classes that allow you to style your HTML elements quickly. It also provides a responsive design system that allows you to create a user-friendly interface for your web application. Using Tailwind CSS to create a Tailwind File Upload UI component will save you time and effort.
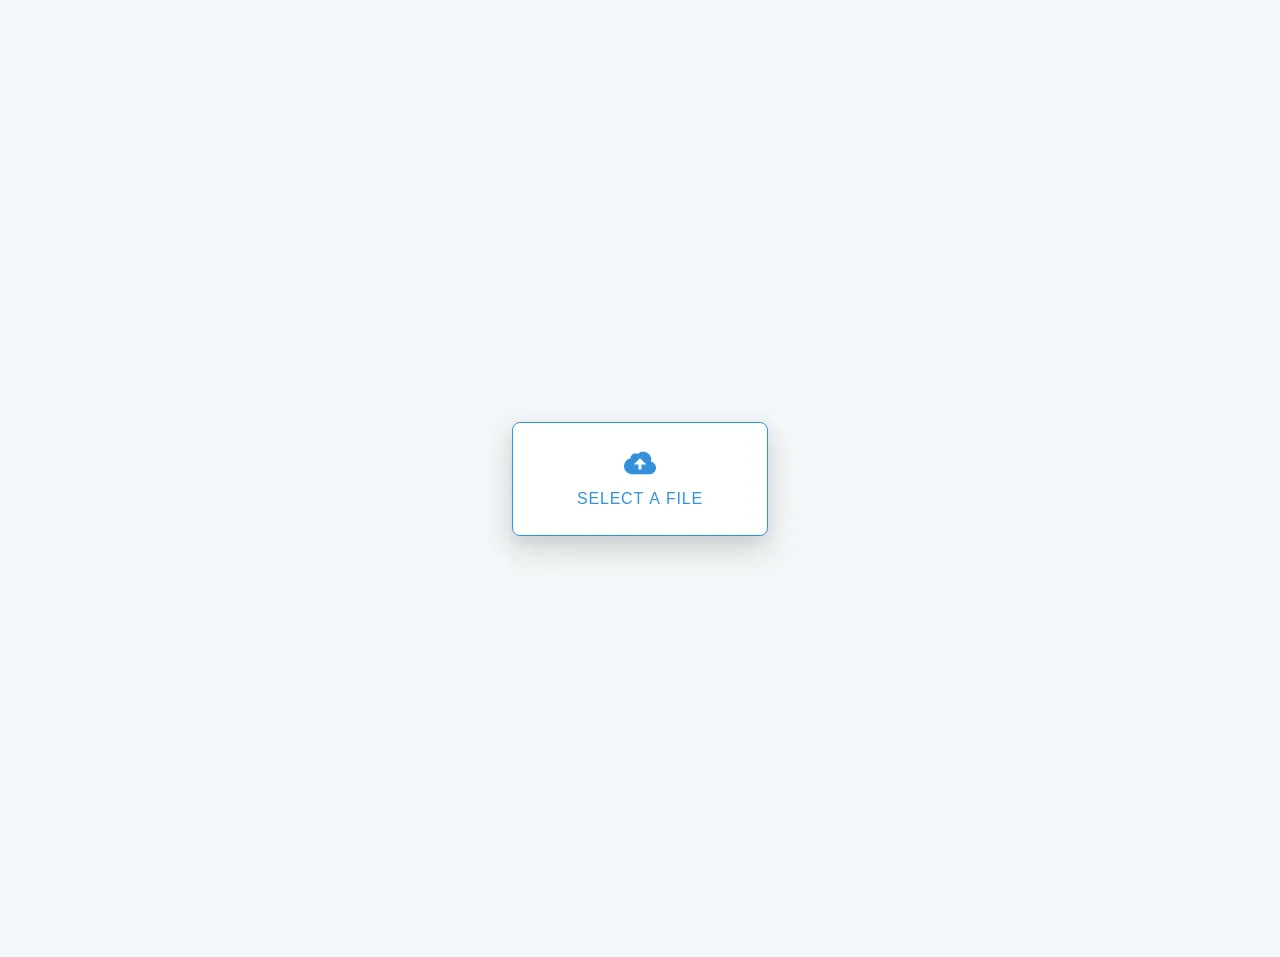
The preview of Tailwind File Upload ui component
To create a Tailwind File Upload UI component, we will use Tailwind CSS classes to style our HTML elements. The result will be a user-friendly interface that allows users to select and upload files.
Free download of the Tailwind File Upload's source code
The source code of Tailwind File Upload ui component
To create a Tailwind File Upload UI component, we will use HTML and Tailwind CSS classes. The HTML code will contain an input element with the type file and a label element. The label element will be styled using Tailwind CSS classes to provide a user-friendly interface.
<div class="flex w-full h-screen items-center justify-center bg-grey-lighter">
    <label class="w-64 flex flex-col items-center px-4 py-6 bg-white text-blue rounded-lg shadow-lg tracking-wide uppercase border border-blue cursor-pointer hover:bg-blue hover:text-white">
        <svg class="w-8 h-8" fill="currentColor" xmlns="http://www.w3.org/2000/svg" viewBox="0 0 20 20">
            <path d="M16.88 9.1A4 4 0 0 1 16 17H5a5 5 0 0 1-1-9.9V7a3 3 0 0 1 4.52-2.59A4.98 4.98 0 0 1 17 8c0 .38-.04.74-.12 1.1zM11 11h3l-4-4-4 4h3v3h2v-3z" />
        </svg>
        <span class="mt-2 text-base leading-normal">Select a file</span>
        <input type='file' class="hidden" />
    </label>
</div>
How to create a Tailwind File Upload with Tailwind CSS?
To create a Tailwind File Upload UI component with Tailwind CSS, you need to have the following skills:
1. HTML
You need to have a good understanding of HTML to create a Tailwind File Upload UI component. You should know how to create HTML elements and how to add attributes to them.
2. Tailwind CSS
You need to have a good understanding of Tailwind CSS to create a Tailwind File Upload UI component. You should know how to use Tailwind CSS classes to style your HTML elements.
3. Responsive Design
You need to have a good understanding of responsive design to create a user-friendly interface for your Tailwind File Upload UI component. You should know how to use Tailwind CSS classes to create a responsive design.
4. JavaScript
You need to have a good understanding of JavaScript to handle the file upload process. You should know how to use JavaScript to get the selected file and send it to the server.
5. Server-side programming
You need to have a good understanding of server-side programming to handle the file upload process on the server. You should know how to receive the file on the server and save it to the server.
6. Security
You need to have a good understanding of security to prevent malicious files from being uploaded to your server. You should know how to validate the file type and size on the client-side and server-side.
To create a Tailwind File Upload UI component, follow these steps:
- Create an HTML input element with the type file.
- Create a label element and associate it with the input element using the for attribute.
- Style the label element using Tailwind CSS classes to create a user-friendly interface.
- Add JavaScript code to handle the file upload process.
- Add server-side code to handle the file upload process on the server.
- Add security measures to prevent malicious files from being uploaded to your server.
Conclusion
In this article, we discussed how to build a Tailwind File Upload with Tailwind CSS. We highlighted six critical skills that you need to have to do it remarkably well. By using Tailwind CSS, you can create a user-friendly interface for your file upload component quickly. With the right skills, you can create a secure and efficient file upload component for your web application.