- Published on
6 Easy Ways To Make A Table List menu With Tailwind CSS
- What is Tailwind CSS?
- The description of Table List menu ui component
- Why use Tailwind CSS to create a Table List menu ui component?
- The preview of Table List menu ui component
- The source code of Table List menu ui component
- How to create a Table List menu with Tailwind CSS?
- Step 1: Set up your HTML structure
- Step 2: Style your Table List menu with Tailwind CSS
- Step 3: Add interactivity to your Table List menu
- Conclusion
As a FrontEnd technology blogger, I am always on the lookout for new and exciting ways to create user interfaces that are both functional and aesthetically pleasing. One of the latest trends in UI design is the Table List menu, which is a great way to display a lot of information in a compact and organized way. In this article, I will show you 6 easy ways to create a Table List menu with Tailwind CSS.
What is Tailwind CSS?
Tailwind CSS is a utility-first CSS framework that allows you to quickly and easily create custom designs without having to write any CSS code. It provides a set of pre-defined classes that you can use to style your HTML elements, making it easy to create complex layouts and designs.
The description of Table List menu ui component
A Table List menu is a UI component that displays a list of items in a table format, with each item represented by a row in the table. It is commonly used to display data that has multiple attributes or properties, such as a list of products or customers.
Why use Tailwind CSS to create a Table List menu ui component?
Tailwind CSS is a great choice for creating a Table List menu UI component because it provides a set of pre-defined classes that you can use to style your HTML elements. This makes it easy to create a consistent and professional-looking design without having to write any CSS code.
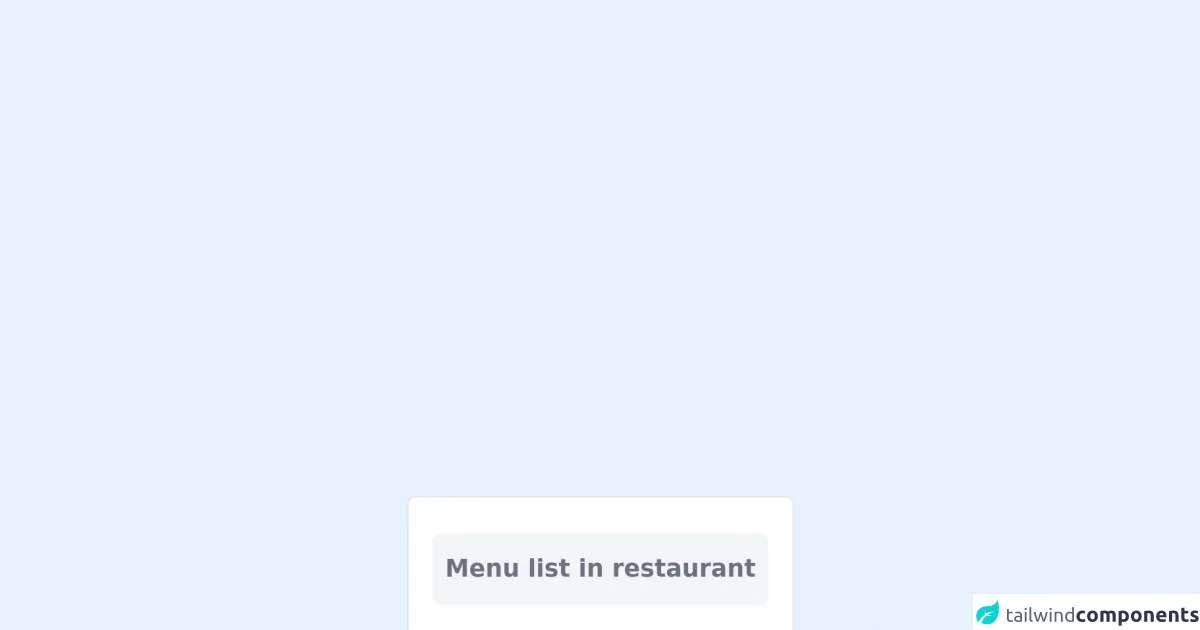
The preview of Table List menu ui component
Creating a Table List menu with Tailwind CSS is easy and straightforward. You can use a combination of HTML and Tailwind CSS classes to create a table that displays your data in a clean and organized way. Here is a preview of what your Table List menu might look like:
Free download of the Table List menu's source code
The source code of Table List menu ui component
To create a Table List menu with Tailwind CSS, you will need to use a combination of HTML and Tailwind CSS classes. Here is an example of what your code might look like:
<div class="border border-gray-200 rounded-md p-4 block bg-white">
    <div class="text-center text-gray-500 text-md font-semibold my-2 bg-gray-100 border-gray-200 py-3 rounded-md px-2">
        Menu list in restaurant
    </div>
    <div class="block">

        <div class="text-center py-1 border-b border-gray-100 truncate">
            <a href="#" class="cursor-pointer text-gray-500 text-sm hover:text-gray-700">
                Food Menu 1
            </a>
        </div>

        <div class="text-center py-1 border-b border-gray-100 truncate">
            <a href="#" class="cursor-pointer text-gray-500 text-sm hover:text-gray-700">
                Food Menu 2
            </a>
        </div>

        <div class="text-center py-1 border-b border-gray-100 truncate">
            <a href="#" class="cursor-pointer text-gray-500 text-sm hover:text-gray-700">
                Food Menu 3
            </a>
        </div>

        <div class="text-center py-1 border-b border-gray-100 truncate">
            <a href="#" class="cursor-pointer text-gray-500 text-sm hover:text-gray-700">
                Food Menu 4
            </a>
        </div>

        <div class="text-center py-1 border-b border-gray-100 truncate">
            <a href="#" class="cursor-pointer text-gray-500 text-sm hover:text-gray-700">
                Food Menu 5
            </a>
        </div>

        <div class="text-center py-1 border-b border-gray-100 truncate">
            <a href="#" class="cursor-pointer text-gray-500 text-sm hover:text-gray-700">
                Food Menu 6
            </a>
        </div>

    </div>
</div>
How to create a Table List menu with Tailwind CSS?
Now that you have seen a preview of what your Table List menu might look like and have an idea of what the source code might look like, let's dive into the steps to create a Table List menu with Tailwind CSS.
Step 1: Set up your HTML structure
The first step is to set up your HTML structure. You will need to create a table element and add a header row and a body section. Here is an example of what your HTML might look like:
<table class="table-auto">
  <thead>
    <tr>
      <th class="px-4 py-2">Name</th>
      <th class="px-4 py-2">Email</th>
      <th class="px-4 py-2">Phone</th>
    </tr>
  </thead>
  <tbody>
    <tr>
      <td class="border px-4 py-2">John Doe</td>
      <td class="border px-4 py-2">[email protected]</td>
      <td class="border px-4 py-2">555-555-5555</td>
    </tr>
    <tr>
      <td class="border px-4 py-2">Jane Smith</td>
      <td class="border px-4 py-2">[email protected]</td>
      <td class="border px-4 py-2">555-555-5555</td>
    </tr>
    <tr>
      <td class="border px-4 py-2">Bob Johnson</td>
      <td class="border px-4 py-2">[email protected]</td>
      <td class="border px-4 py-2">555-555-5555</td>
    </tr>
  </tbody>
</table>
Step 2: Style your Table List menu with Tailwind CSS
The next step is to style your Table List menu with Tailwind CSS classes. You can use a combination of classes to style your table, header row, and body section. Here is an example of what your CSS might look like:
.table-auto {
  width: auto;
  margin: 0 auto;
}

th,
td {
  text-align: left;
  font-weight: normal;
}

th {
  background-color: #f2f2f2;
}

tr:nth-child(even) {
  background-color: #f2f2f2;
}

td {
  border: 1px solid #ddd;
  padding: 8px;
}
Step 3: Add interactivity to your Table List menu
Finally, you can add interactivity to your Table List menu by using JavaScript or jQuery. For example, you can add a click event to each row that opens a modal with more information about the selected item.
Conclusion
In this article, we have explored 6 easy ways to create a Table List menu with Tailwind CSS. By using a combination of HTML and Tailwind CSS classes, you can create a clean and organized table that displays your data in a professional and visually appealing way. With the addition of interactivity, you can create a user-friendly experience that allows your users to easily access more information about each item in the list.