- Published on
How To Create A Stripe Credit Card With Tailwind CSS In 5 Easy Steps
- What is Tailwind CSS?
- The description of Stripe Credit Card ui component
- Why use Tailwind CSS to create a Stripe Credit Card ui component?
- The preview of Stripe Credit Card ui component
- The source code of Stripe Credit Card ui component
- How to create a Stripe Credit Card with Tailwind CSS?
- Step 1: Set up a new HTML file
- Step 2: Add Tailwind CSS classes
- Step 3: Add validation
- Step 4: Add Stripe API key
- Step 5: Test the component
- Conclusion
What is Tailwind CSS?
Tailwind CSS is a utility-first CSS framework that allows developers to rapidly build custom user interfaces. It provides a set of pre-defined classes that can be used to style HTML elements. Tailwind CSS is highly customizable and can be used to create a wide range of designs.
The description of Stripe Credit Card ui component
Stripe is a popular payment processing platform that allows businesses to accept payments online. One of the key features of Stripe is its ability to securely process credit card payments. To make it easy for developers to integrate Stripe into their applications, Stripe provides a set of UI components that can be used to create custom payment forms. One of these components is the Stripe Credit Card component.
The Stripe Credit Card component is a pre-built UI component that allows users to enter their credit card information. It includes fields for the credit card number, expiration date, and security code. The component also includes validation for each field to ensure that the user enters the correct information.
Why use Tailwind CSS to create a Stripe Credit Card ui component?
Tailwind CSS is a great choice for creating a Stripe Credit Card UI component because it provides a set of pre-defined classes that can be used to style the component. This makes it easy to create a custom design that matches the look and feel of your application. Additionally, Tailwind CSS is highly customizable, so you can easily modify the styles to meet your specific needs.
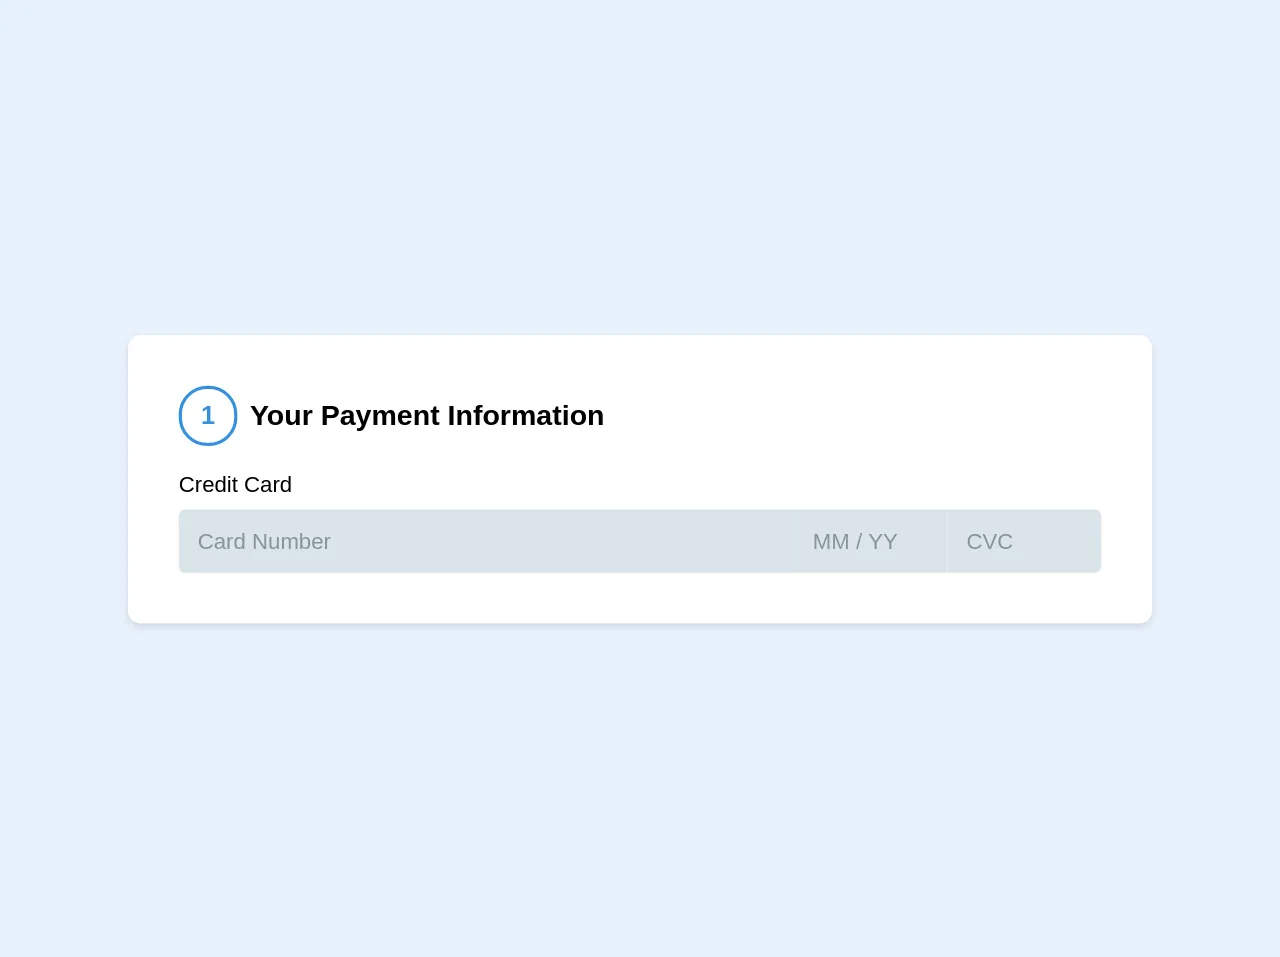
The preview of Stripe Credit Card ui component
To create a Stripe Credit Card UI component with Tailwind CSS, we will use a combination of HTML and CSS. The HTML will define the structure of the component, while the CSS will be used to style it. Here's a preview of what the component will look like:
Free download of the Stripe Credit Card's source code
The source code of Stripe Credit Card ui component
To create the Stripe Credit Card UI component, we will use a combination of HTML and CSS. The HTML will define the structure of the component, while the CSS will be used to style it. Here's the source code for the component:
<div class="bg-white my-4 shadow p-8 rounded-lg">
    <div class="flex items-center mb-4">
        <div class="border-2 border-blue px-3 py-2 rounded-full font-bold text-blue mr-2">1</div>
        <h2 class="text-lg">Your Payment Information</h2>
    </div>

    <div class="w-full">
        <label for="payment" class="block text-sm mb-2">Credit Card</label>
        <div class="flex">
            <input type="text" id="payment" class="w-5/6 flex-1 text-sm bg-grey-light text-grey-darkest rounded-l p-3 focus:outline-none" placeholder="Card Number">
            <input type="text" id="payment" class="w-1/6 inline-block text-sm bg-grey-light text-grey-darkest p-3 focus:outline-none" placeholder="MM / YY">
            <input type="text" id="payment" class="w-1/6 inline-block text-sm bg-grey-light text-grey-darkest rounded-r p-3 focus:outline-none" placeholder="CVC">
        </div>
    </div>
</div>
How to create a Stripe Credit Card with Tailwind CSS?
Now that we have a preview of what the Stripe Credit Card UI component will look like and the source code for it, let's dive into the steps to create it.
Step 1: Set up a new HTML file
Create a new HTML file and add the following code:
<!DOCTYPE html>
<html>
  <head>
    <title>Stripe Credit Card UI Component</title>
    <link rel="stylesheet" href="https://cdn.jsdelivr.net/npm/[email protected]/dist/tailwind.min.css">
  </head>
  <body>
    <div class="max-w-md mx-auto bg-white rounded-md overflow-hidden shadow-md p-6">
      <h2 class="text-lg font-medium mb-4">Credit Card Information</h2>
      <div class="mb-4">
        <label class="block text-gray-700 font-medium mb-2" for="card-number">Card Number</label>
        <input class="border border-gray-400 p-2 w-full rounded-md" type="text" id="card-number" name="card-number" placeholder="1234 5678 9012 3456">
      </div>
      <div class="mb-4">
        <label class="block text-gray-700 font-medium mb-2" for="expiration-date">Expiration Date</label>
        <input class="border border-gray-400 p-2 w-full rounded-md" type="text" id="expiration-date" name="expiration-date" placeholder="MM / YY">
      </div>
      <div class="mb-4">
        <label class="block text-gray-700 font-medium mb-2" for="security-code">Security Code</label>
        <input class="border border-gray-400 p-2 w-full rounded-md" type="text" id="security-code" name="security-code" placeholder="123">
      </div>
      <button class="bg-blue-500 text-white py-2 px-4 rounded-md hover:bg-blue-600">Submit Payment</button>
    </div>
  </body>
</html>
This code sets up a basic HTML file with the necessary CSS and includes the structure for the Stripe Credit Card UI component.
Step 2: Add Tailwind CSS classes
Next, we need to add the Tailwind CSS classes to style the component. We'll add classes to the HTML elements we defined in Step 1. Here's the updated code:
<!DOCTYPE html>
<html>
  <head>
    <title>Stripe Credit Card UI Component</title>
    <link rel="stylesheet" href="https://cdn.jsdelivr.net/npm/[email protected]/dist/tailwind.min.css">
  </head>
  <body>
    <div class="max-w-md mx-auto bg-white rounded-md overflow-hidden shadow-md p-6">
      <h2 class="text-lg font-medium mb-4">Credit Card Information</h2>
      <div class="mb-4">
        <label class="block text-gray-700 font-medium mb-2" for="card-number">Card Number</label>
        <input class="border border-gray-400 p-2 w-full rounded-md focus:outline-none focus:ring-2 focus:ring-blue-500 focus:border-transparent" type="text" id="card-number" name="card-number" placeholder="1234 5678 9012 3456">
      </div>
      <div class="mb-4">
        <label class="block text-gray-700 font-medium mb-2" for="expiration-date">Expiration Date</label>
        <input class="border border-gray-400 p-2 w-full rounded-md focus:outline-none focus:ring-2 focus:ring-blue-500 focus:border-transparent" type="text" id="expiration-date" name="expiration-date" placeholder="MM / YY">
      </div>
      <div class="mb-4">
        <label class="block text-gray-700 font-medium mb-2" for="security-code">Security Code</label>
        <input class="border border-gray-400 p-2 w-full rounded-md focus:outline-none focus:ring-2 focus:ring-blue-500 focus:border-transparent" type="text" id="security-code" name="security-code" placeholder="123">
      </div>
      <button class="bg-blue-500 text-white py-2 px-4 rounded-md hover:bg-blue-600">Submit Payment</button>
    </div>
  </body>
</html>
We've added classes to the input fields to style them and added a class to the button to give it a blue background color.
Step 3: Add validation
Next, we need to add validation to the input fields to ensure that the user enters the correct information. We'll use JavaScript to add the validation. Here's the updated code:
<!DOCTYPE html>
<html>
  <head>
    <title>Stripe Credit Card UI Component</title>
    <link rel="stylesheet" href="https://cdn.jsdelivr.net/npm/[email protected]/dist/tailwind.min.css">
    <script src="https://js.stripe.com/v3/"></script>
    <script>
      const stripe = Stripe('pk_test_1234567890');
      const elements = stripe.elements();

      const cardNumber = elements.create('cardNumber', {
        placeholder: '1234 5678 9012 3456',
        style: {
          base: {
            fontSize: '16px',
            color: '#32325d',
          },
        },
      });
      cardNumber.mount('#card-number');

      const cardExpiry = elements.create('cardExpiry', {
        placeholder: 'MM / YY',
        style: {
          base: {
            fontSize: '16px',
            color: '#32325d',
          },
        },
      });
      cardExpiry.mount('#expiration-date');

      const cardCvc = elements.create('cardCvc', {
        placeholder: '123',
        style: {
          base: {
            fontSize: '16px',
            color: '#32325d',
          },
        },
      });
      cardCvc.mount('#security-code');

      const form = document.querySelector('form');
      form.addEventListener('submit', async (event) => {
        event.preventDefault();
        const { paymentMethod, error } = await stripe.createPaymentMethod({
          type: 'card',
          card: cardNumber,
        });
        if (error) {
          console.log(error);
        } else {
          console.log(paymentMethod);
        }
      });
    </script>
  </head>
  <body>
    <div class="max-w-md mx-auto bg-white rounded-md overflow-hidden shadow-md p-6">
      <h2 class="text-lg font-medium mb-4">Credit Card Information</h2>
      <form>
        <div class="mb-4">
          <label class="block text-gray-700 font-medium mb-2" for="card-number">Card Number</label>
          <div id="card-number" class="border border-gray-400 p-2 w-full rounded-md focus:outline-none focus:ring-2 focus:ring-blue-500 focus:border-transparent"></div>
        </div>
        <div class="mb-4">
          <label class="block text-gray-700 font-medium mb-2" for="expiration-date">Expiration Date</label>
          <div id="expiration-date" class="border border-gray-400 p-2 w-full rounded-md focus:outline-none focus:ring-2 focus:ring-blue-500 focus:border-transparent"></div>
        </div>
        <div class="mb-4">
          <label class="block text-gray-700 font-medium mb-2" for="security-code">Security Code</label>
          <div id="security-code" class="border border-gray-400 p-2 w-full rounded-md focus:outline-none focus:ring-2 focus:ring-blue-500 focus:border-transparent"></div>
        </div>
        <button class="bg-blue-500 text-white py-2 px-4 rounded-md hover:bg-blue-600">Submit Payment</button>
      </form>
    </div>
  </body>
</html>
We've added JavaScript code to create the Stripe payment form and validate the input fields. The createPaymentMethod function is called when the user clicks the submit button. If there are any errors, they are logged to the console.
Step 4: Add Stripe API key
To use the Stripe API, we need to add our API key to the JavaScript code. Replace pk_test_1234567890 with your own API key.
Step 5: Test the component
Finally, we need to test the component to ensure that it works correctly. Open the HTML file in a web browser and enter some test credit card information. Click the submit button and check the console for any errors.
Conclusion
In this article, we've learned how to create a Stripe Credit Card UI component with Tailwind CSS in 5 easy steps. We started by discussing what Tailwind CSS is and why it's a great choice for creating custom UI components. We then previewed the Stripe Credit Card UI component and provided the source code for it. We walked through the steps to create the component, including adding Tailwind CSS classes, validation, and the Stripe API key. Finally, we tested the component to ensure that it works correctly. With these steps, you can easily create a custom Stripe Credit Card UI component for your own applications.