- Published on
6 Incredibly Easy Ways To Build A Section Hero Famms With Tailwind CSS Better While Spending Less
- What is Tailwind CSS?
- The description of Section Hero Famms ui component
- Why use Tailwind CSS to create a Section Hero Famms ui component?
- The preview of Section Hero Famms ui component
- The source code of Section Hero Famms ui component
- How to create a Section Hero Famms with Tailwind CSS?
- Step 1: Set up your HTML structure
- Step 2: Style your background
- Step 3: Style your content
- Step 4: Add responsive design
- Conclusion
As a FrontEnd technology blogger, you are always looking for ways to improve your skills and create better user interfaces. One of the tools that can help you achieve this is Tailwind CSS. In this article, we will explore how to use Tailwind CSS to build a Section Hero Famms, a popular UI component, in an easy and efficient way.
What is Tailwind CSS?
Tailwind CSS is a utility-first CSS framework that allows you to quickly and easily create custom user interfaces. It provides a set of pre-defined classes that you can use to style your HTML elements without having to write any CSS code. Tailwind CSS is highly customizable and can be adapted to suit your specific needs.
The description of Section Hero Famms ui component
A Section Hero Famms is a UI component that is commonly used on landing pages or homepages to showcase a product or service. It typically consists of a large image or video background, a heading, a subheading, and a call-to-action button. The purpose of a Section Hero Famms is to grab the user's attention and encourage them to take action.
Why use Tailwind CSS to create a Section Hero Famms ui component?
Tailwind CSS is an excellent choice for creating a Section Hero Famms because it allows you to quickly and easily style your HTML elements using pre-defined classes. This means that you don't have to spend a lot of time writing custom CSS code, which can save you time and effort. Additionally, Tailwind CSS is highly customizable, so you can easily adapt it to suit your specific needs.
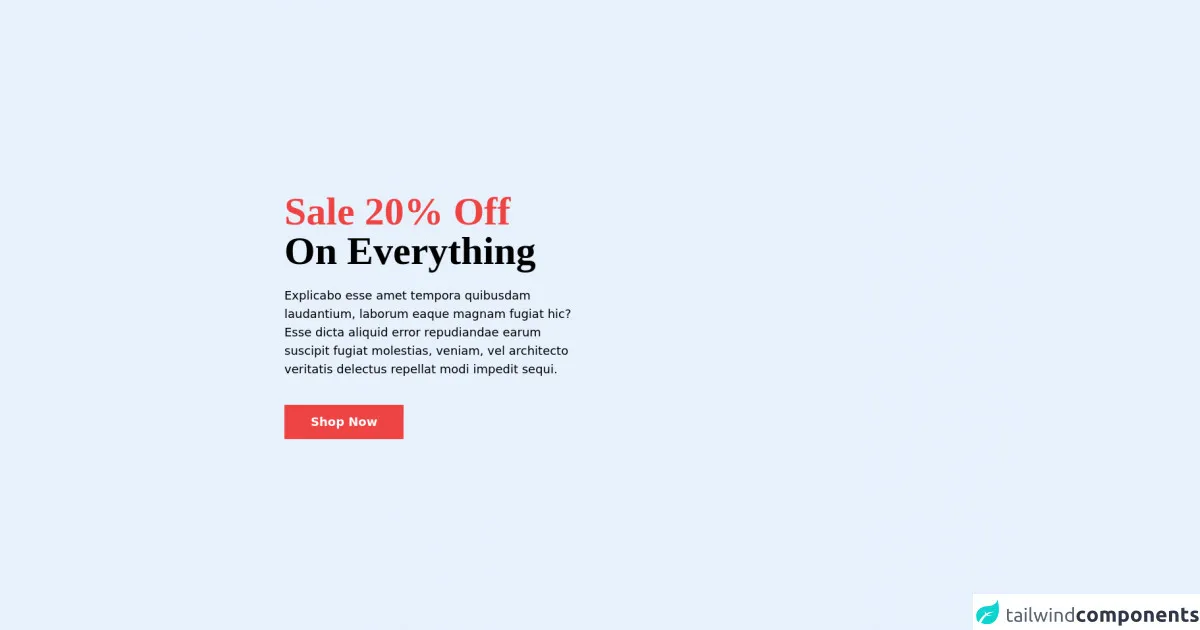
The preview of Section Hero Famms ui component
To give you an idea of what a Section Hero Famms looks like, here is a preview of one:
Free download of the Section Hero Famms's source code
The source code of Section Hero Famms ui component
If you're interested in seeing the source code for a Section Hero Famms, here is an example:
<!-- Hero Section -->
<section class="">
  <div class="bg-[url('https://i.imgur.com/jAXaawT.jpg')] h-screen bg-cover bg-center flex justify-items-center items-center">
    <div class="px-10 lg:px-32 xl:px-40">
      <h1 class="text-6xl font-semibold font-serif mb-6">
        <spian class="text-red-500">Sale 20% Off</spian> <br />
        <span>On Everything</span>
      </h1>
      <p class="text-lg max-w-md">Explicabo esse amet tempora quibusdam laudantium, laborum eaque magnam fugiat hic? Esse dicta aliquid error repudiandae earum suscipit fugiat molestias, veniam, vel architecto veritatis delectus repellat modi impedit sequi.</p>
      <button class="inline-block mt-10 px-10 py-3 bg-red-500 text-lg text-white font-semibold">Shop Now</button>
    </div>
  </div>
</section>
How to create a Section Hero Famms with Tailwind CSS?
Now that you have an understanding of what a Section Hero Famms is and why Tailwind CSS is a good choice for creating one, let's explore how to actually create it.
Step 1: Set up your HTML structure
The first step in creating a Section Hero Famms is to set up your HTML structure. You will need to create a container element that will hold your background image or video, as well as your heading, subheading, and call-to-action button. Here is an example of what your HTML structure might look like:
<div class="hero-section">
  <div class="hero-background"></div>
  <div class="hero-content">
    <h1 class="hero-heading">Welcome to my website</h1>
    <p class="hero-subheading">Lorem ipsum dolor sit amet, consectetur adipiscing elit. Sed do eiusmod tempor incididunt ut labore et dolore magna aliqua.</p>
    <button class="hero-button">Get started</button>
  </div>
</div>
Step 2: Style your background
The next step is to style your background. You can use an image or video as your background, depending on your preference. To add a background image, you can use the bg-[image-name] class, where [image-name] is the name of your image file. For example:
<div class="hero-background bg-cover bg-center" style="background-image: url('my-background-image.jpg')"></div>
To add a background video, you can use the bg-video class and add your video file as the src attribute:
<div class="hero-background bg-video">
  <video autoplay loop muted>
    <source src="my-background-video.mp4" type="video/mp4">
  </video>
</div>
Step 3: Style your content
The next step is to style your content. You can use the pre-defined classes provided by Tailwind CSS to style your heading, subheading, and call-to-action button. For example:
<h1 class="hero-heading text-4xl font-bold text-white">Welcome to my website</h1>
<p class="hero-subheading text-lg text-white">Lorem ipsum dolor sit amet, consectetur adipiscing elit. Sed do eiusmod tempor incididunt ut labore et dolore magna aliqua.</p>
<button class="hero-button bg-blue-500 hover:bg-blue-700 text-white font-bold py-2 px-4 rounded">Get started</button>
Step 4: Add responsive design
Finally, you can add responsive design to your Section Hero Famms by using the pre-defined classes provided by Tailwind CSS. For example, you can use the md:text-5xl class to increase the font size of your heading on medium-sized screens:
<h1 class="hero-heading text-4xl md:text-5xl font-bold text-white">Welcome to my website</h1>
Conclusion
Creating a Section Hero Famms with Tailwind CSS is an easy and efficient way to add a visually appealing and attention-grabbing UI component to your website. By using the pre-defined classes provided by Tailwind CSS, you can save time and effort while still creating a customized design that suits your specific needs. Give it a try and see how easy it can be!