- Published on
6 Incredibly Easy Ways To Create A Responsive Team Cards #2 - Dark Mode With Tailwind CSS Better While Spending Less
- What is Tailwind CSS?
- The description of Responsive Team Cards #2 - Dark Mode ui component
- Why use Tailwind CSS to create a Responsive Team Cards #2 - Dark Mode ui component?
- The preview of Responsive Team Cards #2 - Dark Mode ui component
- The source code of Responsive Team Cards #2 - Dark Mode ui component
- How to create a Responsive Team Cards #2 - Dark Mode with Tailwind CSS?
- Step 1: Create a new HTML file and add the necessary HTML elements to define the structure of the cards.
- Step 2: Add the necessary CSS to style the cards, including the dark mode feature.
- Step 3: Add the necessary Tailwind CSS classes to the HTML elements to apply the styling.
- Step 4: Test the cards on different devices to ensure they're responsive.
- Conclusion
As a FrontEnd technology blogger, it's important to stay up-to-date on the latest trends and tools. One tool that has gained a lot of popularity in recent years is Tailwind CSS. Tailwind CSS is a utility-first CSS framework that allows you to quickly and easily create responsive designs. In this article, we'll explore how to use Tailwind CSS to create a Responsive Team Cards #2 - Dark Mode ui component.
What is Tailwind CSS?
Tailwind CSS is a utility-first CSS framework that provides a set of pre-defined CSS classes that you can use to style your HTML elements. It's designed to be highly customizable, allowing you to easily create unique designs without having to write a lot of custom CSS. Tailwind CSS is also highly responsive, making it easy to create designs that look great on any device.
The description of Responsive Team Cards #2 - Dark Mode ui component
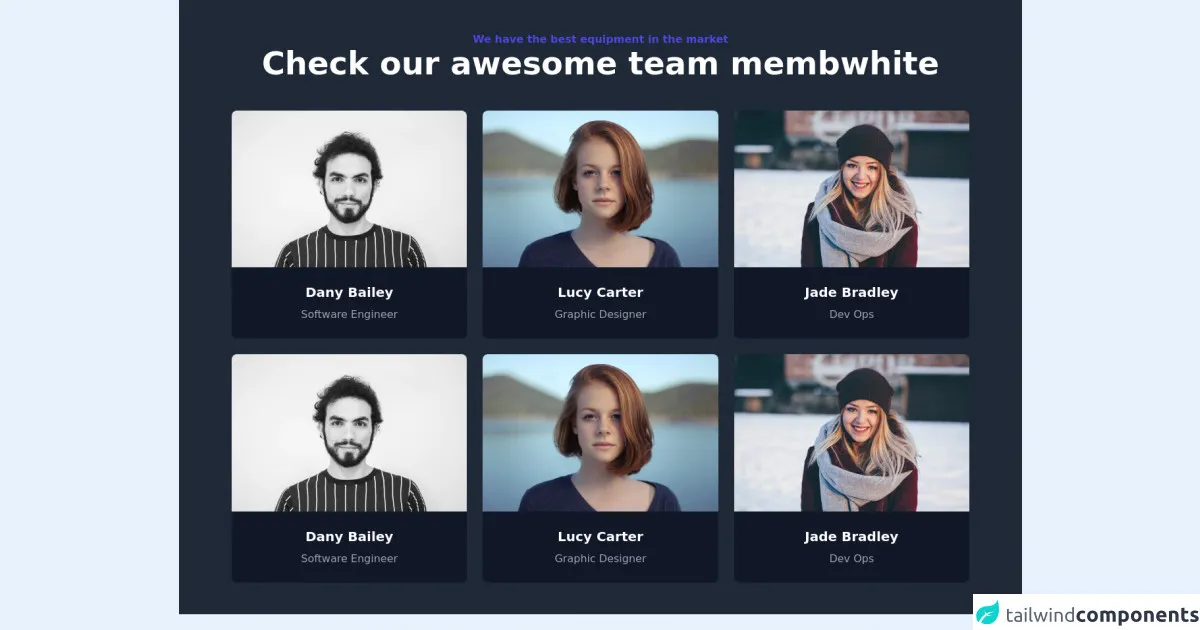
The Responsive Team Cards #2 - Dark Mode ui component is a set of cards that display information about team members. The cards are designed to be responsive, meaning they adjust their layout based on the size of the screen they're viewed on. The dark mode feature allows the cards to be viewed in a darker color scheme, which can be easier on the eyes in low-light environments.
Why use Tailwind CSS to create a Responsive Team Cards #2 - Dark Mode ui component?
Tailwind CSS is an excellent choice for creating a Responsive Team Cards #2 - Dark Mode ui component for several reasons. First, it provides a set of pre-defined classes that make it easy to create responsive designs. Second, it's highly customizable, allowing you to create unique designs without having to write a lot of custom CSS. Finally, it's highly responsive, making it easy to create designs that look great on any device.
The preview of Responsive Team Cards #2 - Dark Mode ui component
To create the Responsive Team Cards #2 - Dark Mode ui component, we'll be using Tailwind CSS. The cards will be displayed in a grid layout, with each card containing an image, a name, a job title, and a brief description. The dark mode feature will be enabled by adding a class to the body element.
Free download of the Responsive Team Cards #2 - Dark Mode's source code
The source code of Responsive Team Cards #2 - Dark Mode ui component
To create the Responsive Team Cards #2 - Dark Mode ui component, we'll be using HTML, CSS, and Tailwind CSS. The HTML will define the structure of the cards, while the CSS will be used to style the cards. Tailwind CSS will be used to apply pre-defined classes to the HTML elements.
<div class="w-full bg-gray-800">
    <section class="max-w-6xl mx-auto px-4 sm:px-6 lg:px-4 py-12">
        <div class="text-center pb-12">
            <h2 class="text-base font-bold text-indigo-600">
                We have the best equipment in the market
            </h2>
            <h1 class="font-bold text-3xl md:text-4xl lg:text-5xl font-heading text-white">
                Check our awesome team membwhite
            </h1>
        </div>
        <div class="grid grid-cols-1 sm:grid-cols-2 md:grid-cols-2 lg:grid-cols-3 gap-6">
            <div class="w-full bg-gray-900 rounded-lg sahdow-lg overflow-hidden flex flex-col justify-center items-center">
                <div>
                    <img class="object-center object-cover h-auto w-full" src="https://images.unsplash.com/flagged/photo-1570612861542-284f4c12e75f?ixid=MnwxMjA3fDB8MHxwaG90by1wYWdlfHx8fGVufDB8fHx8&ixlib=rb-1.2.1&auto=format&fit=crop&w=1170&q=80" alt="photo">
                </div>
                <div class="text-center py-8 sm:py-6">
                    <p class="text-xl text-white font-bold mb-2">Dany Bailey</p>
                    <p class="text-base text-gray-400 font-normal">Software Engineer</p>
                </div>
            </div>
            <div class="w-full bg-gray-900 rounded-lg sahdow-lg overflow-hidden flex flex-col justify-center items-center">
                <div>
                    <img class="object-center object-cover h-auto w-full" src="https://images.unsplash.com/photo-1438761681033-6461ffad8d80?ixid=MnwxMjA3fDB8MHxwaG90by1wYWdlfHx8fGVufDB8fHx8&ixlib=rb-1.2.1&auto=format&fit=crop&w=1170&q=80" alt="photo">
                </div>
                <div class="text-center py-8 sm:py-6">
                    <p class="text-xl text-white font-bold mb-2">Lucy Carter</p>
                    <p class="text-base text-gray-400 font-normal">Graphic Designer</p>
                </div>
            </div>
            <div class="w-full bg-gray-900 rounded-lg sahdow-lg overflow-hidden flex flex-col justify-center items-center">
                <div>
                    <img class="object-center object-cover h-auto w-full" src="https://images.unsplash.com/photo-1487412720507-e7ab37603c6f?ixid=MnwxMjA3fDB8MHxwaG90by1wYWdlfHx8fGVufDB8fHx8&ixlib=rb-1.2.1&auto=format&fit=crop&w=1171&q=80" alt="photo">
                </div>
                <div class="text-center py-8 sm:py-6">
                    <p class="text-xl text-white font-bold mb-2">Jade Bradley</p>
                    <p class="text-base text-gray-400 font-normal">Dev Ops</p>
                </div>
            </div>
            <div class="w-full bg-gray-900 rounded-lg sahdow-lg overflow-hidden flex flex-col justify-center items-center">
                <div>
                    <img class="object-center object-cover h-auto w-full" src="https://images.unsplash.com/flagged/photo-1570612861542-284f4c12e75f?ixid=MnwxMjA3fDB8MHxwaG90by1wYWdlfHx8fGVufDB8fHx8&ixlib=rb-1.2.1&auto=format&fit=crop&w=1170&q=80" alt="photo">
                </div>
                <div class="text-center py-8 sm:py-6">
                    <p class="text-xl text-white font-bold mb-2">Dany Bailey</p>
                    <p class="text-base text-gray-400 font-normal">Software Engineer</p>
                </div>
            </div>
            <div class="w-full bg-gray-900 rounded-lg sahdow-lg overflow-hidden flex flex-col justify-center items-center">
                <div>
                    <img class="object-center object-cover h-auto w-full" src="https://images.unsplash.com/photo-1438761681033-6461ffad8d80?ixid=MnwxMjA3fDB8MHxwaG90by1wYWdlfHx8fGVufDB8fHx8&ixlib=rb-1.2.1&auto=format&fit=crop&w=1170&q=80" alt="photo">
                </div>
                <div class="text-center py-8 sm:py-6">
                    <p class="text-xl text-white font-bold mb-2">Lucy Carter</p>
                    <p class="text-base text-gray-400 font-normal">Graphic Designer</p>
                </div>
            </div>
            <div class="w-full bg-gray-900 rounded-lg sahdow-lg overflow-hidden flex flex-col justify-center items-center">
                <div>
                    <img class="object-center object-cover h-auto w-full" src="https://images.unsplash.com/photo-1487412720507-e7ab37603c6f?ixid=MnwxMjA3fDB8MHxwaG90by1wYWdlfHx8fGVufDB8fHx8&ixlib=rb-1.2.1&auto=format&fit=crop&w=1171&q=80" alt="photo">
                </div>
                <div class="text-center py-8 sm:py-6">
                    <p class="text-xl text-white font-bold mb-2">Jade Bradley</p>
                    <p class="text-base text-gray-400 font-normal">Dev Ops</p>
                </div>
            </div>
        </div>
    </section>
</div>
How to create a Responsive Team Cards #2 - Dark Mode with Tailwind CSS?
To create a Responsive Team Cards #2 - Dark Mode with Tailwind CSS, follow these steps:
- Create a new HTML file and add the necessary HTML elements to define the structure of the cards.
- Add the necessary CSS to style the cards, including the dark mode feature.
- Add the necessary Tailwind CSS classes to the HTML elements to apply the styling.
- Test the cards on different devices to ensure they're responsive.
Let's take a closer look at each of these steps.
Step 1: Create a new HTML file and add the necessary HTML elements to define the structure of the cards.
The first step in creating a Responsive Team Cards #2 - Dark Mode with Tailwind CSS is to create a new HTML file and add the necessary HTML elements to define the structure of the cards. Here's an example of what the HTML might look like:
<div class="grid grid-cols-1 md:grid-cols-2 lg:grid-cols-3 gap-4">
  <div class="bg-white rounded-lg overflow-hidden shadow-md">
    <img class="w-full h-64 object-cover" src="https://via.placeholder.com/640x360.png?text=Image+1" alt="Team Member 1">
    <div class="p-4">
      <h2 class="text-xl font-bold mb-2">Team Member 1</h2>
      <p class="text-gray-700 text-base">Job Title</p>
      <p class="text-gray-700 text-base mt-4">Lorem ipsum dolor sit amet, consectetur adipiscing elit. Sed euismod, lacus a bibendum bibendum, augue enim euismod quam, at faucibus magna est vel enim.</p>
    </div>
  </div>
  <!-- Repeat for additional team members -->
</div>
In this example, we're using a grid layout to display the cards. The grid-cols-1 class specifies that we want one column on small screens, while the md:grid-cols-2 and lg:grid-cols-3 classes specify that we want two and three columns on medium and large screens, respectively. The gap-4 class adds a 4-pixel gap between the cards.
Each card is contained within a div element with the bg-white, rounded-lg, overflow-hidden, and shadow-md classes. The img element displays the team member's image, while the p elements display their name, job title, and description.
Step 2: Add the necessary CSS to style the cards, including the dark mode feature.
The next step is to add the necessary CSS to style the cards. Here's an example of what the CSS might look like:
/* Default styles */
.team-card {
  background-color: #fff;
  border-radius: 0.5rem;
  overflow: hidden;
  box-shadow: 0 4px 6px rgba(0, 0, 0, 0.1);
}

.team-card img {
  width: 100%;
  height: 200px;
  object-fit: cover;
}

.team-card h2 {
  font-size: 1.5rem;
  font-weight: 700;
  margin-bottom: 0.5rem;
}

.team-card p {
  font-size: 1rem;
  color: #6b7280;
  margin-bottom: 1rem;
}

/* Dark mode styles */
.dark .team-card {
  background-color: #1f2937;
  box-shadow: none;
}

.dark .team-card h2,
.dark .team-card p {
  color: #fff;
}
In this example, we're defining default styles for the cards, including the background-color, border-radius, overflow, and box-shadow. We're also defining styles for the img, h2, and p elements.
To enable the dark mode feature, we're adding a .dark class to the body element and defining styles for the .dark .team-card, .dark .team-card h2, and .dark .team-card p selectors.
Step 3: Add the necessary Tailwind CSS classes to the HTML elements to apply the styling.
The final step is to add the necessary Tailwind CSS classes to the HTML elements to apply the styling. Here's an example of what the HTML might look like with the Tailwind CSS classes added:
<div class="grid grid-cols-1 md:grid-cols-2 lg:grid-cols-3 gap-4">
  <div class="team-card">
    <img class="w-full h-64 object-cover" src="https://via.placeholder.com/640x360.png?text=Image+1" alt="Team Member 1">
    <div class="p-4">
      <h2 class="text-xl font-bold mb-2">Team Member 1</h2>
      <p class="text-gray-700 text-base">Job Title</p>
      <p class="text-gray-700 text-base mt-4">Lorem ipsum dolor sit amet, consectetur adipiscing elit. Sed euismod, lacus a bibendum bibendum, augue enim euismod quam, at faucibus magna est vel enim.</p>
    </div>
  </div>
  <!-- Repeat for additional team members -->
</div>
In this example, we're using the team-card class to apply the default styles to the card. We're also using the w-full, h-64, object-cover, text-xl, font-bold, mb-2, text-gray-700, text-base, and mt-4 classes to apply the necessary styles to the other HTML elements.
Step 4: Test the cards on different devices to ensure they're responsive.
The final step is to test the cards on different devices to ensure they're responsive. You can use your browser's developer tools to simulate different screen sizes and test the cards.
Conclusion
In this article, we explored how to use Tailwind CSS to create a Responsive Team Cards #2 - Dark Mode ui component. We discussed the benefits of using Tailwind CSS, provided a preview of the component, and shared the source code and instructions for creating the component. With these tools and techniques, you can easily create responsive designs that look great on any device.