- Published on
The Ninja Guide To How To Make A Responsive Layout With Pizza Parlour Example Site With Tailwind CSS Better
- What is Tailwind CSS?
- The description of Responsive Layout With Pizza Parlour Example Site UI component
- Why use Tailwind CSS to create a Responsive Layout With Pizza Parlour Example Site UI component?
- The preview of Responsive Layout With Pizza Parlour Example Site UI component
- The source code of Responsive Layout With Pizza Parlour Example Site UI component
- How to create a Responsive Layout With Pizza Parlour Example Site with Tailwind CSS?
- Conclusion
As a FrontEnd technology blogger, it is important to stay up-to-date with the latest trends and tools in the industry. One such tool that has gained popularity in recent times is Tailwind CSS. Tailwind CSS is a utility-first CSS framework that makes it easy to create responsive and customizable UI components. In this article, we will explore how to make a responsive layout with a pizza parlour example site using Tailwind CSS.
What is Tailwind CSS?
Tailwind CSS is a utility-first CSS framework that provides a set of pre-defined classes that can be used to style HTML elements. It is designed to be highly customizable and allows developers to create responsive and complex UI components quickly. Tailwind CSS is gaining popularity among developers due to its ease of use and flexibility.
The description of Responsive Layout With Pizza Parlour Example Site UI component
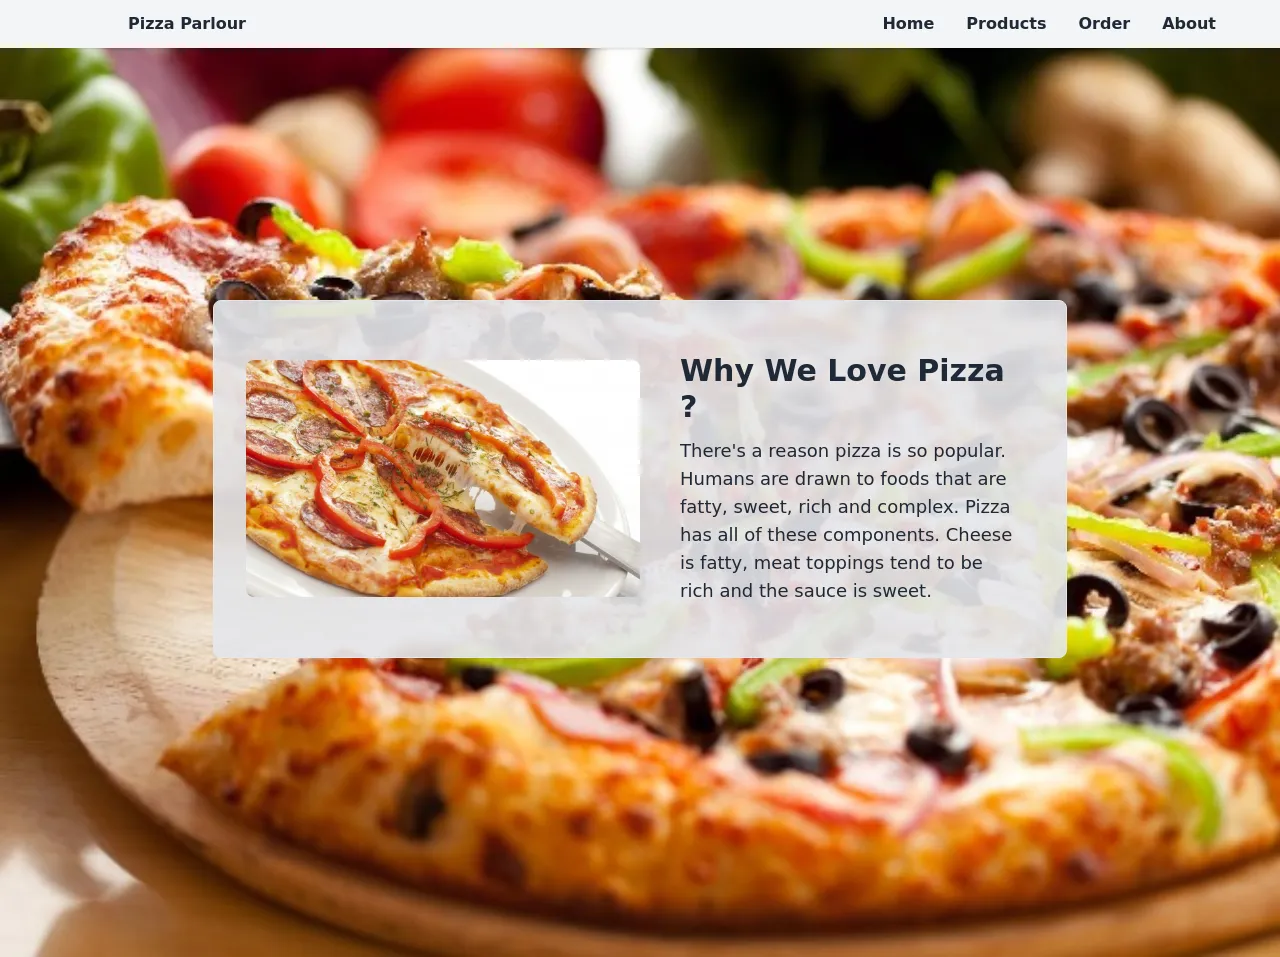
The Pizza Parlour Example Site is a simple website that showcases a pizza parlour's menu and services. The website has a responsive layout that adjusts to different screen sizes, making it easy to view on different devices. The UI component consists of a header, a hero section, a menu section, a services section, and a footer.
Why use Tailwind CSS to create a Responsive Layout With Pizza Parlour Example Site UI component?
Tailwind CSS provides a set of pre-defined classes that can be used to create responsive and customizable UI components quickly. It eliminates the need to write custom CSS code, which can be time-consuming and error-prone. Using Tailwind CSS, we can create a responsive layout with the Pizza Parlour Example Site UI component quickly and easily.
The preview of Responsive Layout With Pizza Parlour Example Site UI component
To create a responsive layout with the Pizza Parlour Example Site UI component, we will use Tailwind CSS. The UI component consists of a header, a hero section, a menu section, a services section, and a footer. We will use the pre-defined Tailwind CSS classes to style the HTML elements and create a responsive layout.
Free download of the Responsive Layout With Pizza Parlour Example Site's source code
The source code of Responsive Layout With Pizza Parlour Example Site UI component
To create a responsive layout with the Pizza Parlour Example Site UI component, we will use Tailwind CSS. The UI component consists of a header, a hero section, a menu section, a services section, and a footer. We will use the pre-defined Tailwind CSS classes to style the HTML elements and create a responsive layout.
<style>
        .bg-image {
          background:url(https://artisanpizzakitchen.com/wp-content/uploads/2018/05/373_photo3.jpg);
          background-size:cover;
          background-repeat:no-repeat;
        }

        body {background:white !important;}

      </style>

      <div class="section font-semibold px-16 text-gray-800 fixed w-full top-0 flex header_section bg-gray-100 shadow z-10">
        <div class="sub_head flex my-auto py-3">
          <div class="logo w-14"><img class="w-full" src="https://w7.pngwing.com/pngs/903/640/png-transparent-pizza-logo-euclidean-color-logo-material-pizza-other-color-splash-free-logo-design-template.png" alt="" /></div>
          <div class="text ml-2 my-auto flex-none">Pizza Parlour</div>
        </div>
        <div class="sub_head ml-auto flex space-x-8 my-auto">
          <div class="h_btns cursor-pointer">Home</div>
          <div class="h_btns cursor-pointer">Products</div>
          <div class="h_btns cursor-pointer">Order</div>
          <div class="h_btns cursor-pointer">About</div>
        </div>
      </div>
      <!-- section end -->

      <div class="section bg-image flex overflow-hidden h-screen text-gray-800">
        <div class="hero bg-gray-200 text-center grid md:grid-cols-2 border w-4/6 m-auto p-8 bg-opacity-90 rounded-lg">
          <img class="icon m-auto rounded-lg" src="https://static.cms.yp.ca/ecms/media/1/11042220_lel-1444925848-600x360.jpg" alt="" />
          <div class="text m-auto text-lg md:ml-5 p-5 md:text-left">
            <div class="head text-3xl mb-3 font-semibold">Why We Love Pizza ?</div>
            <div class="desc">There's a reason pizza is so popular. Humans are drawn to foods that are fatty, sweet, rich and complex. Pizza has all of these components. Cheese is fatty, meat toppings tend to be rich and the sauce is sweet.</div>
          </div>
        </div>
      </div>
      <!-- section end -->

      <div class="heading_section italic bg-gray-200 font-semibold text-3xl text-center p-5 pt-24 text-gray-800">Some Well Known Pizza Styles</div>
      <!-- section end -->

      <div class="section cards mx-auto border grid md:grid-cols-3 md:px-12 bg-gray-200 text-gray-800">
        <div class="card text-sm shadow-lg max-w-sm m-5 mx-auto sm:mx-auto md:m-5 overflow-hidden flex flex-col rounded">
          <div class="img"><img class="w-full h-full" src="https://static.toiimg.com/thumb/76481989.cms?width=680&height=512&imgsize=170646" alt="" /></div>
          <div class="text p-5 pt-2 text-center">
            <div class="title font-semibold my-2 text-xl text-red-700">Pepperoni</div>
            <div class="desc">A classic. Just throw a few (or a ton of) slices of pepperoni on top of the cheese, and you’ll soon have a greasy, slightly spicy and delicious pizza that you simply can’t go wrong with.</div>
          </div>
        </div>
        <!-- eachcard -->
      </div>
      <!-- section end -->

      <div class="section py-28 w-full scree border grid md:grid-cols-2 bg-gray-200 text-gray-800">
        <div class="subsec flex-none overflow-hidden max-h-96">
          <img class="w-full" src="https://hips.hearstapps.com/hmg-prod.s3.amazonaws.com/images/delish-keto-pizza-073-1544039876.jpg?crop=0.668xw:1.00xh;0.233xw,0.00255xh&resize=980:*" alt="" />
        </div>
        <div class="subsec my-auto p-8">
          <div class="title font-semibold text-3xl mb-5">What is paleo pizza crust made out of?</div>
          <div class="desc text-lg">We've seen it all kinds of ways, with different types of flours, but we settled on almond flour for its nutty flavor. We also mix in spices—Italian seasoning and garlic powder—to give it more flavor. We skip yeast because it can be a pain and instead incorporate eggs and olive oil. The eggs help make the crust fluffy.</div>
        </div>
      </div>
      <!-- section end -->

      <div class="heading_section bg-red-600 text-gray-300">
        <div class="footer w-5/6 mx-auto text-center">
          <div class="sub flex-1 p-8">
            <div class="text-3xl mb-3 uppercase">Contact Us</div>
            <div class="info">
              <div class="name">Pizza Parlour</div>
              <div class="name text-sm">
                Street 4996 Brown Bear Drive <br>
                City Mira Loma State CA State Full California <br>
                Zip Code 91752 <br>
                Phone Number 951-634-4557 <br>
                Mobile Number 951-903-8940
              </div>
            </div>
          </div>
          <div class="sub flex p-5 w-5/6 mx-auto border-t">
            <div class="cursor-pointer hover:underline items mx-auto">Our Parterners</div>
            <div class="cursor-pointer hover:underline items mx-auto">Policy</div>
            <div class="cursor-pointer hover:underline items mx-auto">Facilities</div>
            <div class="cursor-pointer hover:underline items mx-auto">Developer</div>
          </div>
        </div>
      </div>
      <!-- section end -->


      <!-- gap filling for preview bottom overlay -->
      <div class="filling pt-14"></div>
How to create a Responsive Layout With Pizza Parlour Example Site with Tailwind CSS?
To create a responsive layout with the Pizza Parlour Example Site UI component, we will follow these steps:
Set up the HTML structure: We will create the HTML structure for the UI component, including the header, hero section, menu section, services section, and footer.
Add Tailwind CSS to the project: We will add the Tailwind CSS framework to the project by including the CSS file in the HTML file.
Style the header section: We will use the pre-defined Tailwind CSS classes to style the header section, including the logo, navigation menu, and social media icons.
Style the hero section: We will use the pre-defined Tailwind CSS classes to style the hero section, including the background image, title, and call-to-action button.
Style the menu section: We will use the pre-defined Tailwind CSS classes to style the menu section, including the menu items and prices.
Style the services section: We will use the pre-defined Tailwind CSS classes to style the services section, including the services offered and their descriptions.
Style the footer section: We will use the pre-defined Tailwind CSS classes to style the footer section, including the copyright information and social media icons.
Test the responsive layout: We will test the responsive layout by adjusting the screen size and ensuring that the UI component adjusts accordingly.
Conclusion
In this article, we explored how to make a responsive layout with a pizza parlour example site using Tailwind CSS. Tailwind CSS provides a set of pre-defined classes that can be used to create responsive and customizable UI components quickly. By following the steps outlined in this article, you can create a responsive layout with the Pizza Parlour Example Site UI component quickly and easily.