- Published on
How to Build A Range With Tailwind CSS?
- What is Tailwind CSS?
- The description of Range ui component
- Why use Tailwind CSS to create a Range ui component?
- The preview of Range ui component
- The source code of Range ui component
- How to create a Range with Tailwind CSS?
- Step 1: Create the HTML markup
- Step 2: Style the Range UI component
- Step 3: Add JavaScript functionality
- Conclusion
What is Tailwind CSS?
Tailwind CSS is a utility-first CSS framework that allows you to quickly build custom user interfaces. It provides a set of pre-defined CSS classes that you can use to style your HTML elements. With Tailwind CSS, you can create complex UI components with minimal effort.
The description of Range ui component
The Range UI component is a slider that allows users to select a value within a specified range. It is commonly used in forms, where users need to select a value within a specific range. The Range UI component consists of a track, a thumb, and a fill that represents the selected range.
Why use Tailwind CSS to create a Range ui component?
Tailwind CSS provides a set of pre-defined CSS classes that you can use to style your HTML elements. This makes it easy to create complex UI components like the Range UI component. With Tailwind CSS, you don't have to write custom CSS code for each UI component, which saves you time and effort.
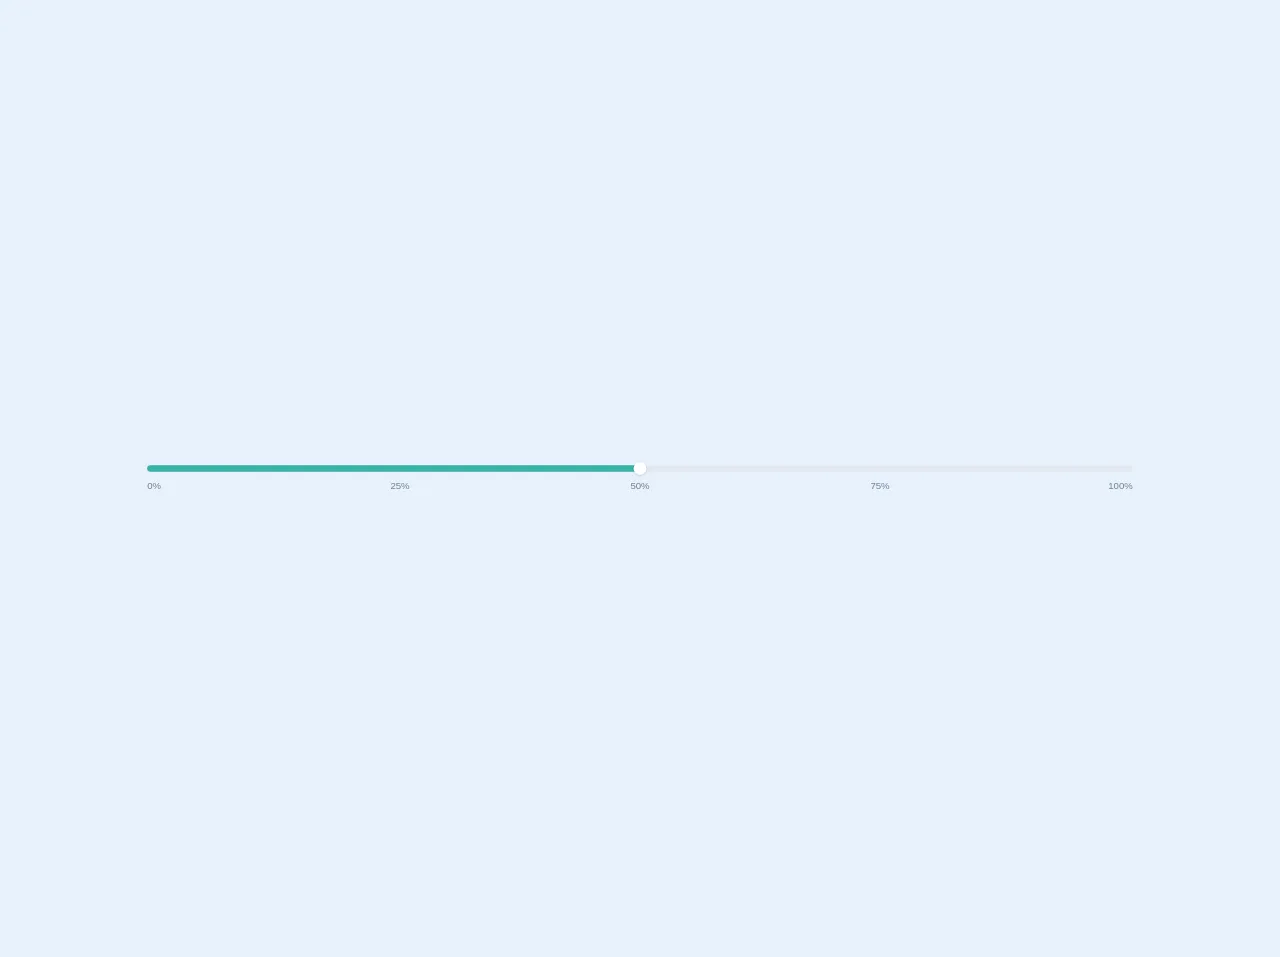
The preview of Range ui component
To create a Range UI component with Tailwind CSS, you can use the range class. This class sets the basic styles for the Range UI component. You can customize the appearance of the Range UI component by using other Tailwind CSS classes.
Free download of the Range's source code
The source code of Range ui component
To create a Range UI component with Tailwind CSS, you can use the following HTML code. This code creates a Range UI component with a minimum value of 0, a maximum value of 100, and a step of 1.
<div class="px-6 w-full">
  <div class="bg-gray-300 h-2 w-full rounded-full relative">
    <span class="bg-white h-4 w-4 absolute top-0 -ml-2 -mt-1 z-10 shadow rounded-full cursor-pointer" style="left:50%"></span>
    <span class="bg-teal-500 h-2 absolute left-0 top-0 rounded-full" style="width:50%"></span>
  </div>
  <div class="flex justify-between mt-2 text-xs text-gray-600">
    <span class="w-8 text-left">0%</span>
    <span class="w-8 text-center">25%</span>
    <span class="w-8 text-center">50%</span>
    <span class="w-8 text-center">75%</span>
    <span class="w-8 text-right">100%</span>
  </div>
</div>
How to create a Range with Tailwind CSS?
To create a Range UI component with Tailwind CSS, you can follow these steps:
Step 1: Create the HTML markup
The first step is to create the HTML markup for the Range UI component. You can use the input element with the type attribute set to range to create the Range UI component. Here's an example:
<input type="range" class="range" min="0" max="100" step="1">
Step 2: Style the Range UI component
The next step is to style the Range UI component using Tailwind CSS classes. You can use the range class to set the basic styles for the Range UI component. Here's an example:
<input type="range" class="range" min="0" max="100" step="1">
You can customize the appearance of the Range UI component by using other Tailwind CSS classes. For example, you can use the bg-blue-500 class to set the background color of the Range UI component to blue. Here's an example:
<input type="range" class="range bg-blue-500" min="0" max="100" step="1">
You can also use the thumb class to style the thumb of the Range UI component. Here's an example:
<input type="range" class="range bg-blue-500 thumb:bg-white" min="0" max="100" step="1">
This code sets the background color of the thumb to white.
Step 3: Add JavaScript functionality
The final step is to add JavaScript functionality to the Range UI component. You can use JavaScript to get the value of the Range UI component and update the UI accordingly. Here's an example:
<input type="range" class="range bg-blue-500 thumb:bg-white" min="0" max="100" step="1" onchange="updateValue(this.value)">
<div id="value"></div>

<script>
function updateValue(value) {
  document.getElementById("value").innerHTML = value;
}
</script>
This code updates the value of the div element with the id of value whenever the value of the Range UI component changes.
Conclusion
In conclusion, Tailwind CSS is a powerful CSS framework that allows you to quickly build custom UI components like the Range UI component. By using pre-defined CSS classes, you can create complex UI components with minimal effort. With Tailwind CSS, you can focus on building great user experiences without worrying about the underlying CSS code.