- Published on
What You Need To Create A Pricing Sections With Tailwind CSS
- The description of Pricing Sections UI component
- Why use Tailwind CSS to create a Pricing Sections UI component?
- The preview of Pricing Sections UI component
- The source code of Pricing Sections UI component
- How to create a Pricing Sections with Tailwind CSS?
- Conclusion
Tailwind CSS is a utility-first CSS framework that provides a set of pre-defined classes to create user interfaces (UI) quickly. It is designed to be highly customizable and flexible, allowing developers to create unique designs without writing custom CSS code.
The description of Pricing Sections UI component
Pricing sections are a common UI component used on websites to display pricing plans for products or services. They typically include information such as the price, features, and benefits of each plan. Pricing sections can be designed in many different ways, but they all share the same goal of making it easy for users to compare and choose the best plan for their needs.
Why use Tailwind CSS to create a Pricing Sections UI component?
Tailwind CSS is an excellent choice for creating pricing sections because of its utility-first approach. With Tailwind CSS, you can quickly create custom designs by combining pre-defined classes, without having to write custom CSS code. This makes it easy to create unique designs that match your brand's style and tone.
Additionally, Tailwind CSS provides a wide range of pre-defined classes for common UI components, including pricing sections. This means that you can quickly create a pricing section by combining pre-defined classes, without having to write custom CSS code from scratch.
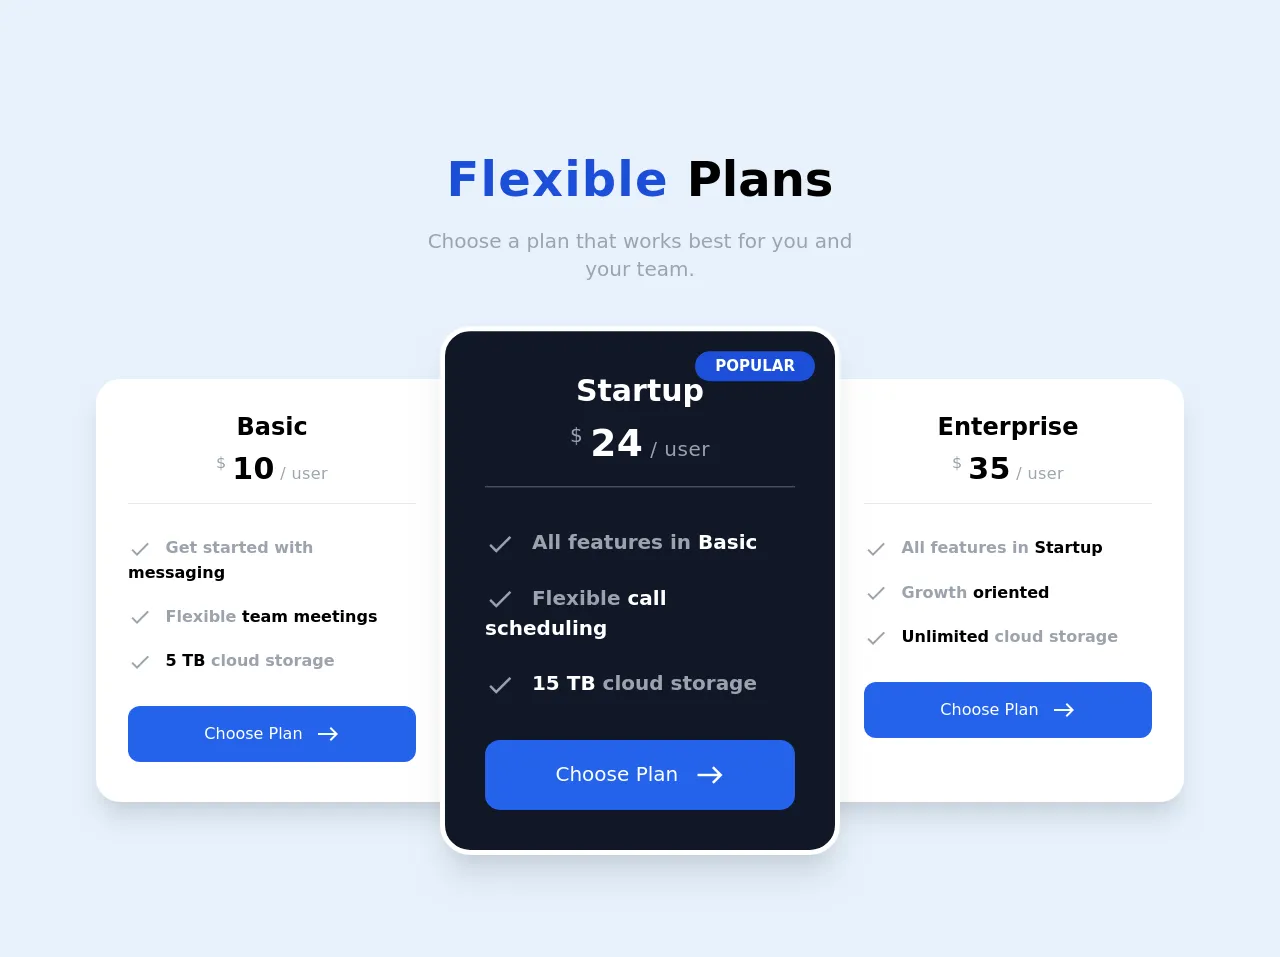
The preview of Pricing Sections UI component
Free download of the Pricing Sections's source code
The source code of Pricing Sections UI component
<link rel="preconnect" href="https://fonts.gstatic.com">
<link href="https://fonts.googleapis.com/css2?family=Montserrat:wght@100;200;300;400;500;600;700;800;900&display=swap" rel="stylesheet">
<link href="https://fonts.googleapis.com/icon?family=Material+Icons" rel="stylesheet">
<body class="font-sans bg-gray-100">
    <div class="min-h-screen flex justify-center items-center">
        <div class="">
            <div class="text-center font-semibold">
                <h1 class="text-5xl">
                    <span class="text-blue-700 tracking-wide">Flexible </span>
                    <span>Plans</span>
                </h1>
                <p class="pt-6 text-xl text-gray-400 font-normal w-full px-8 md:w-full">
                    Choose a plan that works best for you and<br/> your team.
                </p>
            </div>
            <div class="pt-24 flex flex-row">
                <!-- Basic Card -->
                <div class="w-96 p-8 bg-white text-center rounded-3xl pr-16 shadow-xl">
                    <h1 class="text-black font-semibold text-2xl">Basic</h1>
                    <p class="pt-2 tracking-wide">
                        <span class="text-gray-400 align-top">$ </span>
                        <span class="text-3xl font-semibold">10</span>
                        <span class="text-gray-400 font-medium">/ user</span>
                    </p>
                    <hr class="mt-4 border-1">
                    <div class="pt-8">
                        <p class="font-semibold text-gray-400 text-left">
                            <span class="material-icons align-middle">
                                done
                            </span>
                            <span class="pl-2">
                                Get started with <span class="text-black">messaging</span>
                            </span>
                        </p>
                        <p class="font-semibold text-gray-400 text-left pt-5">
                            <span class="material-icons align-middle">
                                done
                            </span>
                            <span class="pl-2">
                                Flexible <span class="text-black">team meetings</span>
                            </span>
                        </p>
                        <p class="font-semibold text-gray-400 text-left pt-5">
                            <span class="material-icons align-middle">
                                done
                            </span>
                            <span class="pl-2">
                                <span class="text-black">5 TB</span> cloud storage
                            </span>
                        </p>

                        <a href="#" class="">
                            <p class="w-full py-4 bg-blue-600 mt-8 rounded-xl text-white">
                                <span class="font-medium">
                                    Choose Plan
                                </span>
                                <span class="pl-2 material-icons align-middle text-sm">
                                    east
                                </span>
                            </p>
                        </a>
                    </div>
                </div>
                <!-- StartUp Card -->
                <div class="w-80 p-8 bg-gray-900 text-center rounded-3xl text-white border-4 shadow-xl border-white transform scale-125">
                    <h1 class="text-white font-semibold text-2xl">Startup</h1>
                    <p class="pt-2 tracking-wide">
                        <span class="text-gray-400 align-top">$ </span>
                        <span class="text-3xl font-semibold">24</span>
                        <span class="text-gray-400 font-medium">/ user</span>
                    </p>
                    <hr class="mt-4 border-1 border-gray-600">
                    <div class="pt-8">
                        <p class="font-semibold text-gray-400 text-left">
                            <span class="material-icons align-middle">
                                done
                            </span>
                            <span class="pl-2">
                                All features in <span class="text-white">Basic</span>
                            </span>
                        </p>
                        <p class="font-semibold text-gray-400 text-left pt-5">
                            <span class="material-icons align-middle">
                                done
                            </span>
                            <span class="pl-2">
                                Flexible <span class="text-white">call scheduling</span>
                            </span>
                        </p>
                        <p class="font-semibold text-gray-400 text-left pt-5">
                            <span class="material-icons align-middle">
                                done
                            </span>
                            <span class="pl-2">
                                <span class="text-white">15 TB</span> cloud storage
                            </span>
                        </p>

                        <a href="#" class="">
                            <p class="w-full py-4 bg-blue-600 mt-8 rounded-xl text-white">
                                <span class="font-medium">
                                    Choose Plan
                                </span>
                                <span class="pl-2 material-icons align-middle text-sm">
                                    east
                                </span>
                            </p>
                        </a>
                    </div>
                    <div class="absolute top-4 right-4">
                        <p class="bg-blue-700 font-semibold px-4 py-1 rounded-full uppercase text-xs">Popular</p>
                    </div>
                </div>
                <!-- Enterprise Card -->
                <div class="w-96 p-8 bg-white text-center rounded-3xl pl-16 shadow-xl">
                    <h1 class="text-black font-semibold text-2xl">Enterprise</h1>
                    <p class="pt-2 tracking-wide">
                        <span class="text-gray-400 align-top">$ </span>
                        <span class="text-3xl font-semibold">35</span>
                        <span class="text-gray-400 font-medium">/ user</span>
                    </p>
                    <hr class="mt-4 border-1">
                    <div class="pt-8">
                        <p class="font-semibold text-gray-400 text-left">
                            <span class="material-icons align-middle">
                                done
                            </span>
                            <span class="pl-2">
                                All features in <span class="text-black">Startup</span>
                            </span>
                        </p>
                        <p class="font-semibold text-gray-400 text-left pt-5">
                            <span class="material-icons align-middle">
                                done
                            </span>
                            <span class="pl-2">
                                Growth <span class="text-black">oriented</span>
                            </span>
                        </p>
                        <p class="font-semibold text-gray-400 text-left pt-5">
                            <span class="material-icons align-middle">
                                done
                            </span>
                            <span class="pl-2">
                                <span class="text-black">Unlimited</span> cloud storage
                            </span>
                        </p>

                        <a href="#" class="">
                            <p class="w-full py-4 bg-blue-600 mt-8 rounded-xl text-white">
                                <span class="font-medium">
                                    Choose Plan
                                </span>
                                <span class="pl-2 material-icons align-middle text-sm">
                                    east
                                </span>
                            </p>
                        </a>
                    </div>
                </div>
            </div>
        </div>
    </div>
</body>
How to create a Pricing Sections with Tailwind CSS?
Creating a pricing section with Tailwind CSS is straightforward. Here's a step-by-step guide to creating a basic pricing section:
Create a new HTML file and add the necessary HTML markup for the pricing section. This typically includes a container element, pricing plan elements, and plan details elements.
Add the necessary Tailwind CSS classes to style the pricing section. This typically includes classes for the container element, pricing plan elements, and plan details elements.
Customize the pricing section by adding your own custom CSS classes or modifying the existing Tailwind CSS classes.
Test the pricing section to ensure that it looks and functions correctly.
Here's an example of what the HTML markup for a basic pricing section might look like:
<div class="container mx-auto">
  <div class="flex justify-center">
    <div class="p-6">
      <h2 class="text-2xl font-bold mb-4">Pricing Plans</h2>
      <div class="flex justify-between">
        <div class="w-1/3 bg-white rounded-lg shadow-lg p-6">
          <h3 class="text-lg font-bold mb-2">Basic</h3>
          <p class="text-gray-700 mb-4">$9.99 / month</p>
          <ul class="text-sm">
            <li>1 User</li>
            <li>10 Projects</li>
            <li>100 GB Storage</li>
          </ul>
          <button class="bg-blue-500 hover:bg-blue-700 text-white font-bold py-2 px-4 rounded mt-4">Select Plan</button>
        </div>
        <div class="w-1/3 bg-white rounded-lg shadow-lg p-6">
          <h3 class="text-lg font-bold mb-2">Pro</h3>
          <p class="text-gray-700 mb-4">$19.99 / month</p>
          <ul class="text-sm">
            <li>5 Users</li>
            <li>50 Projects</li>
            <li>500 GB Storage</li>
          </ul>
          <button class="bg-blue-500 hover:bg-blue-700 text-white font-bold py-2 px-4 rounded mt-4">Select Plan</button>
        </div>
        <div class="w-1/3 bg-white rounded-lg shadow-lg p-6">
          <h3 class="text-lg font-bold mb-2">Enterprise</h3>
          <p class="text-gray-700 mb-4">$99.99 / month</p>
          <ul class="text-sm">
            <li>Unlimited Users</li>
            <li>Unlimited Projects</li>
            <li>Unlimited Storage</li>
          </ul>
          <button class="bg-blue-500 hover:bg-blue-700 text-white font-bold py-2 px-4 rounded mt-4">Select Plan</button>
        </div>
      </div>
    </div>
  </div>
</div>
In this example, we've used a combination of pre-defined Tailwind CSS classes to style the pricing section. We've also added custom classes for the container element and the pricing plan elements to customize the design further.
Conclusion
Creating a pricing section with Tailwind CSS is a straightforward process that can save you time and effort. By using pre-defined classes, you can quickly create unique designs that match your brand's style and tone. Additionally, Tailwind CSS provides a wide range of pre-defined classes for common UI components, including pricing sections, making it easy to create professional-looking designs without writing custom CSS code from scratch.