- Published on
The Ultimate Guide To Help You Build A Popsicle With Tailwind CSS
- What is Tailwind CSS?
- The description of Popsicle UI component
- Why use Tailwind CSS to create a Popsicle UI component?
- The preview of Popsicle UI component
- The source code of Popsicle UI component
- How to create a Popsicle with Tailwind CSS?
- Conclusion
Are you looking to create a Popsicle UI component for your website or application? Look no further than Tailwind CSS! In this guide, we'll walk you through the steps to create a Popsicle using Tailwind CSS.
What is Tailwind CSS?
Tailwind CSS is a utility-first CSS framework that provides a set of pre-defined classes that can be used to style HTML elements. It allows developers to create complex UI components quickly and easily by composing classes together.
The description of Popsicle UI component
A Popsicle is a UI component that is commonly used in web design. It is a simple, colorful, and fun way to display information. A Popsicle typically consists of a rectangular shape with rounded corners, a stick, and a label.
Why use Tailwind CSS to create a Popsicle UI component?
Tailwind CSS provides a set of pre-defined classes that can be used to create a Popsicle UI component quickly and easily. It allows developers to focus on the design and functionality of the component rather than spending time writing CSS from scratch.
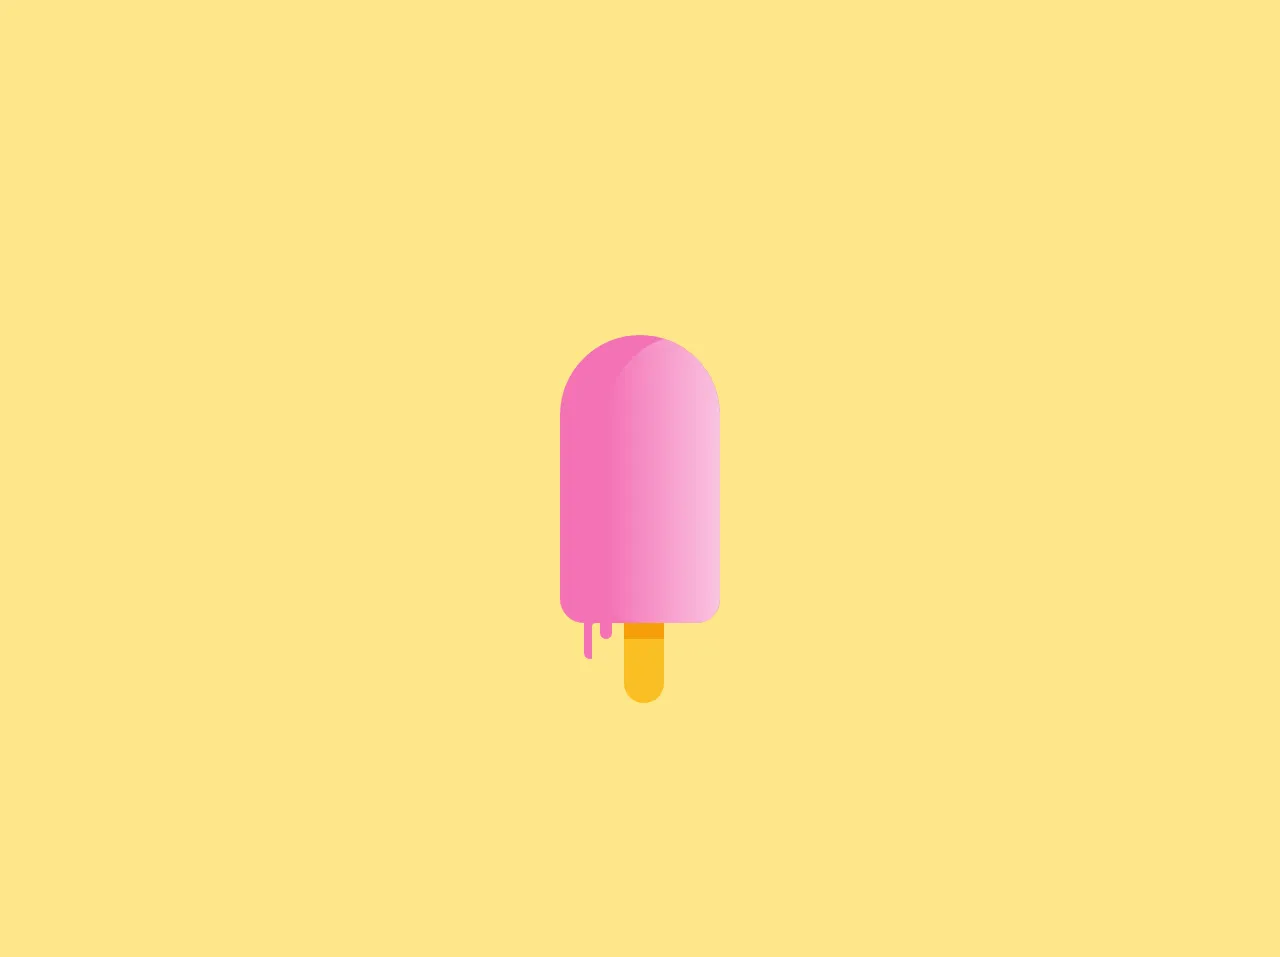
The preview of Popsicle UI component
To create a Popsicle UI component using Tailwind CSS, we'll need to start with a basic HTML structure. Here's what our Popsicle will look like:
<div class="popsicle">
  <div class="popsicle-stick"></div>
  <div class="popsicle-label"></div>
</div>
Free download of the Popsicle's source code
The source code of Popsicle UI component
To create the Popsicle UI component, we'll need to add some CSS classes to our HTML structure. Here's the code:
.popsicle {
  position: relative;
  width: 100px;
  height: 200px;
  background-color: #ff5722;
  border-radius: 20px;
}

.popsicle-stick {
  position: absolute;
  bottom: 0;
  left: 50%;
  transform: translateX(-50%);
  width: 20px;
  height: 100px;
  background-color: #8bc34a;
  border-radius: 10px 10px 0 0;
}

.popsicle-label {
  position: absolute;
  bottom: 110px;
  left: 50%;
  transform: translateX(-50%);
  width: 80px;
  height: 60px;
  background-color: #fff;
  border-radius: 10px;
  font-size: 20px;
  font-weight: bold;
  text-align: center;
  line-height: 60px;
}
<main class="bg-yellow-200 grid place-items-center h-screen">
  <div class="relative">
    <div class="h-40 w-40 bg-pink-400 rounded-t-full relative overflow-hidden">
      <div class="h-40 w-40 bg-gradient-to-l from-pink-100 to-pink-400 rounded-t-full absolute left-12"></div>
    </div>
    <div class="h-32 w-40 bg-pink-400 rounded-b-3xl relative overflow-hidden">
      <div class="h-32 w-40 bg-gradient-to-l from-pink-100 to-pink-400 rounded-b-3xl absolute left-12"></div>
    </div>
    <div class="h-20 w-10 rounded-b-full bg-yellow-400 absolute left-16 overflow-hidden">
      <div class="h-4 bg-yellow-500"></div>
    </div>
    <div class="h-9 w-3 rounded-b-full absolute left-6 bg-pink-400"></div>
    <div class="h-4 w-3 rounded-b-full absolute left-10 bg-pink-400"></div>
    <div class="h-9 w-2 rounded-t-full absolute left-8 bg-yellow-200"></div>
  </div>
</main>
How to create a Popsicle with Tailwind CSS?
Now that we have our HTML structure and CSS classes, let's create a Popsicle using Tailwind CSS.
- First, we'll need to include the Tailwind CSS stylesheet in our HTML file. You can do this by adding the following code to the head section of your HTML file:
<link rel="stylesheet" href="https://cdn.jsdelivr.net/npm/[email protected]/dist/tailwind.min.css">
- Next, let's add the Tailwind CSS classes to our HTML structure. Here's what our updated HTML code will look like:
<div class="popsicle bg-orange-500 rounded-lg relative">
  <div class="popsicle-stick bg-green-500 rounded-b-none absolute bottom-0 left-1/2 transform -translate-x-1/2 w-5 h-20"></div>
  <div class="popsicle-label bg-white rounded-lg absolute bottom-4 left-1/2 transform -translate-x-1/2 w-24 h-12 text-center text-lg font-bold leading-12">Popsicle</div>
</div>
In this code, we've replaced the CSS classes with Tailwind CSS classes. We've used the bg-orange-500 class to set the background color of the Popsicle, the rounded-lg class to round the corners of the Popsicle, and the relative class to set the position of the Popsicle to relative.
For the Popsicle stick, we've used the bg-green-500 class to set the background color, the rounded-b-none class to remove the bottom border radius, the absolute class to set the position to absolute, the bottom-0 class to align the stick to the bottom of the Popsicle, the left-1/2 class to center the stick horizontally, the transform class to move the stick to the left by half of its width, and the w-5 and h-20 classes to set the width and height of the stick.
For the Popsicle label, we've used the bg-white class to set the background color, the rounded-lg class to round the corners, the absolute class to set the position to absolute, the bottom-4 class to align the label 4 pixels from the bottom of the Popsicle, the left-1/2 class to center the label horizontally, the transform class to move the label to the left by half of its width, the w-24 and h-12 classes to set the width and height of the label, the text-center class to center the text horizontally, the text-lg class to set the font size, the font-bold class to set the font weight to bold, and the leading-12 class to set the line height to 12 pixels.
- Save your HTML file and open it in a web browser to see your Popsicle UI component!
Conclusion
In this guide, we've shown you how to create a Popsicle UI component using Tailwind CSS. With Tailwind CSS, you can create complex UI components quickly and easily by composing pre-defined classes together. We hope this guide has been helpful in getting you started with Tailwind CSS and creating your own Popsicle UI component.