- Published on
Here Are 6 Ways To Make A Modal With Tailwind CSS
- What is Tailwind CSS?
- The Description of Modal UI Component
- Why Use Tailwind CSS to Create a Modal UI Component?
- The Preview of Modal UI Component
- The Source Code of Modal UI Component
- How to Create a Modal with Tailwind CSS?
- Method 1: Using the Modal Component from Tailwind UI
- Method 2: Using the Dialog Component from Tailwind CSS
- Method 3: Using the Overlay Component from Tailwind CSS
- Method 4: Using the Transition Component from Tailwind CSS
- Method 5: Using the Modal Class from Tailwind CSS
- Method 6: Using Custom CSS
- Conclusion
As a FrontEnd technology blogger, it's important to stay up-to-date with the latest UI design trends and tools. One such tool that has gained popularity in recent years is Tailwind CSS, a utility-first CSS framework that allows developers to quickly and easily create custom UI components. In this article, we'll explore six different ways to create a modal UI component using Tailwind CSS.
What is Tailwind CSS?
Tailwind CSS is a CSS framework that provides a set of pre-defined utility classes that can be used to style HTML elements. Unlike other CSS frameworks like Bootstrap or Foundation, Tailwind CSS does not come with pre-built UI components. Instead, it provides a set of low-level utility classes that can be combined to create custom UI components.
The Description of Modal UI Component
A modal is a UI component that is used to display content on top of an existing page. Modals are commonly used for displaying messages, forms, or other types of content that require user input. Modal UI components typically consist of a container that overlays the page, a content area that displays the modal content, and a set of buttons or links that allow the user to interact with the modal.
Why Use Tailwind CSS to Create a Modal UI Component?
Tailwind CSS provides a set of utility classes that can be used to create custom UI components quickly and easily. By using Tailwind CSS, developers can avoid writing custom CSS and focus on creating the UI component's functionality. Additionally, Tailwind CSS is highly customizable, allowing developers to create unique UI components that match their brand's style.
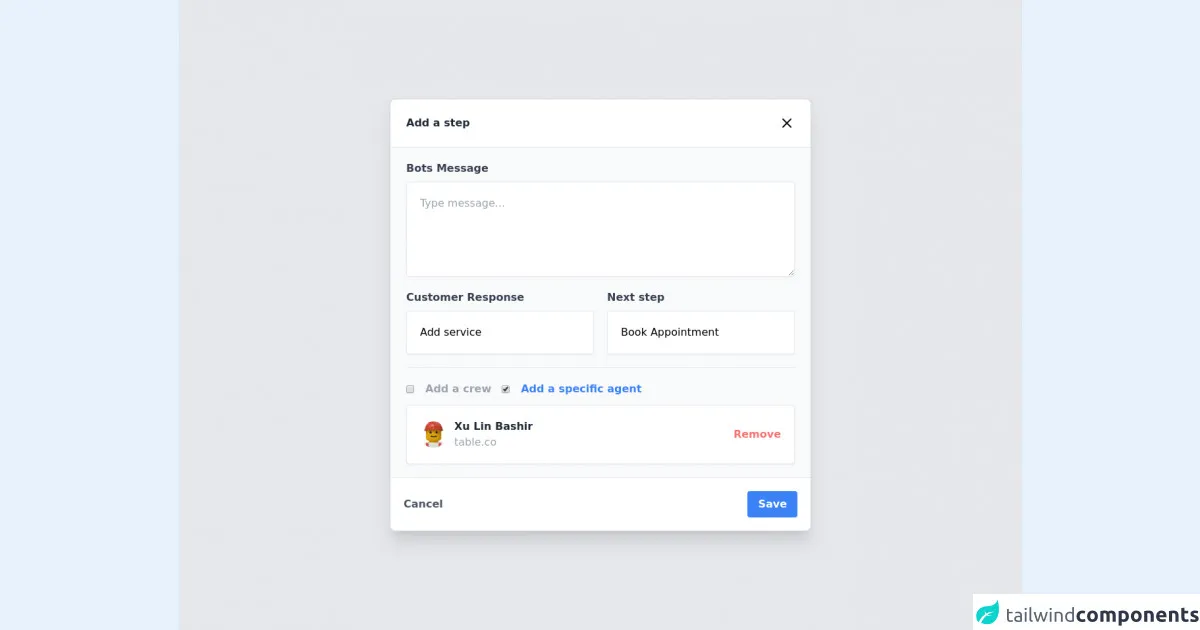
The Preview of Modal UI Component
Creating a modal UI component with Tailwind CSS is straightforward and can be done in several ways. Here are six different ways to create a modal UI component using Tailwind CSS:
Free download of the Modal's source code
The Source Code of Modal UI Component
To create a modal UI component with Tailwind CSS, you'll need to use HTML, CSS, and JavaScript. Here's an example of the HTML and CSS needed to create a basic modal UI component:
<div class="flex justify-center h-screen items-center bg-gray-200 antialiased">
      <div class="flex flex-col w-11/12 sm:w-5/6 lg:w-1/2 max-w-2xl mx-auto rounded-lg border border-gray-300 shadow-xl">
        <div
          class="flex flex-row justify-between p-6 bg-white border-b border-gray-200 rounded-tl-lg rounded-tr-lg"
        >
          <p class="font-semibold text-gray-800">Add a step</p>
          <svg
            class="w-6 h-6"
            fill="none"
            stroke="currentColor"
            viewBox="0 0 24 24"
            xmlns="http://www.w3.org/2000/svg"
          >
            <path
              stroke-linecap="round"
              stroke-linejoin="round"
              stroke-width="2"
              d="M6 18L18 6M6 6l12 12"
            ></path>
          </svg>
        </div>
        <div class="flex flex-col px-6 py-5 bg-gray-50">
          <p class="mb-2 font-semibold text-gray-700">Bots Message</p>
          <textarea
            type="text"
            name=""
            placeholder="Type message..."
            class="p-5 mb-5 bg-white border border-gray-200 rounded shadow-sm h-36"
            id=""
          ></textarea>
          <div class="flex flex-col sm:flex-row items-center mb-5 sm:space-x-5">
            <div class="w-full sm:w-1/2">
              <p class="mb-2 font-semibold text-gray-700">Customer Response</p>
              <select
                type="text"
                name=""
                class="w-full p-5 bg-white border border-gray-200 rounded shadow-sm appearance-none"
                id=""
              >
                <option value="0">Add service</option>
              </select>
            </div>
            <div class="w-full sm:w-1/2 mt-2 sm:mt-0">
              <p class="mb-2 font-semibold text-gray-700">Next step</p>
              <select
                type="text"
                name=""
                class="w-full p-5 bg-white border border-gray-200 rounded shadow-sm appearance-none"
                id=""
              >
                <option value="0">Book Appointment</option>
              </select>
            </div>
          </div>
          <hr />

          <div class="flex items-center mt-5 mb-3 space-x-4">
            <input
              class="inline-flex rounded-full"
              type="checkbox"
              id="check1"
              name="check1"
            />
            <label class="inline-flex font-semibold text-gray-400" for="check1">
              Add a crew</label
            ><br />
            <input
              class="inline-flex"
              type="checkbox"
              id="check2"
              name="check2"
                   checked
            />
            <label class="inline-flex font-semibold text-blue-500" for="check2">
              Add a specific agent</label
            ><br />
          </div>
          <div
            class="flex flex-row items-center justify-between p-5 bg-white border border-gray-200 rounded shadow-sm"
          >
            <div class="flex flex-row items-center">
              <img
                class="w-10 h-10 mr-3 rounded-full"
                src="https://randomuser.me/api/portraits/lego/7.jpg"
                alt=""
              />
              <div class="flex flex-col">
                <p class="font-semibold text-gray-800">Xu Lin Bashir</p>
                <p class="text-gray-400">table.co</p>
              </div>
            </div>
            <h1 class="font-semibold text-red-400">Remove</h1>
          </div>
        </div>
        <div
          class="flex flex-row items-center justify-between p-5 bg-white border-t border-gray-200 rounded-bl-lg rounded-br-lg"
        >
          <p class="font-semibold text-gray-600">Cancel</p>
          <button class="px-4 py-2 text-white font-semibold bg-blue-500 rounded">
            Save
          </button>
        </div>
      </div>
    </div>
How to Create a Modal with Tailwind CSS?
Now that we've covered the basics of Tailwind CSS and modal UI components let's dive into how to create a modal UI component with Tailwind CSS.
Method 1: Using the Modal Component from Tailwind UI
Tailwind UI is a collection of pre-built UI components that can be used with Tailwind CSS. The Modal component from Tailwind UI provides a fully customizable modal UI component that can be used in any project. To use the Modal component, you'll need to include the Tailwind UI CSS file in your project and add the HTML and JavaScript needed to create the modal.
Method 2: Using the Dialog Component from Tailwind CSS
The Dialog component from Tailwind CSS provides a simple way to create a modal UI component. The Dialog component consists of a container that overlays the page, a content area that displays the modal content, and a set of buttons or links that allow the user to interact with the modal.
Method 3: Using the Overlay Component from Tailwind CSS
The Overlay component from Tailwind CSS provides a way to create a modal UI component without using JavaScript. The Overlay component consists of a container that overlays the page and a content area that displays the modal content.
Method 4: Using the Transition Component from Tailwind CSS
The Transition component from Tailwind CSS provides a way to add animations to a modal UI component. The Transition component consists of a container that overlays the page, a content area that displays the modal content, and a set of buttons or links that allow the user to interact with the modal.
Method 5: Using the Modal Class from Tailwind CSS
The Modal class from Tailwind CSS provides a way to create a modal UI component using custom CSS. The Modal class consists of a container that overlays the page, a content area that displays the modal content, and a set of buttons or links that allow the user to interact with the modal.
Method 6: Using Custom CSS
Finally, you can create a modal UI component using custom CSS. This method requires more work than the previous methods, but it provides complete control over the modal's design and functionality.
Conclusion
In conclusion, Tailwind CSS provides a simple and flexible way to create custom UI components like modals. By using Tailwind CSS, developers can avoid writing custom CSS and focus on creating the UI component's functionality. Additionally, Tailwind CSS is highly customizable, allowing developers to create unique UI components that match their brand's style.