- Published on
6 Ideas To Help You Create A MasterCard UI With Tailwind CSS Like A Pro
- What is Tailwind CSS?
- The description of MasterCard UI ui component
- Why use Tailwind CSS to create a MasterCard UI ui component?
- The preview of MasterCard UI ui component
- The source code of MasterCard UI ui component
- How to create a MasterCard UI with Tailwind CSS?
- Step 1: Set up your development environment
- Step 2: Create the HTML structure
- Step 3: Add Tailwind CSS to your project
- Step 4: Style the MasterCard UI component
- Step 5: Preview your MasterCard UI component
- Step 6: Customize your MasterCard UI component
- Conclusion
What is Tailwind CSS?
Tailwind CSS is a utility-first CSS framework that provides a set of pre-defined classes to style your HTML elements. It allows developers to create responsive and customizable user interfaces quickly and efficiently. Tailwind CSS is an excellent choice for creating UI components like MasterCard UI.
The description of MasterCard UI ui component
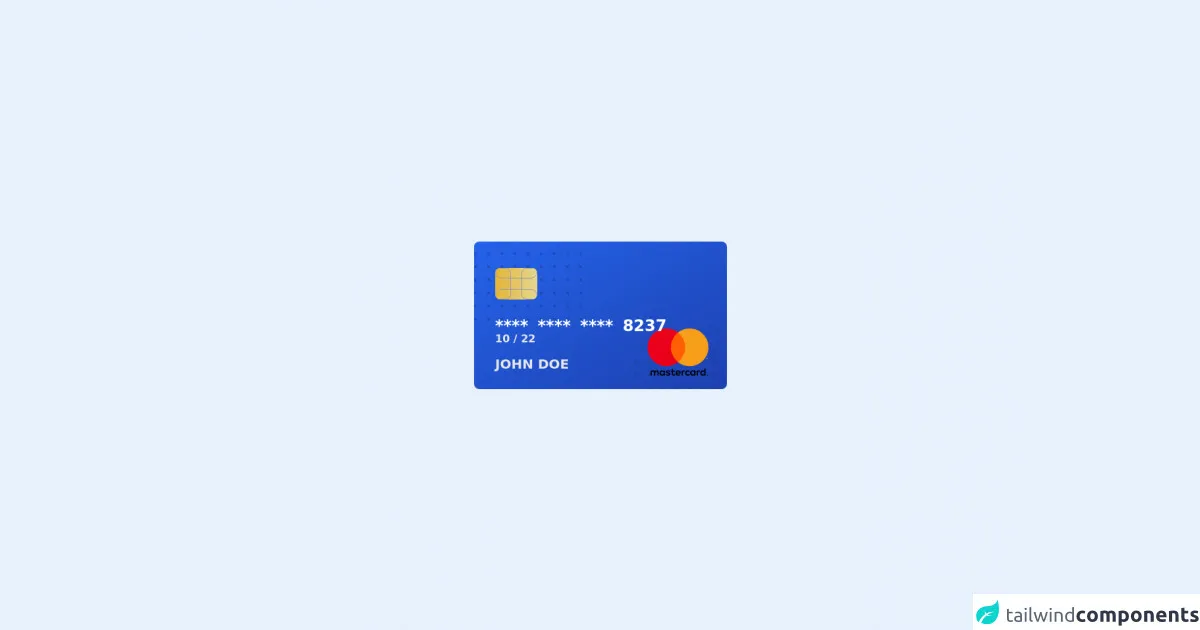
MasterCard UI is a popular payment gateway that allows users to make online transactions securely. The MasterCard UI component consists of a card-like interface that displays the user's payment information, including the card number, expiration date, and security code.
Why use Tailwind CSS to create a MasterCard UI ui component?
Tailwind CSS provides a set of pre-defined classes that can be used to create a MasterCard UI component quickly. The framework's utility-first approach allows developers to style their UI components without writing any custom CSS code. Additionally, Tailwind CSS is highly customizable, making it easy to create a unique and visually appealing MasterCard UI component.
The preview of MasterCard UI ui component
Free download of the MasterCard UI's source code
The source code of MasterCard UI ui component
To create a MasterCard UI component using Tailwind CSS, we will use the following CSS code:
<div class="flex flex-col items-center justify-center min-h-screen flex-auto flex-shrink-0">
  <div class="relative h-56 bg-gradient-to-br from-blue-600 to-blue-800 rounded-lg w-96 overflow-hidden">
    <svg viewBox="0 0 220 192" width="220" height="192" fill="none" class="absolute -left-10 -top-16 text-blue-900 opacity-50">
      <defs>
        <pattern id="837c3e70-6c3a-44e6-8854-cc48c737b659" x="0" y="0" width="20" height="20" patternUnits="userSpaceOnUse">
          <rect x="0" y="0" width="4" height="4" fill="currentColor"></rect>
        </pattern>
      </defs>
      <rect width="220" height="192" fill="url(#837c3e70-6c3a-44e6-8854-cc48c737b659)"></rect>
    </svg>
    <svg viewBox="0 0 220 192" width="220" height="192" fill="none" class="absolute -right-20 -bottom-32 text-blue-900 opacity-50">
      <defs>
        <pattern id="837c3e70-6c3a-44e6-8854-cc48c737b659" x="0" y="0" width="20" height="20" patternUnits="userSpaceOnUse">
          <rect x="0" y="0" width="4" height="4" fill="currentColor"></rect>
        </pattern>
      </defs>
      <rect width="220" height="192" fill="url(#837c3e70-6c3a-44e6-8854-cc48c737b659)"></rect>
    </svg>
    <img src="https://brand.mastercard.com/content/dam/mccom/brandcenter/thumbnails/mastercard_vrt_pos_92px_2x.png" alt="" srcset="" class="absolute right-4 bottom-2 h-24"/>
    <div class="absolute top-10 left-8 h-12 w-16 bg-gradient-to-r from-yellow-400 to-yellow-200 opacity-90 rounded-lg overflow-hidden">
      <span class="flex absolute top-1/2 left-1 h-full w-10 bg-opacity-50 rounded-lg transform -translate-y-1/2 -translate-x-1/2 border border-gray-400"></span>
      <span class="flex absolute top-1/2 right-1 h-full w-10 bg-opacity-50 rounded-lg transform -translate-y-1/2 translate-x-1/2 border border-gray-400"></span>
      <span class="flex absolute top-1.5 right-0 w-full h-5 bg-opacity-50 rounded-full transform -translate-y-1/2 border border-gray-400"></span>
      <span class="flex absolute bottom-1.5 right-0 w-full h-5 bg-opacity-50 rounded-full transform translate-y-1/2 border border-gray-400"></span>
    </div>
    <div class="absolute bottom-20 left-8 text-white font-semibold text-2xl space-x-1.5">
      <span>****</span>
      <span>****</span>
      <span>****</span>
      <span>8237</span>
    </div>
    <div class="absolute bottom-16 left-8 text-gray-200 font-semibold text-base">
      <span>10</span>
      <span>/</span>
      <span>22</span>
    </div>
    <div class="absolute bottom-6 left-8 text-gray-200 font-semibold text-xl uppercase">
      <span>John Doe</span>
    </div>
  </div>
</div>
How to create a MasterCard UI with Tailwind CSS?
Now that we have a basic understanding of Tailwind CSS and the MasterCard UI component let's dive into the steps to create a MasterCard UI component using Tailwind CSS.
Step 1: Set up your development environment
Before we start, we need to set up our development environment. We will need a code editor like Visual Studio Code and a browser to preview our code.
Step 2: Create the HTML structure
The first step is to create the HTML structure for the MasterCard UI component. We will use the HTML code mentioned above to create the structure.
Step 3: Add Tailwind CSS to your project
To use Tailwind CSS, we need to add it to our project. We can do this by downloading the framework and linking it to our HTML file or by using a package manager like npm.
Step 4: Style the MasterCard UI component
Now that we have the HTML structure and Tailwind CSS added to our project, we can start styling the MasterCard UI component. We will use the CSS code mentioned above to style the component.
Step 5: Preview your MasterCard UI component
Once we have styled our MasterCard UI component, we can preview it in the browser. We can make any necessary adjustments to the CSS code to achieve the desired look and feel.
Step 6: Customize your MasterCard UI component
Tailwind CSS is highly customizable, and we can use its configuration file to customize our MasterCard UI component further. We can change the colors, fonts, and other design elements to create a unique and visually appealing component.
Conclusion
In conclusion, Tailwind CSS is an excellent choice for creating UI components like the MasterCard UI component. Its utility-first approach allows developers to style their UI components quickly and efficiently, without writing any custom CSS code. By following the steps mentioned above, you can create a MasterCard UI component with Tailwind CSS like a pro.