- Published on
6 Incredibly Easy Ways To Create A Mac Terminal With Tailwind CSS Better While Spending Less
- What is Tailwind CSS?
- The description of Mac Terminal UI component
- Why use Tailwind CSS to create a Mac Terminal UI component?
- The preview of Mac Terminal UI component
- The source code of Mac Terminal UI component
- How to create a Mac Terminal with Tailwind CSS?
- Step 1: Set up your project
- Step 2: Create the HTML structure
- Step 3: Style the UI component
- Conclusion
If you're a FrontEnd developer, you know how important it is to have a good UI component library that can help you create beautiful and responsive user interfaces quickly. Tailwind CSS is one such library that has gained a lot of popularity in recent years. In this article, we'll explore how you can use Tailwind CSS to create a Mac Terminal UI component that looks great and is easy to use.
What is Tailwind CSS?
Tailwind CSS is a utility-first CSS framework that allows you to quickly build custom designs without writing any CSS. It provides a set of pre-defined classes that you can use to style your HTML elements. With Tailwind CSS, you can create responsive designs that work on all screen sizes.
The description of Mac Terminal UI component
The Mac Terminal UI component is a popular user interface element that is used to interact with the command-line interface on a Mac. It provides a text-based interface that allows users to execute commands and view the output. The Mac Terminal UI component is typically black and white with a monospaced font.
Why use Tailwind CSS to create a Mac Terminal UI component?
Tailwind CSS provides a set of pre-defined classes that make it easy to create a Mac Terminal UI component. You can use the pre-defined classes to style the background color, font, and spacing of the UI component. This saves you time and effort because you don't have to write any CSS from scratch.
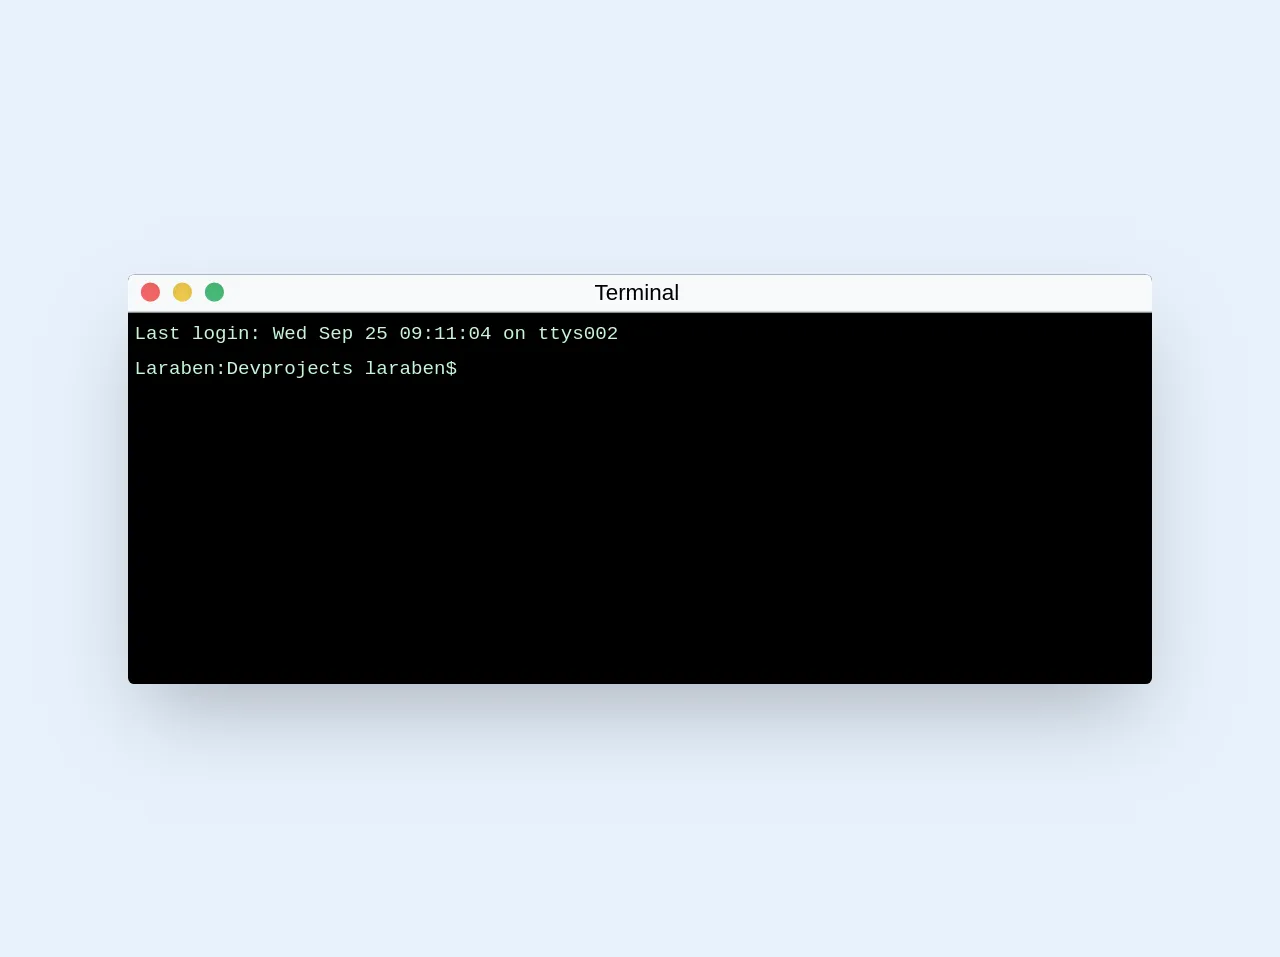
The preview of Mac Terminal UI component
To give you an idea of what the Mac Terminal UI component looks like, here's a preview:
Free download of the Mac Terminal's source code
The source code of Mac Terminal UI component
Here's the source code for the Mac Terminal UI component:
<div class="w-1/2 mx-auto">
  <div class="w-full shadow-2xl subpixel-antialiased rounded h-64 bg-black border-black mx-auto">
    <div class="flex items-center h-6 rounded-t bg-gray-100 border-b border-gray-500 text-center text-black" id="headerTerminal">
      <div class="flex ml-2 items-center text-center border-red-900 bg-red-500 shadow-inner rounded-full w-3 h-3" id="closebtn">
      </div>
      <div class="ml-2 border-yellow-900 bg-yellow-500 shadow-inner rounded-full w-3 h-3" id="minbtn">
      </div>
      <div class="ml-2 border-green-900 bg-green-500 shadow-inner rounded-full w-3 h-3" id="maxbtn">
      </div>
      <div class="mx-auto pr-16" id="terminaltitle">
        <p class="text-center text-sm">Terminal</p>
      </div>

    </div>
    <div class="pl-1 pt-1 h-auto  text-green-200 font-mono text-xs bg-black" id="console">
      <p class="pb-1">Last login: Wed Sep 25 09:11:04 on ttys002</p>
      <p class="pb-1">Laraben:Devprojects laraben$</p>
    </div>
  </div>
</div>
How to create a Mac Terminal with Tailwind CSS?
Now that you know why Tailwind CSS is a great choice for creating a Mac Terminal UI component, let's look at how you can create one.
Step 1: Set up your project
To get started, create a new HTML file and include the Tailwind CSS CDN in the head section of your HTML file:
<head>
  <link rel="stylesheet" href="https://cdn.tailwindcss.com/css/tailwind.min.css">
</head>
Step 2: Create the HTML structure
Next, create the HTML structure for the Mac Terminal UI component. Here's an example:
<div class="bg-black text-white font-mono p-4">
  <div class="flex items-center">
    <div class="bg-red-500 w-3 h-3 rounded-full mr-2"></div>
    <div class="bg-yellow-500 w-3 h-3 rounded-full mr-2"></div>
    <div class="bg-green-500 w-3 h-3 rounded-full"></div>
  </div>
  <div class="mt-2">
    <span class="text-green-500">user@macbookpro</span>
    <span class="text-white"> ~ $</span>
    <input type="text" class="bg-black text-white border-none focus:outline-none">
  </div>
  <div class="mt-2">
    <span class="text-green-500">Last login:</span>
    <span class="text-white"> Wed May 12 13:57:09 on ttys000</span>
  </div>
  <div class="mt-2">
    <span class="text-green-500">Welcome to the Mac Terminal</span>
  </div>
</div>
Step 3: Style the UI component
Finally, use Tailwind CSS classes to style the UI component. Here's an example:
.bg-black {
  background-color: #000;
}

.text-white {
  color: #fff;
}

.font-mono {
  font-family: Menlo, Monaco, Consolas, "Liberation Mono", "Courier New", monospace;
}

.p-4 {
  padding: 1rem;
}

.flex {
  display: flex;
}

.items-center {
  align-items: center;
}

.bg-red-500 {
  background-color: #f56565;
}

.bg-yellow-500 {
  background-color: #ffd700;
}

.bg-green-500 {
  background-color: #48bb78;
}

.w-3 {
  width: 0.75rem;
}

.h-3 {
  height: 0.75rem;
}

.rounded-full {
  border-radius: 9999px;
}

.mr-2 {
  margin-right: 0.5rem;
}

.mt-2 {
  margin-top: 0.5rem;
}

.text-green-500 {
  color: #48bb78;
}

.text-white {
  color: #fff;
}

.border-none {
  border: none;
}

.focus\:outline-none:focus {
  outline: none;
}
Conclusion
In this article, we've explored how you can use Tailwind CSS to create a Mac Terminal UI component. We've discussed why Tailwind CSS is a great choice for creating UI components and provided a preview of what the Mac Terminal UI component looks like. We've also provided the source code and step-by-step instructions on how to create the UI component. With these tips, you can create beautiful and responsive UI components quickly and easily.