- Published on
A Complete Guide To Make A Login Form With Tailwind CSS
- What is Tailwind CSS?
- The description of login form UI component
- Why use Tailwind CSS to create a login form UI component?
- The preview of login form UI component
- The source code of login form UI component
- How to create a login form with Tailwind CSS?
- Step 1: Set up the HTML structure
- Step 2: Style the login form with Tailwind CSS
- Step 3: Add interactivity with JavaScript
- Conclusion
In this tutorial, we will learn how to create a login form using Tailwind CSS. We will go through the step-by-step process of creating a login form UI component and explain why Tailwind CSS is a great choice for creating UI components.
What is Tailwind CSS?
Tailwind CSS is a utility-first CSS framework that provides a set of pre-defined classes that can be used to style HTML elements. It is designed to make it easy to create complex and responsive layouts without writing custom CSS. Tailwind CSS is highly customizable and can be configured to match the design requirements of any project.
The description of login form UI component
A login form is a UI component that allows users to log in to a website or application. It typically consists of two input fields for the user's email/username and password, as well as a submit button to initiate the login process. The login form should be easy to use and visually appealing to encourage users to log in.
Why use Tailwind CSS to create a login form UI component?
Tailwind CSS provides a set of pre-defined classes that can be used to create a login form UI component quickly and easily. It also allows for easy customization of the form's appearance and layout. Using Tailwind CSS will save time and effort compared to writing custom CSS from scratch.
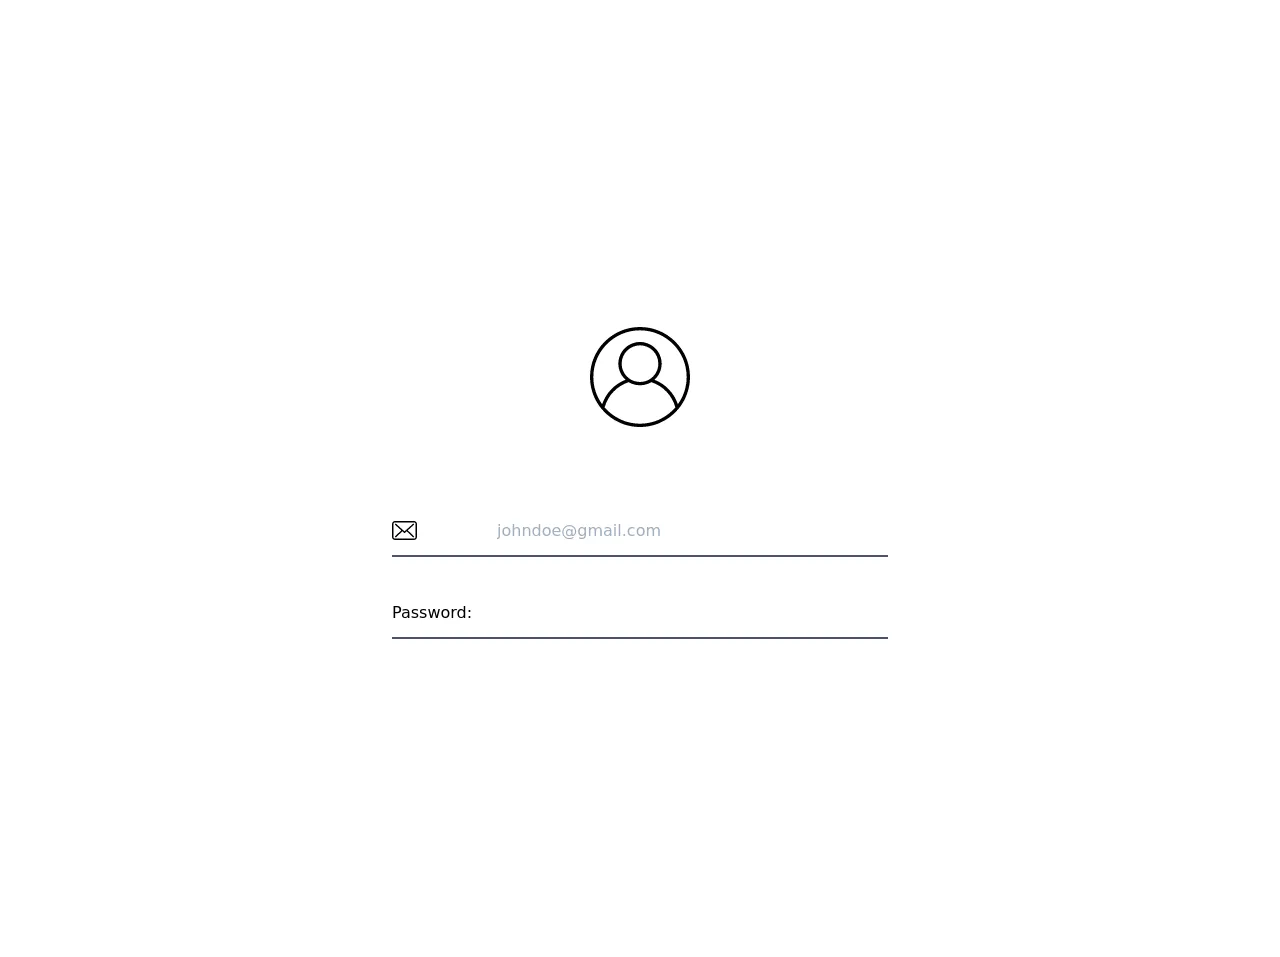
The preview of login form UI component
Below is a preview of the login form UI component that we will create in this tutorial.
Free download of the login form's source code
The source code of login form UI component
The source code for the login form UI component can be found below.
<!-- This is an example component -->
<div class="w-screen h-screen overflow-hidden flex justify-center items-center bg-white">
<div class="w-full my-2 md:w-3/5 lg:w-2/5">
<div class="flex justify-center items-center mt-10 mb-20">
<svg version="1.1" id="Capa_2" width="100px" height="100px" xmlns="http://www.w3.org/2000/svg" xmlns:xlink="http://www.w3.org/1999/xlink" x="0px" y="0px"
viewBox="0 0 480 480" style="enable-background:new 0 0 480 480;" xml:space="preserve">
<path d="M240,0C107.664,0,0,107.664,0,240c0,57.96,20.656,111.184,54.992,152.704c0.088,0.12,0.096,0.272,0.192,0.384
c24.792,29.896,55.928,52.816,90.624,67.624c0.4,0.168,0.792,0.352,1.192,0.52c2.808,1.184,5.648,2.28,8.496,3.352
c1.12,0.424,2.24,0.856,3.376,1.264c2.456,0.88,4.928,1.712,7.416,2.512c1.592,0.512,3.184,1.016,4.792,1.496
c2.2,0.656,4.408,1.288,6.632,1.888c1.952,0.528,3.92,1.016,5.888,1.488c1.992,0.48,3.992,0.96,6,1.384
c2.24,0.48,4.504,0.904,6.776,1.32c1.824,0.336,3.64,0.688,5.48,0.984c2.52,0.408,5.056,0.728,7.6,1.056
c1.64,0.208,3.272,0.448,4.92,0.624c2.88,0.304,5.784,0.52,8.696,0.72c1.352,0.096,2.696,0.24,4.056,0.312
c4.248,0.24,8.544,0.368,12.872,0.368s8.624-0.128,12.888-0.352c1.36-0.072,2.704-0.216,4.056-0.312
c2.912-0.208,5.816-0.416,8.696-0.72c1.648-0.176,3.28-0.416,4.92-0.624c2.544-0.328,5.08-0.648,7.6-1.056
c1.832-0.296,3.656-0.648,5.48-0.984c2.264-0.416,4.528-0.84,6.776-1.32c2.008-0.432,4-0.904,6-1.384
c1.968-0.48,3.936-0.968,5.888-1.488c2.224-0.592,4.432-1.232,6.632-1.888c1.608-0.48,3.2-0.984,4.792-1.496
c2.488-0.8,4.96-1.632,7.416-2.512c1.128-0.408,2.248-0.84,3.376-1.264c2.856-1.072,5.688-2.176,8.496-3.352
c0.4-0.168,0.792-0.352,1.192-0.52c34.688-14.808,65.832-37.728,90.624-67.624c0.096-0.112,0.104-0.272,0.192-0.384
C459.344,351.184,480,297.96,480,240C480,107.664,372.336,0,240,0z M337.256,441.76c-0.12,0.056-0.232,0.12-0.352,0.176
c-2.856,1.376-5.76,2.672-8.688,3.936c-0.664,0.28-1.32,0.568-1.984,0.848c-2.56,1.072-5.152,2.088-7.76,3.064
c-1.088,0.408-2.176,0.808-3.272,1.192c-2.312,0.824-4.632,1.616-6.976,2.368c-1.456,0.464-2.92,0.904-4.384,1.336
c-2.08,0.624-4.168,1.224-6.28,1.784c-1.776,0.472-3.568,0.904-5.36,1.328c-1.88,0.448-3.752,0.904-5.648,1.304
c-2.072,0.44-4.16,0.816-6.24,1.192c-1.688,0.312-3.368,0.64-5.072,0.912c-2.344,0.368-4.712,0.664-7.072,0.96
c-1.496,0.192-2.984,0.416-4.496,0.576c-2.696,0.288-5.416,0.472-8.128,0.664c-1.208,0.08-2.408,0.216-3.632,0.28
c-3.96,0.208-7.928,0.32-11.912,0.32s-7.952-0.112-11.904-0.32c-1.216-0.064-2.416-0.192-3.632-0.28
c-2.72-0.184-5.432-0.376-8.128-0.664c-1.512-0.16-3-0.384-4.496-0.576c-2.36-0.296-4.728-0.592-7.072-0.96
c-1.704-0.272-3.384-0.6-5.072-0.912c-2.088-0.376-4.176-0.76-6.24-1.192c-1.896-0.4-3.776-0.856-5.648-1.304
c-1.792-0.432-3.584-0.856-5.36-1.328c-2.104-0.56-4.2-1.168-6.28-1.784c-1.464-0.432-2.928-0.872-4.384-1.336
c-2.344-0.752-4.672-1.544-6.976-2.368c-1.096-0.392-2.184-0.792-3.272-1.192c-2.608-0.976-5.2-1.992-7.76-3.064
c-0.664-0.272-1.312-0.56-1.976-0.84c-2.928-1.256-5.832-2.56-8.696-3.936c-0.12-0.056-0.232-0.112-0.352-0.176
c-27.912-13.504-52.568-32.672-72.576-55.952c15.464-56.944,59.24-102.848,115.56-121.112c1.112,0.68,2.272,1.288,3.416,1.928
c0.672,0.376,1.336,0.776,2.016,1.136c2.384,1.264,4.8,2.448,7.272,3.512c1.896,0.832,3.856,1.536,5.808,2.256
c0.384,0.136,0.768,0.288,1.152,0.424c10.848,3.84,22.456,6.04,34.6,6.04s23.752-2.2,34.592-6.04
c0.384-0.136,0.768-0.288,1.152-0.424c1.952-0.72,3.912-1.424,5.808-2.256c2.472-1.064,4.888-2.248,7.272-3.512
c0.68-0.368,1.344-0.76,2.016-1.136c1.144-0.64,2.312-1.248,3.432-1.936c56.32,18.272,100.088,64.176,115.56,121.112
C389.824,409.08,365.168,428.248,337.256,441.76z M152,176c0-48.52,39.48-88,88-88s88,39.48,88,88
c0,30.864-16.008,58.024-40.128,73.736c-3.152,2.048-6.432,3.88-9.8,5.48c-0.4,0.192-0.792,0.392-1.192,0.576
c-23.168,10.536-50.592,10.536-73.76,0c-0.4-0.184-0.8-0.384-1.192-0.576c-3.376-1.6-6.648-3.432-9.8-5.48
C168.008,234.024,152,206.864,152,176z M421.832,370.584c-18.136-53.552-59.512-96.832-112.376-117.392
C330.6,234.144,344,206.64,344,176c0-57.344-46.656-104-104-104s-104,46.656-104,104c0,30.64,13.4,58.144,34.552,77.192
c-52.864,20.568-94.24,63.84-112.376,117.392C31.672,333.792,16,288.704,16,240C16,116.488,116.488,16,240,16s224,100.488,224,224
C464,288.704,448.328,333.792,421.832,370.584z"/>
</svg>
</div>
<div class="flex my-8 mx-4 md:mx-2 border-b-2 border-gray-700 hover:border-green-800">
<label class="self-center">
<svg version="1.1" id="Capa_1" width="25px" height="25px" xmlns="http://www.w3.org/2000/svg" xmlns:xlink="http://www.w3.org/1999/xlink" x="0px" y="0px"
viewBox="0 0 483.3 483.3" style="enable-background:new 0 0 483.3 483.3;display:inline" xml:space="preserve">
<path d="M424.3,57.75H59.1c-32.6,0-59.1,26.5-59.1,59.1v249.6c0,32.6,26.5,59.1,59.1,59.1h365.1c32.6,0,59.1-26.5,59.1-59.1
v-249.5C483.4,84.35,456.9,57.75,424.3,57.75z M456.4,366.45c0,17.7-14.4,32.1-32.1,32.1H59.1c-17.7,0-32.1-14.4-32.1-32.1v-249.5
c0-17.7,14.4-32.1,32.1-32.1h365.1c17.7,0,32.1,14.4,32.1,32.1v249.5H456.4z"/>
<path d="M304.8,238.55l118.2-106c5.5-5,6-13.5,1-19.1c-5-5.5-13.5-6-19.1-1l-163,146.3l-31.8-28.4c-0.1-0.1-0.2-0.2-0.2-0.3
c-0.7-0.7-1.4-1.3-2.2-1.9L78.3,112.35c-5.6-5-14.1-4.5-19.1,1.1c-5,5.6-4.5,14.1,1.1,19.1l119.6,106.9L60.8,350.95
c-5.4,5.1-5.7,13.6-0.6,19.1c2.7,2.8,6.3,4.3,9.9,4.3c3.3,0,6.6-1.2,9.2-3.6l120.9-113.1l32.8,29.3c2.6,2.3,5.8,3.4,9,3.4
c3.2,0,6.5-1.2,9-3.5l33.7-30.2l120.2,114.2c2.6,2.5,6,3.7,9.3,3.7c3.6,0,7.1-1.4,9.8-4.2c5.1-5.4,4.9-14-0.5-19.1L304.8,238.55z"
/>

</svg>
</label>
<input class="w-full py-3 pl-5 md:pl-20 border-0 focus:outline-none" type="email" placeholder="[email protected]" autocomplete="on" required>
</div>
<div class="flex my-8 mx-4 md:mx-2 border-b-2 border-gray-700 hover:border-green-800">
<label class="self-center">Password:</label>
<input class="w-full py-3 pl-2 md:pl-8 border-0 focus:outline-none" type="password" required>
</div>
</div>
</div>
How to create a login form with Tailwind CSS?
Now, let's dive into the step-by-step process of creating a login form using Tailwind CSS.
Step 1: Set up the HTML structure
The first step is to set up the HTML structure of the login form. We will create a form element with two input fields and a submit button.
<form class="bg-white shadow-md rounded px-8 pt-6 pb-8 mb-4">
  <div class="mb-4">
    <label class="block text-gray-700 font-bold mb-2" for="username">
      Username
    </label>
    <input
      class="shadow appearance-none border rounded w-full py-2 px-3 text-gray-700 leading-tight focus:outline-none focus:shadow-outline"
      id="username"
      type="text"
      placeholder="Username"
    />
  </div>
  <div class="mb-6">
    <label class="block text-gray-700 font-bold mb-2" for="password">
      Password
    </label>
    <input
      class="shadow appearance-none border rounded w-full py-2 px-3 text-gray-700 leading-tight focus:outline-none focus:shadow-outline"
      id="password"
      type="password"
      placeholder="Password"
    />
  </div>
  <div class="flex items-center justify-between">
    <button
      class="bg-blue-500 hover:bg-blue-700 text-white font-bold py-2 px-4 rounded focus:outline-none focus:shadow-outline"
      type="button"
    >
      Sign In
    </button>
  </div>
</form>
Step 2: Style the login form with Tailwind CSS
Once we have set up the HTML structure, we can start styling the login form using Tailwind CSS classes. We will use a combination of background colors, shadows, rounded corners, and font styles to create a visually appealing login form.
.bg-white {
  background-color: #fff;
}
.shadow-md {
  box-shadow: 0 4px 6px -1px rgba(0, 0, 0, 0.1), 0 2px 4px -1px rgba(0, 0, 0, 0.06);
}
.rounded {
  border-radius: 0.25rem;
}
.px-8 {
  padding-left: 2rem;
  padding-right: 2rem;
}
.pt-6 {
  padding-top: 1.5rem;
}
.pb-8 {
  padding-bottom: 2rem;
}
.mb-4 {
  margin-bottom: 1rem;
}
.block {
  display: block;
}
.text-gray-700 {
  color: #4a5568;
}
.font-bold {
  font-weight: 700;
}
.mb-2 {
  margin-bottom: 0.5rem;
}
.appearance-none {
  -webkit-appearance: none;
  -moz-appearance: none;
  appearance: none;
}
.border {
  border-width: 1px;
}
.py-2 {
  padding-top: 0.5rem;
  padding-bottom: 0.5rem;
}
.px-3 {
  padding-left: 0.75rem;
  padding-right: 0.75rem;
}
.leading-tight {
  line-height: 1.25;
}
.focus\:outline-none:focus {
  outline: none;
}
.focus\:shadow-outline:focus {
  box-shadow: 0 0 0 3px rgba(66, 153, 225, 0.5);
}
.flex {
  display: flex;
}
.items-center {
  align-items: center;
}
.justify-between {
  justify-content: space-between;
}
.bg-blue-500 {
  background-color: #4299e1;
}
.hover\:bg-blue-700:hover {
  background-color: #2b6cb0;
}
.text-white {
  color: #fff;
}
.py-2 {
  padding-top: 0.5rem;
  padding-bottom: 0.5rem;
}
.px-4 {
  padding-left: 1rem;
  padding-right: 1rem;
}
.rounded {
  border-radius: 0.25rem;
}
Step 3: Add interactivity with JavaScript
To make the login form functional, we need to add some interactivity with JavaScript. We will add an event listener to the submit button that will validate the user's input and initiate the login process.
const form = document.querySelector('form');
const usernameInput = document.getElementById('username');
const passwordInput = document.getElementById('password');

form.addEventListener('submit', (event) => {
  event.preventDefault();

  const username = usernameInput.value;
  const password = passwordInput.value;

  if (username === '' || password === '') {
    alert('Please enter a username and password.');
    return;
  }

  // TODO: Add login logic here
});
Conclusion
In this tutorial, we learned how to create a login form using Tailwind CSS. We went through the step-by-step process of creating a login form UI component and explained why Tailwind CSS is a great choice for creating UI components. With Tailwind CSS, we were able to create a visually appealing and functional login form with minimal effort.