- Published on
Practical Guide: Create A Login Form With Tailwind CSS
- What is Tailwind CSS?
- The description of Login Form ui component
- Why use Tailwind CSS to create a Login Form ui component?
- The preview of Login Form ui component
- The source code of Login Form ui component
- How to create a Login Form with Tailwind CSS?
- Step 1: Set up your project
- Step 2: Add Tailwind CSS classes
- Step 3: Customize the styles
- Step 4: Add JavaScript code
- Conclusion
As a FrontEnd technology blogger, I am always on the lookout for new and exciting ways to create beautiful and functional user interfaces. One technology that has caught my attention recently is Tailwind CSS. In this article, I will guide you through the process of creating a Login Form ui component using Tailwind CSS.
What is Tailwind CSS?
Tailwind CSS is a utility-first CSS framework that allows you to rapidly build custom user interfaces. It provides a set of pre-defined CSS classes that you can use to style your HTML elements. Tailwind CSS is designed to be highly customizable, which means you can easily modify the default styles to fit your specific needs.
The description of Login Form ui component
A Login Form ui component is an essential part of any web application that requires user authentication. It typically consists of an email or username input field, a password input field, and a submit button. The Login Form ui component should be easy to use and visually appealing.
Why use Tailwind CSS to create a Login Form ui component?
Tailwind CSS provides a set of pre-defined CSS classes that can be used to create a Login Form ui component quickly. It also allows you to customize the styles easily, which means you can create a unique Login Form ui component that matches your brand's colors and style.
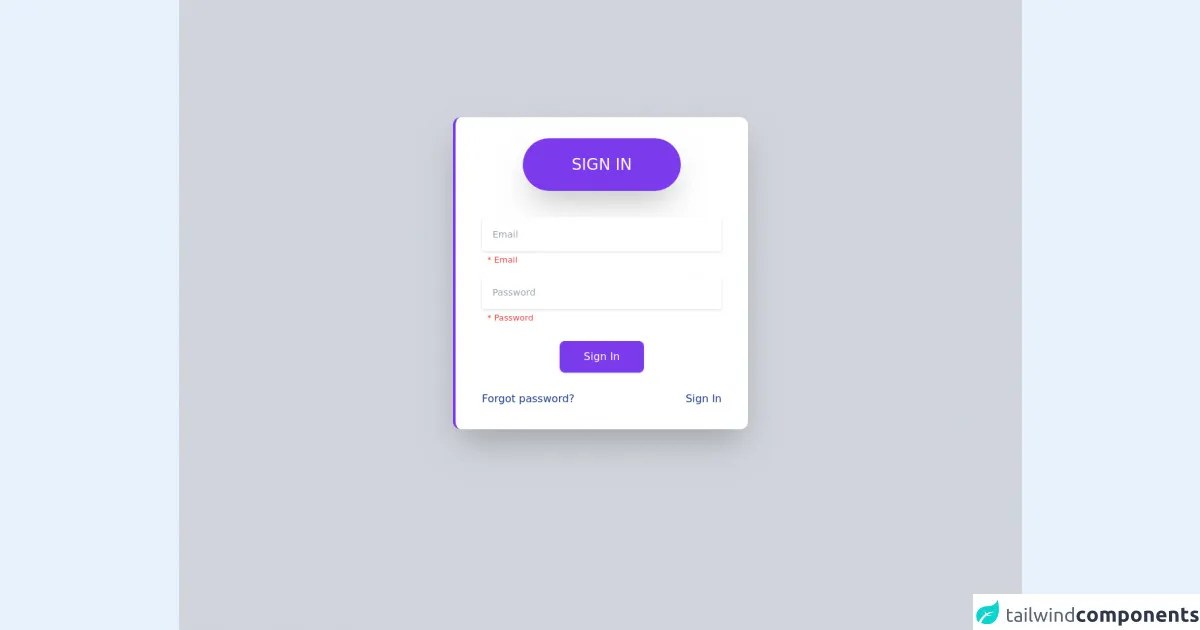
The preview of Login Form ui component
To give you an idea of what the Login Form ui component will look like, here is a preview:
Free download of the Login Form's source code
The source code of Login Form ui component
Here is the source code for the Login Form ui component:
<div class="flex flex-col items-center justify-center bg-gray-300 h-screen select-none">
    <div class="flex flex-col -mt-32 bg-white px-4 sm:px-6 md:px-8 lg:px-10 py-8 rounded-xl shadow-2xl w-full max-w-md  border-l-4 border-purple-600">
        <div class="font-medium self-center text-xl sm:text-2xl uppercase w-60 text-center bg-purple-600 shadow-2xl p-6 rounded-full text-white">Sign In</div>
        <div class="mt-10">
            <form method="POST" action="" autocomplete="">
                <div class="relative w-full mb-3">
                    <input type="email" name="email" class="border-0 p-4 placeholder-gray-400 text-gray-700 bg-white rounded text-sm shadow focus:outline-none focus:ring w-full" placeholder="Email" style="transition: all 0.15s ease 0s;" />
                    <small class="p-2 text-red-500">* Email</small>
                </div>
                <div class="relative w-full mb-3">
                    <input type="password" name="password" class="border-0 p-4 placeholder-gray-400 text-gray-700 bg-white rounded text-sm shadow focus:outline-none focus:ring w-full" placeholder="Password" style="transition: all 0.15s ease 0s;" />
                    <small class="p-2 text-red-500">* Password</small>
                </div>
                <div class="text-center mt-6">
                    <input type="submit" name="signin" id="signin" value="Sign In" class="p-3 rounded-lg bg-purple-600 outline-none text-white shadow w-32 justify-center focus:bg-purple-700 hover:bg-purple-500">
                </div>
                <div class="flex flex-wrap mt-6">
                    <div class="w-1/2 text-left">
                        <a href="#" class="text-blue-900 text-xl"><small>Forgot password?</small></a>
                    </div>
                    <div class="w-1/2 text-right">
                        <a href="#" class="text-blue-900 text-xl"><small>Sign In</small></a>
                    </div>
                </div>
            </form>
        </div>
    </div>
</div>
How to create a Login Form with Tailwind CSS?
Now that you have an idea of what the Login Form ui component will look like and the source code, let's dive into the steps to create it.
Step 1: Set up your project
The first step is to set up your project. You can use any text editor or IDE of your choice. Create a new HTML file and add the following code:
<!DOCTYPE html>
<html lang="en">
<head>
    <meta charset="UTF-8">
    <title>Login Form</title>
    <link rel="stylesheet" href="https://cdn.jsdelivr.net/npm/[email protected]/dist/tailwind.min.css">
</head>
<body>
    <div class="flex justify-center items-center h-screen">
        <form class="bg-white shadow-md rounded px-8 pt-6 pb-8 mb-4">
            <div class="mb-4">
                <label class="block text-gray-700 font-bold mb-2" for="username">
                    Username
                </label>
                <input class="shadow appearance-none border rounded w-full py-2 px-3 text-gray-700 leading-tight focus:outline-none focus:shadow-outline" id="username" type="text" placeholder="Username">
            </div>
            <div class="mb-6">
                <label class="block text-gray-700 font-bold mb-2" for="password">
                    Password
                </label>
                <input class="shadow appearance-none border rounded w-full py-2 px-3 text-gray-700 leading-tight focus:outline-none focus:shadow-outline" id="password" type="password" placeholder="********">
            </div>
            <div class="flex items-center justify-between">
                <button class="bg-blue-500 hover:bg-blue-700 text-white font-bold py-2 px-4 rounded focus:outline-none focus:shadow-outline" type="button">
                    Sign In
                </button>
            </div>
        </form>
    </div>
</body>
</html>
Step 2: Add Tailwind CSS classes
In the HTML code above, you can see that we have used Tailwind CSS classes to style the Login Form ui component. For example, we have used the bg-white class to set the background color of the form to white, and the shadow-md class to add a shadow effect.
Step 3: Customize the styles
Tailwind CSS allows you to customize the default styles easily. For example, you can change the background color of the form by adding the bg-red-500 class instead of bg-white. You can also change the font size, font family, and other properties by modifying the corresponding CSS classes.
Step 4: Add JavaScript code
To make the Login Form ui component functional, you need to add some JavaScript code. You can use any JavaScript framework or library of your choice. Here is an example of how to add JavaScript code using jQuery:
<script src="https://code.jquery.com/jquery-3.6.0.min.js"></script>
<script>
    $(document).ready(function() {
        $('button').click(function() {
            var username = $('#username').val();
            var password = $('#password').val();
            // Add your authentication code here
        });
    });
</script>
Conclusion
In this article, we have learned how to create a Login Form ui component using Tailwind CSS. Tailwind CSS provides a set of pre-defined CSS classes that can be used to style HTML elements quickly. It also allows you to customize the styles easily, which means you can create a unique Login Form ui component that matches your brand's colors and style. With Tailwind CSS, you can create beautiful and functional user interfaces quickly and easily.