- Published on
6 Tips To Build A Landing Page With Twinkling Stars 🌟 With Tailwind CSS
- What is Tailwind CSS?
- The description of Landing Page with twinkling stars 🌟 ui component
- Why use Tailwind CSS to create a Landing Page with twinkling stars 🌟 ui component?
- The preview of Landing Page with twinkling stars 🌟 ui component
- The source code of Landing Page with twinkling stars 🌟 ui component
- How to create a Landing Page with twinkling stars 🌟 with Tailwind CSS?
- Step 1: Set up your HTML file
- Step 2: Add a background image
- Step 3: Add a transparent overlay
- Step 4: Add the twinkling stars 🌟 effect
- Step 5: Add content to your landing page
- Conclusion
Are you looking to create a stunning landing page that will grab your audience's attention? Adding twinkling stars 🌟 to your landing page can create a magical and captivating effect. In this article, we will show you how to build a landing page with twinkling stars 🌟 using Tailwind CSS.
What is Tailwind CSS?
Tailwind CSS is a utility-first CSS framework that provides pre-defined classes to style your HTML elements. It allows you to create complex designs with ease by providing a set of pre-defined classes for common design patterns.
The description of Landing Page with twinkling stars 🌟 ui component
A landing page with twinkling stars 🌟 is a UI component that adds a magical and captivating effect to your landing page. It creates a sense of wonder and excitement that can help to engage your audience and increase conversions.
Why use Tailwind CSS to create a Landing Page with twinkling stars 🌟 ui component?
Tailwind CSS provides a set of pre-defined classes that can be used to create the twinkling stars 🌟 effect without the need for custom CSS code. This makes it easy to create a stunning landing page with minimal effort.
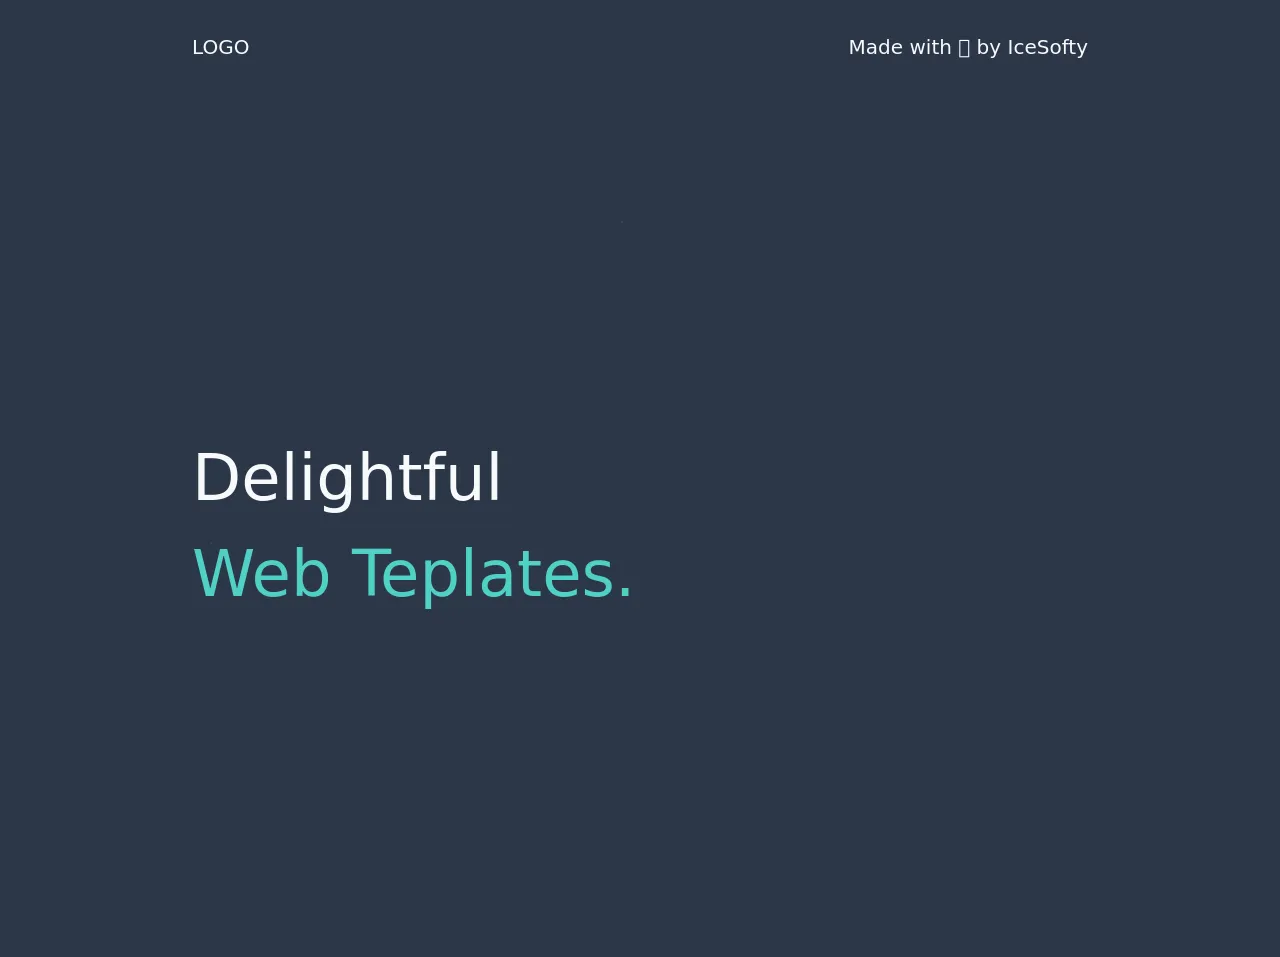
The preview of Landing Page with twinkling stars 🌟 ui component
To create a landing page with twinkling stars 🌟, we will use Tailwind CSS to add a background image and overlay it with a transparent layer that contains the twinkling stars 🌟 effect.
Free download of the Landing Page with twinkling stars 🌟's source code
The source code of Landing Page with twinkling stars 🌟 ui component
To create the landing page with twinkling stars 🌟, we will use HTML and Tailwind CSS. The HTML code will contain the structure of the landing page, and the Tailwind CSS classes will be used to style the elements.
<script src="https://code.jquery.com/jquery-2.2.4.min.js"></script>
<style>
.star {
  position: absolute;
  width: 2px;
  height: 2px;
  border-radius: 5px;
}

@keyframes twinkle {
  0% {
    transform: scale(1, 1);
    background: rgba(255, 255, 255, 0);
    animation-timing-function: linear;
  }
  40% {
    transform: scale(0.8, 0.8);
    background: rgba(255, 255, 255, 1);
    animation-timing-function: ease-out;
  }
  80% {
    background: rgba(255, 255, 255, 0);
    transform: scale(1, 1);
  }
  100% {
    background: rgba(255, 255, 255, 0);
    transform: scale(1, 1);
  }
}
</style>

<section
      class="homescreen m-0 flex flex-col w-screen justify-center bg-gray-800 h-screen text-gray-100 "
    >
      <nav>
        <ul class="flex justify-between text-xl py-8 px-8 md:px-48 ">
          <li>
            LOGO
          </li>
          <li>
            <a href="https://github.com/Icesofty" target="_blank" rel="noopener noreferrer">Made with 💚 by IceSofty</a>
          </li>
        </ul>
      </nav>

      <h1 class="text-6xl  my-auto mx-auto  md:mx-48 ">
        Delightful <br />
        <span class="text-teal-400">Web Templates.</span>
      </h1>
    </section>
<script>
for (var i = 0; i < 100; i++) {
  var star =
    '<div class="star m-0" style="animation: twinkle ' +
    (Math.random() * 5 + 5) +
    's linear ' +
    (Math.random() * 1 + 1) +
    's infinite; top: ' +
    Math.random() * $(window).height() +
    'px; left: ' +
    Math.random() * $(window).width() +
    'px;"></div>';
  $('.homescreen').append(star);
}

</script>
How to create a Landing Page with twinkling stars 🌟 with Tailwind CSS?
Here are the steps to create a landing page with twinkling stars 🌟 using Tailwind CSS:
Step 1: Set up your HTML file
Create a new HTML file and add the basic structure of your landing page. This will include the header, main content, and footer sections.
<!DOCTYPE html>
<html>
  <head>
    <title>Landing Page with Twinkling Stars 🌟</title>
  </head>
  <body>
    <header>
      <!-- Add your header content here -->
    </header>
    <main>
      <!-- Add your main content here -->
    </main>
    <footer>
      <!-- Add your footer content here -->
    </footer>
  </body>
</html>
Step 2: Add a background image
To add a background image to your landing page, you can use the bg-cover and bg-center classes provided by Tailwind CSS. These classes will ensure that the background image covers the entire screen and is centered.
<main class="bg-cover bg-center" style="background-image: url('your-image-url');">
Step 3: Add a transparent overlay
To create a transparent overlay that contains the twinkling stars 🌟 effect, you can use the absolute and inset-0 classes provided by Tailwind CSS. These classes will ensure that the overlay covers the entire screen.
<div class="absolute inset-0 bg-black opacity-50"></div>
Step 4: Add the twinkling stars 🌟 effect
To add the twinkling stars 🌟 effect, you can use the before and after pseudo-elements provided by CSS. These elements will be used to create the stars and animate them.
.twinkling-stars::before,
.twinkling-stars::after {
  content: "";
  position: absolute;
  top: 0;
  left: 0;
  width: 100%;
  height: 100%;
  background: url('your-star-image-url') repeat top center;
  z-index: -1;
}

.twinkling-stars::before {
  animation: animateStars 20s linear infinite;
}

.twinkling-stars::after {
  animation: animateStarsReverse 20s linear infinite;
}

@keyframes animateStars {
  from {
    transform: translateY(0);
  }
  to {
    transform: translateY(-100%);
  }
}

@keyframes animateStarsReverse {
  from {
    transform: translateY(-100%);
  }
  to {
    transform: translateY(0);
  }
}
Step 5: Add content to your landing page
Finally, you can add your content to the landing page. This can include headings, text, images, and buttons.
<main class="bg-cover bg-center relative twinkling-stars" style="background-image: url('your-image-url');">
  <div class="absolute inset-0 bg-black opacity-50"></div>
  <div class="container mx-auto px-4 py-32">
    <h1 class="text-4xl font-bold text-white leading-tight mb-8">Welcome to our Landing Page</h1>
    <p class="text-xl text-white mb-8">Lorem ipsum dolor sit amet, consectetur adipiscing elit. Sed euismod, elit vel bibendum bibendum, odio ante tincidunt arcu, non sagittis enim elit sed eros.</p>
    <a href="#" class="bg-white text-black py-2 px-4 rounded-full">Get Started</a>
  </div>
</main>
Conclusion
In this article, we have shown you how to create a landing page with twinkling stars 🌟 using Tailwind CSS. By following these tips, you can create a stunning landing page that will grab your audience's attention and increase conversions. Remember to experiment with different designs and layouts to find the perfect landing page for your business.