- Published on
Ultimate Guide: Build A Image Grid With Tailwind CSS
- What is Tailwind CSS?
- The Description of Image Grid UI Component
- Why Use Tailwind CSS to Create an Image Grid UI Component?
- The Preview of Image Grid UI Component
- The Source Code of Image Grid UI Component
- How to Create an Image Grid with Tailwind CSS?
- Step 1: Create the HTML Markup
- Step 2: Style the Container
- Step 3: Style the Images
- Conclusion
Are you looking for a way to create an image grid for your website? Look no further than Tailwind CSS. In this article, we'll walk you through the process of building an image grid using Tailwind CSS.
What is Tailwind CSS?
Tailwind CSS is a utility-first CSS framework that allows you to quickly build custom user interfaces. It provides a set of pre-defined CSS classes that you can use to style your HTML elements. With Tailwind CSS, you can create complex layouts and designs without writing custom CSS.
The Description of Image Grid UI Component
An image grid is a popular UI component that displays a collection of images in a grid layout. It's commonly used in galleries, portfolios, and e-commerce websites. The image grid component is typically responsive, meaning it adjusts its layout based on the screen size of the device.
Why Use Tailwind CSS to Create an Image Grid UI Component?
Tailwind CSS is an excellent choice for creating an image grid UI component because it provides a set of pre-defined classes for creating responsive layouts. With Tailwind CSS, you can easily adjust the size and spacing of your images based on the screen size.
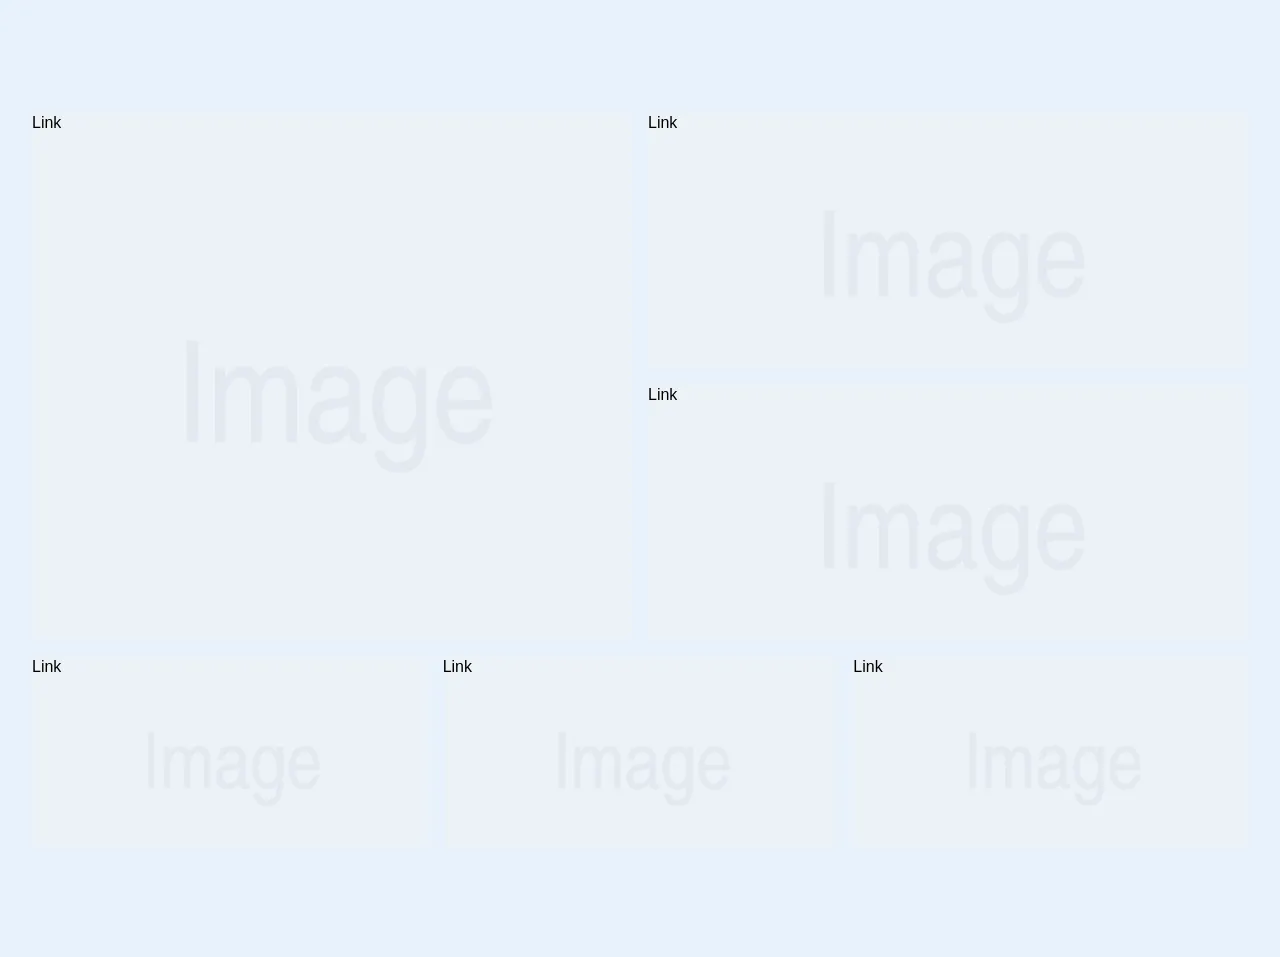
The Preview of Image Grid UI Component
To create an image grid with Tailwind CSS, we'll use a combination of the grid and flexbox utilities. The result will be a responsive image grid that looks great on any device.
Free download of the Image Grid's source code
The Source Code of Image Grid UI Component
To create the image grid, we'll use HTML and CSS. We'll start by creating a container for our images and then add the images using the img tag. We'll then use Tailwind CSS classes to style the container and images.
<div class="container mx-auto p-8">
<div class="flex flex-row flex-wrap -mx-2">
<div class="w-full md:w-1/2 h-64 md:h-auto mb-4 px-2">
<a class="block w-full h-full bg-grey-dark bg-no-repeat bg-center bg-cover" href="#" title="Link" style="background-image: url(https://via.placeholder.com/800x600/EDF2F7/E2E8F0/&text=Image);">
Link
</a>
</div>
<div class="w-full md:w-1/2 mb-4 px-2">
<div class="flex flex-col sm:flex-row md:flex-col -mx-2">
<div class="w-full sm:w-1/2 md:w-full h-48 xl:h-64 mb-4 sm:mb-0 md:mb-4 px-2">
<a class="block w-full h-full bg-grey-dark bg-no-repeat bg-center bg-cover" href="#" title="Link" style="background-image: url(https://via.placeholder.com/800x600/EDF2F7/E2E8F0/&text=Image);">
Link
</a>
</div>
<div class="w-full sm:w-1/2 md:w-full h-48 xl:h-64 px-2">
<a class="block w-full h-full bg-grey-dark bg-no-repeat bg-center bg-cover" href="#" title="Link" style="background-image: url(https://via.placeholder.com/800x600/EDF2F7/E2E8F0/&text=Image);">
Link
</a>
</div>
</div>
</div>
<div class="w-full sm:w-1/3 h-32 md:h-48 mb-4 sm:mb-0 px-2">
<a class="block w-full h-full bg-grey-dark bg-no-repeat bg-center bg-cover" href="#" title="Link" style="background-image: url(https://via.placeholder.com/800x600/EDF2F7/E2E8F0/&text=Image);">
Link
</a>
</div>
<div class="w-full sm:w-1/3 h-32 md:h-48 mb-4 sm:mb-0 px-2">
<a class="block w-full h-full bg-grey-dark bg-no-repeat bg-center bg-cover" href="#" title="Link" style="background-image: url(https://via.placeholder.com/800x600/EDF2F7/E2E8F0/&text=Image);">
Link
</a>
</div>
<div class="w-full sm:w-1/3 h-32 md:h-48 px-2">
<a class="block w-full h-full bg-grey-dark bg-no-repeat bg-center bg-cover" href="#" title="Link" style="background-image: url(https://via.placeholder.com/800x600/EDF2F7/E2E8F0/&text=Image);">
Link
</a>
</div>
</div>
</div>
How to Create an Image Grid with Tailwind CSS?
Now that we've covered the basics, let's dive into the step-by-step process of creating an image grid with Tailwind CSS.
Step 1: Create the HTML Markup
The first step is to create the HTML markup for our image grid. We'll start by creating a container div and then add the images using the img tag. Here's the code:
<div class="grid grid-cols-1 sm:grid-cols-2 md:grid-cols-3 lg:grid-cols-4 gap-4">
  <img src="image1.jpg" alt="Image 1">
  <img src="image2.jpg" alt="Image 2">
  <img src="image3.jpg" alt="Image 3">
  <img src="image4.jpg" alt="Image 4">
  <img src="image5.jpg" alt="Image 5">
  <img src="image6.jpg" alt="Image 6">
  <img src="image7.jpg" alt="Image 7">
  <img src="image8.jpg" alt="Image 8">
</div>
In this code, we've created a container div with the grid class. We've also added the grid-cols-1, sm:grid-cols-2, md:grid-cols-3, and lg:grid-cols-4 classes to create a responsive layout. The gap-4 class adds a 4px gap between the images.
Step 2: Style the Container
Next, we'll style the container using Tailwind CSS classes. Here's the code:
.grid {
  display: grid;
}
In this code, we've added the display: grid property to the .grid class.
Step 3: Style the Images
Finally, we'll style the images using Tailwind CSS classes. Here's the code:
img {
  width: 100%;
  height: auto;
}
In this code, we've added the width: 100% property to the img tag to ensure that the images fill the container. We've also added the height: auto property to maintain the aspect ratio of the images.
Conclusion
In this article, we've shown you how to create an image grid using Tailwind CSS. We've covered the basics of Tailwind CSS, the image grid UI component, and the step-by-step process of creating an image grid with Tailwind CSS. With this knowledge, you can now create your own image grids for your website. Happy coding!