- Published on
Advanced Guide: Create A Header Landing Page With Tailwind CSS
- What is Tailwind CSS?
- The description of Header Landing Page ui component
- Why use Tailwind CSS to create a Header Landing Page ui component?
- The preview of Header Landing Page ui component
- The source code of Header Landing Page ui component
- How to create a Header Landing Page with Tailwind CSS?
- Conclusion
As a FrontEnd developer, you might have heard about Tailwind CSS, a utility-first CSS framework that helps you create a responsive and customizable user interface. In this article, we will guide you through the process of creating a Header Landing Page with Tailwind CSS.
What is Tailwind CSS?
Tailwind CSS is a utility-first CSS framework that provides a set of pre-defined CSS classes that you can use to create a responsive and customizable user interface. It allows you to focus on the functionality of your application rather than the design.
The description of Header Landing Page ui component
A Header Landing Page is a user interface component that appears at the top of a web page and contains navigation links, a logo, and other important information. It is the first thing that a user sees when they visit your website, so it is important to make it visually appealing and easy to use.
Why use Tailwind CSS to create a Header Landing Page ui component?
Tailwind CSS provides a set of pre-defined CSS classes that you can use to create a Header Landing Page quickly and easily. It also allows you to customize the design of your Header Landing Page by modifying the CSS classes or creating your own.
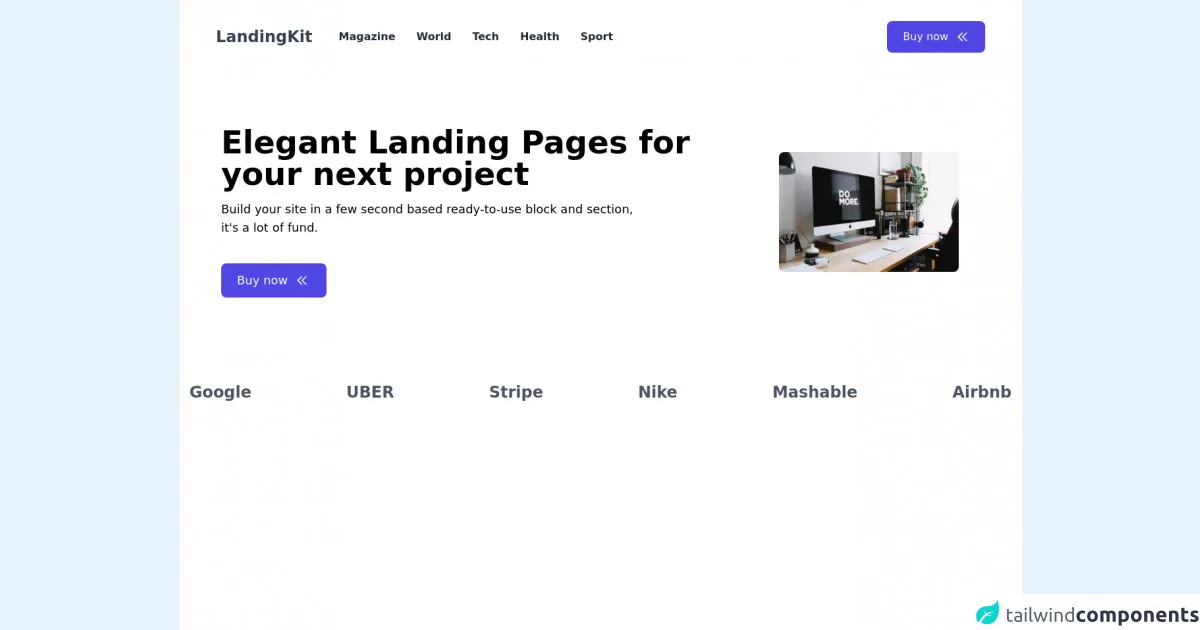
The preview of Header Landing Page ui component
To create a Header Landing Page with Tailwind CSS, we will use the following CSS classes:
bg-gray-800: sets the background color of the header to gray.text-white: sets the text color of the header to white.flex: sets the display property of the header to flex.justify-between: aligns the navigation links and logo to the left and right of the header, respectively.py-4: adds padding to the top and bottom of the header.px-6: adds padding to the left and right of the header.
Free download of the Header Landing Page's source code
The source code of Header Landing Page ui component
To create a Header Landing Page with Tailwind CSS, you can use the following HTML and CSS code:
<header class="bg-gray-800 text-white">
  <div class="flex justify-between py-4 px-6">
    <div class="logo">Logo</div>
    <nav class="navigation">
      <a href="#">Home</a>
      <a href="#">About</a>
      <a href="#">Contact</a>
    </nav>
  </div>
</header>
.logo {
  font-size: 1.5rem;
  font-weight: bold;
}

.navigation a {
  margin-left: 1rem;
  text-decoration: none;
  color: white;
}
<header class="min-h-screen bg-white ">
  <!-- Navigaiton Bar -->
  <nav class="flex items-center py-8 px-14 justify-between">
  <div class="flex items-center">
    <h1 class="text-2xl font-bold text-gray-700 ">LandingKit</h1>
    <div class="ml-10">
      <ul class="md:flex space-x-8 hidden ">
        <li><a href="#" class="text-gray-800 font-semibold">Magazine</a></li>
        <li><a href="#" class="text-gray-800 font-semibold">World</a></li>
        <li><a href="#" class="text-gray-800 font-semibold">Tech</a></li>
        <li><a href="#" class="text-gray-800 font-semibold">Health</a></li>
        <li><a href="#" class="text-gray-800 font-semibold">Sport</a></li>
      </ul>
    </div>
  </div>
  <div class="lg:flex hidden items-center space-x-3 py-3 px-6 bg-indigo-600 text-white rounded-lg  transition-all duration-400 transform hover:scale-105 cursor-pointer hover:shadow-lg">
 <button>Buy now</button>
 <span>
   <svg xmlns="http://www.w3.org/2000/svg" class="h-5 w-5" fill="none" viewBox="0 0 24 24" stroke="currentColor">
  <path stroke-linecap="round" stroke-linejoin="round" stroke-width="2" d="M11 19l-7-7 7-7m8 14l-7-7 7-7" />
</svg>
 </span>
  </div>
  </nav>
  <!-- End Navigation Bar -->

  <!-- Section Hero -->
  <!-- Box left -->
  <div class="md:flex space-x-16 mt-20 md:mr-0 mr-10">
  <div class="md:flex items-center pl-16 ">
    <div class="">
    <h class="lg:text-5xl  font-bold leading-tight text-3xl">Elegant Landing Pages  for your next project</h1>
    <p class="mt-4 text-lg font-normal ">Build your site in a few second based ready-to-use block and section, <br> it's a lot of fund.</p>
    <div class="flex mt-10 w-40 items-center space-x-3 py-3 px-6 bg-indigo-600 text-white rounded-lg  transition-all duration-400 transform hover:scale-105 cursor-pointer hover:shadow-lg">
    <button class="text-lg text-md ">Buy now</button>
   <span>
      <svg xmlns="http://www.w3.org/2000/svg" class="h-5 w-5" fill="none" viewBox="0 0 24 24" stroke="currentColor">
      <path stroke-linecap="round" stroke-linejoin="round" stroke-width="2" d="M11 19l-7-7 7-7m8 14l-7-7 7-7" />
   </span>
    </div>
   </div>
  </div>
  <!-- Box right -->
  <div class="max-w-lg pr-24 md:flex justify-center items-center  hidden">
    <img class="rounded-lg" src="https://images.unsplash.com/photo-1483058712412-4245e9b90334" alt="">
  </div>
  </div>

  <!--Show Brand -->
  <div class="hidden lg:block">
      <ul class="flex mt-32 space-x-36 justify-center">
        <li><a href="#" class="text-2xl font-semibold text-gray-600">Google</a></li>
        <li><a href="#" class="text-2xl font-semibold text-gray-600">UBER</a></li>
        <li><a href="#" class="text-2xl font-semibold text-gray-600">Stripe</a></li>
        <li><a href="#" class="text-2xl font-semibold text-gray-600">Nike</a></li>
        <li><a href="#" class="text-2xl font-semibold text-gray-600">Mashable</a></li>
        <li><a href="#" class="text-2xl font-semibold text-gray-600">Airbnb</a></li>
      </ul>
  </div>
</header>
How to create a Header Landing Page with Tailwind CSS?
To create a Header Landing Page with Tailwind CSS, follow these steps:
- Create a new HTML file and add the following code:
<!DOCTYPE html>
<html lang="en">
  <head>
    <meta charset="UTF-8" />
    <meta name="viewport" content="width=device-width, initial-scale=1.0" />
    <title>Header Landing Page</title>
    <link rel="stylesheet" href="https://cdn.jsdelivr.net/npm/[email protected]/dist/tailwind.min.css" />
  </head>
  <body>
    <header class="bg-gray-800 text-white">
      <div class="flex justify-between py-4 px-6">
        <div class="logo">Logo</div>
        <nav class="navigation">
          <a href="#">Home</a>
          <a href="#">About</a>
          <a href="#">Contact</a>
        </nav>
      </div>
    </header>
  </body>
</html>
- Save the file as
index.html. - Open the file in your web browser to see the Header Landing Page.
Conclusion
In this article, we have shown you how to create a Header Landing Page with Tailwind CSS. We hope that this guide has been helpful to you and that you can use it to create your own Header Landing Page. Remember that Tailwind CSS provides a set of pre-defined CSS classes that you can use to create a responsive and customizable user interface. Happy coding!