- Published on
6 Easy Ways To Build A Free Tailwind CSS Progress Bar Component With Tailwind CSS Without Even Thinking About It
- What is Tailwind CSS?
- The description of Free Tailwind CSS Progress Bar Component ui component
- Why use Tailwind CSS to create a Free Tailwind CSS Progress Bar Component ui component?
- The preview of Free Tailwind CSS Progress Bar Component ui component.
- The source code of Free Tailwind CSS Progress Bar Component ui component.
- How to create a Free Tailwind CSS Progress Bar Component with Tailwind CSS?
- 1. Use the bg-gray-200 class to set the background color of the progress bar.
- 2. Use the bg-blue-500 class to set the color of the progress bar.
- 3. Use the h-2 class to set the height of the progress bar.
- 4. Use the w-1/2 class to set the width of the progress bar.
- 5. Use the transition class to add a smooth transition effect to the progress bar.
- 6. Use inline styles to set the width of the progress bar dynamically.
- Conclusion
What is Tailwind CSS?
Tailwind CSS is a utility-first CSS framework that provides a set of pre-defined classes to help you quickly build custom user interfaces. It allows you to create responsive designs with ease and speed, without having to write custom CSS from scratch.
The description of Free Tailwind CSS Progress Bar Component ui component
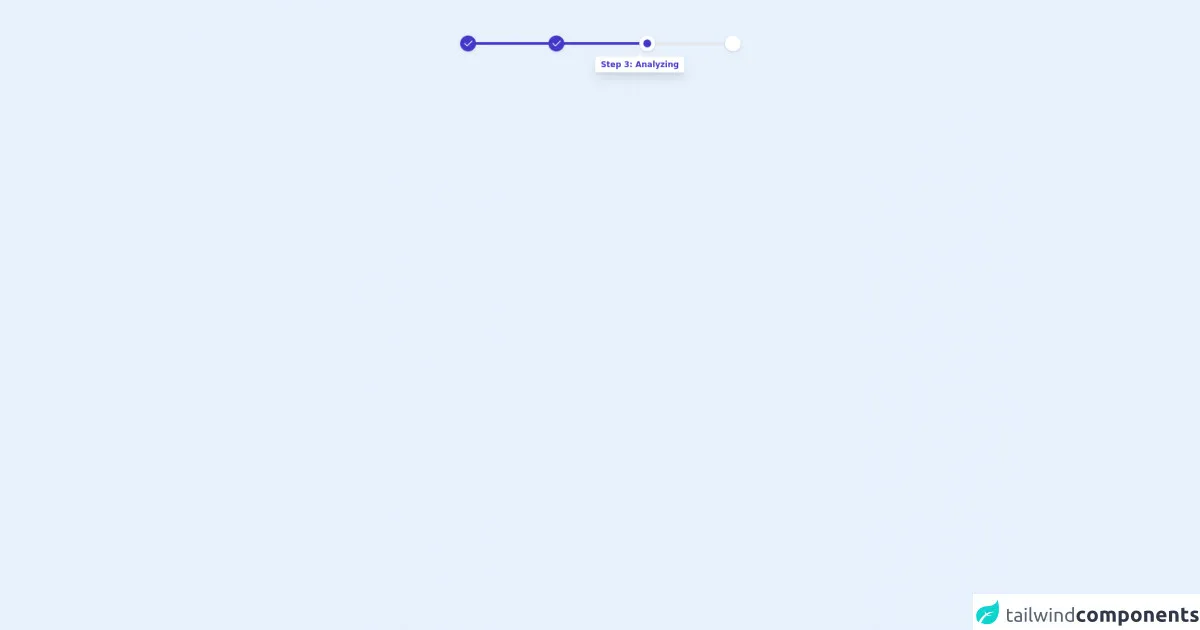
A progress bar is a graphical representation of the progress of a task. It is commonly used to show the progress of a file download, an upload, or a form submission. With Tailwind CSS, you can easily create a progress bar component that is both functional and visually appealing.
Why use Tailwind CSS to create a Free Tailwind CSS Progress Bar Component ui component?
Tailwind CSS provides a set of pre-defined classes that make it easy to create a progress bar component. You don't have to write custom CSS from scratch, which saves you time and effort. Additionally, Tailwind CSS is highly customizable, so you can easily tweak the design of the progress bar to fit your needs.
The preview of Free Tailwind CSS Progress Bar Component ui component.
To create a Free Tailwind CSS Progress Bar Component, you can use the following classes:
<div class="bg-gray-200 rounded-full">
  <div class="bg-blue-500 rounded-full h-2" style="width: 50%"></div>
</div>
Free download of the Free Tailwind CSS Progress Bar Component's source code
The source code of Free Tailwind CSS Progress Bar Component ui component.
To create a Free Tailwind CSS Progress Bar Component, you can use the following classes:
<div class="bg-gray-200 rounded-full">
  <div class="bg-blue-500 rounded-full h-2" style="width: 50%"></div>
</div>
<div class="h-full w-full py-16">
<!--- more free and premium Tailwind CSS components at https://tailwinduikit.com/ --->

            <div class="container mx-auto">
                <!--Code Block for progress bar Starts-->
                <dh-component>
                    <div class="w-11/12 lg:w-2/6 mx-auto">
                        <div class="bg-gray-200 h-1 flex items-center justify-between">
                            <div class="w-1/3 bg-indigo-700 h-1 flex items-center">
                                <div class="bg-indigo-700 h-6 w-6 rounded-full shadow flex items-center justify-center">
                                    <svg xmlns="http://www.w3.org/2000/svg" class="icon icon-tabler icon-tabler-check" width="18" height="18" viewBox="0 0 24 24" stroke-width="1.5" stroke="#FFFFFF" fill="none" stroke-linecap="round" stroke-linejoin="round">
                                        <path stroke="none" d="M0 0h24v24H0z" />
                                        <path d="M5 12l5 5l10 -10" />
                                    </svg>
                                </div>
                            </div>
                            <div class="w-1/3 flex justify-between bg-indigo-700 h-1 items-center relative">
                                <div class="absolute right-0 -mr-2">
                                    <div class="relative bg-white shadow-lg px-2 py-1 rounded mt-16 -mr-12">
                                        <svg class="absolute top-0 -mt-1 w-full right-0 left-0" width="16px" height="8px" viewBox="0 0 16 8" version="1.1" xmlns="http://www.w3.org/2000/svg">
                                            <g id="Page-1" stroke="none" stroke-width="1" fill="none" fill-rule="evenodd">
                                                <g id="Progress-Bars" transform="translate(-322.000000, -198.000000)" fill="#FFFFFF">
                                                    <g id="Group-4" transform="translate(310.000000, 198.000000)">
                                                        <polygon id="Triangle" points="20 0 28 8 12 8"></polygon>
                                                    </g>
                                                </g>
                                            </g>
                                        </svg>
                                        <p tabindex="0" class="focus:outline-none text-indigo-700 text-xs font-bold">Step 3: Analyzing</p>
                                    </div>
                                </div>
                                <div class="bg-indigo-700 h-6 w-6 rounded-full shadow flex items-center justify-center -ml-2">
                                    <svg xmlns="http://www.w3.org/2000/svg" class="icon icon-tabler icon-tabler-check" width="18" height="18" viewBox="0 0 24 24" stroke-width="1.5" stroke="#FFFFFF" fill="none" stroke-linecap="round" stroke-linejoin="round">
                                        <path stroke="none" d="M0 0h24v24H0z" />
                                        <path d="M5 12l5 5l10 -10" />
                                    </svg>
                                </div>
                                <div class="bg-white h-6 w-6 rounded-full shadow flex items-center justify-center -mr-3 relative">
                                    <div class="h-3 w-3 bg-indigo-700 rounded-full"></div>
                                </div>
                            </div>
                            <div class="w-1/3 flex justify-end">
                                <div class="bg-white h-6 w-6 rounded-full shadow"></div>
                            </div>
                        </div>
                    </div>
                </dh-component>
                <!--Code Block for progress bar Starts-->
            </div>
        </div>
How to create a Free Tailwind CSS Progress Bar Component with Tailwind CSS?
Here are 6 easy ways to create a Free Tailwind CSS Progress Bar Component with Tailwind CSS:
1. Use the bg-gray-200 class to set the background color of the progress bar.
<div class="bg-gray-200 rounded-full"></div>
2. Use the bg-blue-500 class to set the color of the progress bar.
<div class="bg-gray-200 rounded-full">
  <div class="bg-blue-500 rounded-full"></div>
</div>
3. Use the h-2 class to set the height of the progress bar.
<div class="bg-gray-200 rounded-full">
  <div class="bg-blue-500 rounded-full h-2"></div>
</div>
4. Use the w-1/2 class to set the width of the progress bar.
<div class="bg-gray-200 rounded-full">
  <div class="bg-blue-500 rounded-full h-2 w-1/2"></div>
</div>
5. Use the transition class to add a smooth transition effect to the progress bar.
<div class="bg-gray-200 rounded-full">
  <div class="bg-blue-500 rounded-full h-2 w-1/2 transition"></div>
</div>
6. Use inline styles to set the width of the progress bar dynamically.
<div class="bg-gray-200 rounded-full">
  <div class="bg-blue-500 rounded-full h-2 transition" style="width: 50%"></div>
</div>
Conclusion
Creating a Free Tailwind CSS Progress Bar Component is easy and straightforward with Tailwind CSS. By using pre-defined classes and inline styles, you can create a functional and visually appealing progress bar component in no time. With Tailwind CSS, you can save time and effort while still creating custom user interfaces that meet your needs.