- Published on
6 Ideas To Help You Create A Free Tailwind CSS Popover Component With Tailwind CSS Like A Pro
- What is Tailwind CSS?
- The description of Free Tailwind CSS Popover Component UI component
- Why use Tailwind CSS to create a Free Tailwind CSS Popover Component UI component?
- The preview of Free Tailwind CSS Popover Component UI component
- The source code of Free Tailwind CSS Popover Component UI component
- How to create a Free Tailwind CSS Popover Component with Tailwind CSS?
- 1. Install Tailwind CSS
- 2. Create a new HTML file
- 3. Add Tailwind CSS classes
- 4. Add JavaScript code
- 5. Customize the design
- 6. Test and deploy
- Conclusion
As a FrontEnd technology blogger, it's essential to keep up with the latest trends and tools in the industry. One of the most popular CSS frameworks today is Tailwind CSS, which offers a wide range of pre-built components that can help you create beautiful and responsive UI designs quickly.
In this article, we'll discuss how to create a free Tailwind CSS Popover Component UI component like a pro. We'll cover the basics of Tailwind CSS, the description of the Popover Component, why you should use Tailwind CSS to create it, and the source code and preview of the component. Let's dive in!
What is Tailwind CSS?
Tailwind CSS is a utility-first CSS framework that provides a set of pre-built classes to help you create custom designs quickly. It's designed to be highly customizable, allowing you to create unique designs without writing any custom CSS. With Tailwind CSS, you can create responsive designs, typography, colors, and spacing with ease.
The description of Free Tailwind CSS Popover Component UI component
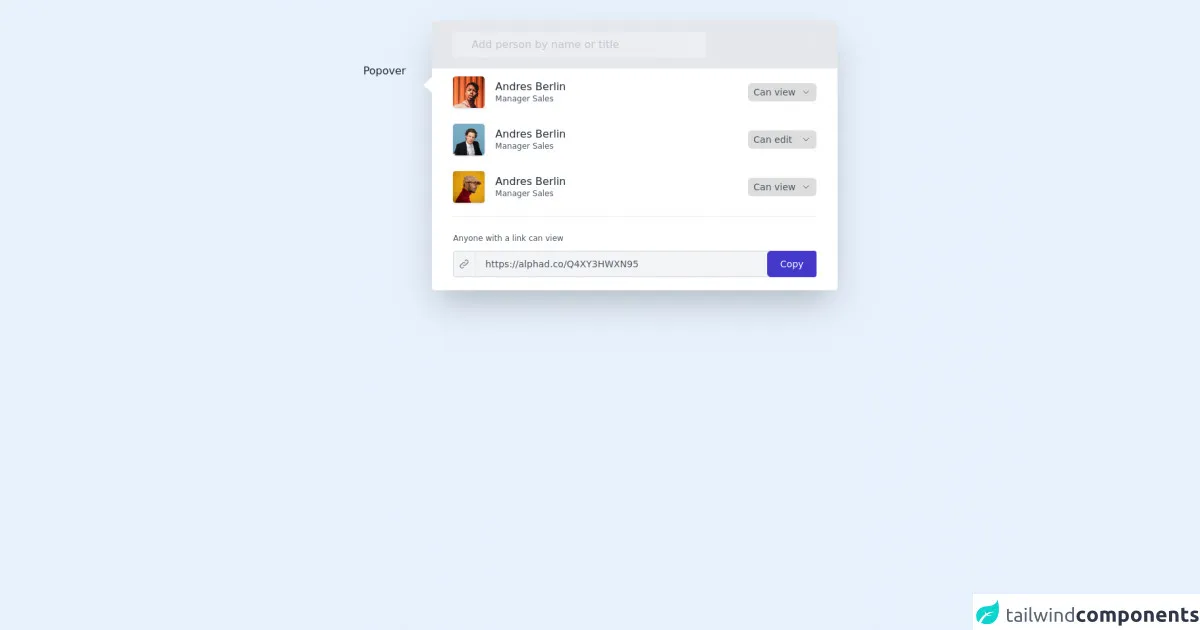
A Popover Component is a UI element that displays additional information when the user clicks on a button or hovers over an element. It's commonly used to display tooltips, menus, or other types of content. The Free Tailwind CSS Popover Component UI component is a pre-built component that you can use to create Popover elements quickly.
Why use Tailwind CSS to create a Free Tailwind CSS Popover Component UI component?
Tailwind CSS provides a set of pre-built classes that you can use to create custom designs quickly. It's highly customizable, allowing you to create unique designs without writing any custom CSS. With Tailwind CSS, you can create responsive designs, typography, colors, and spacing with ease.
The preview of Free Tailwind CSS Popover Component UI component
Free download of the Free Tailwind CSS Popover Component's source code
The source code of Free Tailwind CSS Popover Component UI component
<div class="flex md:flex-row flex-col items-start justify-center px-6 py-8 w-full">
<!--- more free and premium Tailwind CSS components at https://tailwinduikit.com/ --->

            <button class="focus:underline focus:text-gray-600 hover:text-gray-600 focus:outline-none text-gray-800 cursor-pointer text-xs sm:ml-10 md:hidden" onclick="showPopover()">Popover</button>
            <button class="focus:underline focus:text-gray-600 hover:text-gray-600 focus:outline-none text-gray-800 cursor-pointer mt-16 hidden md:block" onclick="showPopover()">Popover</button>
            <!-- Code block starts -->
            <div id="popover" class="transition duration-150 ease-in-out md:mt-0 mt-8 top-0 left-0 sm:ml-10 md:ml-10 w-10/12 md:w-1/2">
                <div class="w-full bg-white rounded shadow-2xl">
                    <div class="relative bg-gray-200 rounded-t py-4 px-4 xl:px-8">
                        <svg class="hidden md:block absolute -ml-5 -mb-10 left-0 bottom-0" width="30px" height="30px" viewBox="0 0 9 16" version="1.1" xmlns="http://www.w3.org/2000/svg" xmlns:xlink="http://www.w3.org/1999/xlink">
                            <g id="Page-1" stroke="none" stroke-width="1" fill="none" fill-rule="evenodd">
                                <g id="Tooltips-" transform="translate(-874.000000, -1029.000000)" fill="#FFFFFF">
                                    <g id="Group-3-Copy-16" transform="translate(850.000000, 975.000000)">
                                        <g id="Group-2" transform="translate(24.000000, 0.000000)">
                                            <polygon id="Triangle" transform="translate(4.500000, 62.000000) rotate(-90.000000) translate(-4.500000, -62.000000) " points="4.5 57.5 12.5 66.5 -3.5 66.5"></polygon>
                                        </g>
                                    </g>
                                </g>
                            </g>
                        </svg>
                        <svg class="absolute top-0 -mt-5 block md:hidden" xmlns="http://www.w3.org/2000/svg" width="26" height="23" viewBox="0 0 26 23" fill="none">
                            <path id="Polygon 2" d="M13 0L25.9904 22.5H0.00961876L13 0Z" fill="#e5e7eb" />
                        </svg>
                        <input class="px-7 w-96 py-2 bg-gray-100 text-base text-gray-600 font-normal leading-normal tracking-normal opacity-50" placeholder="Add person by name or title"/>
                    </div>
                    <div class="w-full h-full px-4 xl:px-8 pt-3 pb-5">
                        <div class="flex justify-between items-center">
                            <div class="flex items-center">
                                <div class="mr-4 w-12 h-12 rounded shadow">
                                    <img class="w-full h-full overflow-hidden object-cover object-center rounded" src="https://tuk-cdn.s3.amazonaws.com/assets/components/popovers/p_1_0.png" alt="avatar" />
                                </div>
                                <div>
                                    <h3 class="mb-2 sm:mb-1 text-gray-800 text-base font-normal leading-4">Andres Berlin</h3>
                                    <p class="text-gray-600 text-xs leading-3">Manager Sales</p>
                                </div>
                            </div>
                            <div class="relative font-normal text-xs sm:text-sm flex items-center text-gray-600">
                                <select aria-label="select access" class="cursor-pointer focus:text-indigo-600 hover:text-indigo-600 focus:outline-none focus:ring-2 focus:ring-offset-2 rounded-md focus:ring-indigo-600 w-full appearance-none pr-8 py-1 pl-2">
                                    <option>Can view</option>
                                    <option>Can edit</option>
                                </select>
                                <svg xmlns="http://www.w3.org/2000/svg" class="pointer-events-none absolute right-0 mr-2 icon icon-tabler icon-tabler-chevron-down" width="16" height="16" viewBox="0 0 24 24" stroke-width="1.5" stroke="currentColor" fill="none" stroke-linecap="round" stroke-linejoin="round">
                                    <path stroke="none" d="M0 0h24v24H0z"></path>
                                    <polyline points="6 9 12 15 18 9"></polyline>
                                </svg>
                            </div>
                        </div>
                        <div class="py-6 flex justify-between items-center">
                            <div class="flex items-center">
                                <div class="mr-4 w-12 h-12 rounded shadow">
                                    <img class="w-full h-full overflow-hidden object-cover object-center rounded" src="https://tuk-cdn.s3.amazonaws.com/assets/components/popovers/p_1_1.png" alt="avatar" />
                                </div>
                                <div>
                                    <h3 class="mb-2 sm:mb-1 text-gray-800 text-base font-normal leading-4">Andres Berlin</h3>
                                    <p class="text-gray-600 text-xs leading-3">Manager Sales</p>
                                </div>
                            </div>
                            <div class="relative font-normal text-xs sm:text-sm flex items-center text-gray-600">
                                <select aria-label="select access" class="cursor-pointer focus:text-indigo-600 hover:text-indigo-600 focus:outline-none focus:ring-2 focus:ring-offset-2 rounded-md focus:ring-indigo-600  w-full appearance-none pr-8 py-1 pl-2">
                                    <option>Can edit</option>
                                    <option>Can view</option>
                                </select>
                                <svg xmlns="http://www.w3.org/2000/svg" class="pointer-events-none absolute right-0 mr-2 icon icon-tabler icon-tabler-chevron-down" width="16" height="16" viewBox="0 0 24 24" stroke-width="1.5" stroke="currentColor" fill="none" stroke-linecap="round" stroke-linejoin="round">
                                    <path stroke="none" d="M0 0h24v24H0z"></path>
                                    <polyline points="6 9 12 15 18 9"></polyline>
                                </svg>
                            </div>
                        </div>
                        <div class="flex justify-between items-center">
                            <div class="flex items-center">
                                <div class="mr-4 w-12 h-12 rounded shadow">
                                    <img class="w-full h-full overflow-hidden object-cover object-center rounded" src="https://images.unsplash.com/photo-1570211776045-af3a51026f4a?ixlib=rb-1.2.1&ixid=eyJhcHBfaWQiOjEyMDd9&auto=format&fit=crop&w=500&q=80" alt="avatar" />
                                </div>
                                <div>
                                    <h3 class="mb-2 sm:mb-1 text-gray-800 text-base font-normal leading-4">Andres Berlin</h3>
                                    <p class="text-gray-600 text-xs leading-3">Manager Sales</p>
                                </div>
                            </div>
                            <div class="relative font-normal text-xs sm:text-sm flex items-center text-gray-600">
                                <select aria-label="select access" class="cursor-pointer focus:text-indigo-600 hover:text-indigo-600 focus:outline-none focus:ring-2 focus:ring-offset-2 rounded-md focus:ring-indigo-600 w-full appearance-none pr-8 py-1 pl-2">
                                    <option>Can view</option>
                                    <option>Can edit</option>
                                </select>
                                <svg xmlns="http://www.w3.org/2000/svg" class="pointer-events-none absolute right-0 mr-2 icon icon-tabler icon-tabler-chevron-down" width="16" height="16" viewBox="0 0 24 24" stroke-width="1.5" stroke="currentColor" fill="none" stroke-linecap="round" stroke-linejoin="round">
                                    <path stroke="none" d="M0 0h24v24H0z"></path>
                                    <polyline points="6 9 12 15 18 9"></polyline>
                                </svg>
                            </div>
                        </div>
                        <hr class="my-5 border-t border-gray-200" />
                        <label for="link" class="text-gray-600 text-xs font-normal">Anyone with a link can view</label>
                        <div class="flex items-stretch mt-2">
                            <div class="relative w-full">
                                <div class="absolute text-gray-500 flex items-center px-2 border-r h-full">
                                    <svg xmlns="http://www.w3.org/2000/svg" class="icon icon-tabler icon-tabler-link" width="18" height="18" viewBox="0 0 24 24" stroke-width="1.5" stroke="currentColor" fill="none" stroke-linecap="round" stroke-linejoin="round">
                                        <path stroke="none" d="M0 0h24v24H0z" />
                                        <path d="M10 14a3.5 3.5 0 0 0 5 0l4 -4a3.5 3.5 0 0 0 -5 -5l-.5 .5" />
                                        <path d="M14 10a3.5 3.5 0 0 0 -5 0l-4 4a3.5 3.5 0 0 0 5 5l.5 -.5" />
                                    </svg>
                                </div>
                                <input id="link" class="pr-24 text-gray-600 bg-gray-100 focus:outline-none focus:border focus:border-indigo-700 font-normal w-full h-10 flex items-center pl-12 text-sm border-gray-300 rounded border" value="https://alphad.co/Q4XY3HWXN95" />
                                <button class="focus:ring-2 focus:ring-offset-2 rounded-md focus:ring-indigo-600 absolute right-0 top-0 transition duration-150 ease-in-out hover:bg-indigo-600 focus:outline-none bg-indigo-700 rounded-r text-white px-5 h-10 text-sm">Copy</button>
                            </div>
                        </div>
                    </div>
                </div>
            </div>
            <!-- Code block ends -->
        </div>

<script>function showPopover() {
  document.getElementById("popover").classList.toggle("opacity-0");
}
</script>
How to create a Free Tailwind CSS Popover Component with Tailwind CSS?
Now that we've covered the basics let's dive into how to create a Free Tailwind CSS Popover Component with Tailwind CSS. Here are six ideas to help you get started:
1. Install Tailwind CSS
The first step is to install Tailwind CSS. You can do this by using npm or yarn. Here's an example of how to install Tailwind CSS using npm:
npm install tailwindcss
2. Create a new HTML file
Create a new HTML file and add the necessary HTML elements. Here's an example:
<div class="relative">
  <button class="bg-blue-500 hover:bg-blue-700 text-white font-bold py-2 px-4 rounded">
    Button
  </button>
  <div class="absolute bg-white border border-gray-300 rounded-lg shadow-lg p-4">
    <p>Popover content goes here</p>
  </div>
</div>
3. Add Tailwind CSS classes
Add the necessary Tailwind CSS classes to the HTML elements. Here's an example:
<div class="relative">
  <button class="bg-blue-500 hover:bg-blue-700 text-white font-bold py-2 px-4 rounded">
    Button
  </button>
  <div class="absolute bg-white border border-gray-300 rounded-lg shadow-lg p-4">
    <p>Popover content goes here</p>
  </div>
</div>
4. Add JavaScript code
Add JavaScript code to handle the Popover component's behavior. Here's an example:
const button = document.querySelector('button');
const popover = document.querySelector('.popover');

button.addEventListener('click', () => {
  popover.classList.toggle('hidden');
});

document.addEventListener('click', (event) => {
  if (!button.contains(event.target) && !popover.contains(event.target)) {
    popover.classList.add('hidden');
  }
});
5. Customize the design
Customize the design of the Popover component by modifying the Tailwind CSS classes. Here's an example:
<div class="relative">
  <button class="bg-blue-500 hover:bg-blue-700 text-white font-bold py-2 px-4 rounded">
    Button
  </button>
  <div class="absolute bg-white border border-gray-300 rounded-lg shadow-lg p-4 hidden">
    <p class="text-gray-800">Popover content goes here</p>
  </div>
</div>
6. Test and deploy
Test the Popover component to ensure it's working correctly. Once you're satisfied, deploy it to your website.
Conclusion
Creating a Free Tailwind CSS Popover Component with Tailwind CSS is easy and straightforward. By following the six ideas we've discussed, you can create a beautiful and responsive Popover component quickly. Tailwind CSS is an excellent tool for creating custom designs without writing any custom CSS. We hope this article has been helpful and informative. Happy coding!