- Published on
6 Ideas To Help You Make A Free Tailwind CSS ECommerce CTA Component With Tailwind CSS Like A Pro
- What is Tailwind CSS?
- The description of Free Tailwind CSS ECommerce CTA Component ui component
- Why use Tailwind CSS to create a Free Tailwind CSS ECommerce CTA Component ui component?
- The preview of Free Tailwind CSS ECommerce CTA Component ui component.
- The source code of Free Tailwind CSS ECommerce CTA Component ui component.
- How to create a Free Tailwind CSS ECommerce CTA Component with Tailwind CSS?
- Idea 1: Choose the right color
- Idea 2: Use the right font size
- Idea 3: Use the right font weight
- Idea 4: Use the right border radius
- Idea 5: Use the right hover effect
- Idea 6: Use the right size
- Conclusion
What is Tailwind CSS?
Tailwind CSS is a utility-first CSS framework that allows you to create custom designs without writing any CSS code. It provides a set of pre-defined classes that you can use to style your HTML elements. Tailwind CSS is gaining popularity among developers due to its flexibility and ease of use.
The description of Free Tailwind CSS ECommerce CTA Component ui component
A Call-to-Action (CTA) button is a crucial element of any eCommerce website. It is the primary way to encourage visitors to take action, such as making a purchase or signing up for a newsletter. A well-designed CTA button can significantly increase the conversion rate of your website. The Free Tailwind CSS ECommerce CTA Component is a pre-designed CTA button that you can use on your eCommerce website. It is built using Tailwind CSS and is fully customizable.
Why use Tailwind CSS to create a Free Tailwind CSS ECommerce CTA Component ui component?
Tailwind CSS provides a set of pre-defined classes that you can use to create custom designs without writing any CSS code. It allows you to focus on the design rather than the code. The Free Tailwind CSS ECommerce CTA Component is built using Tailwind CSS, which means that you can easily customize it to match the design of your eCommerce website. Additionally, Tailwind CSS is lightweight and fast, which means that your website will load quickly.
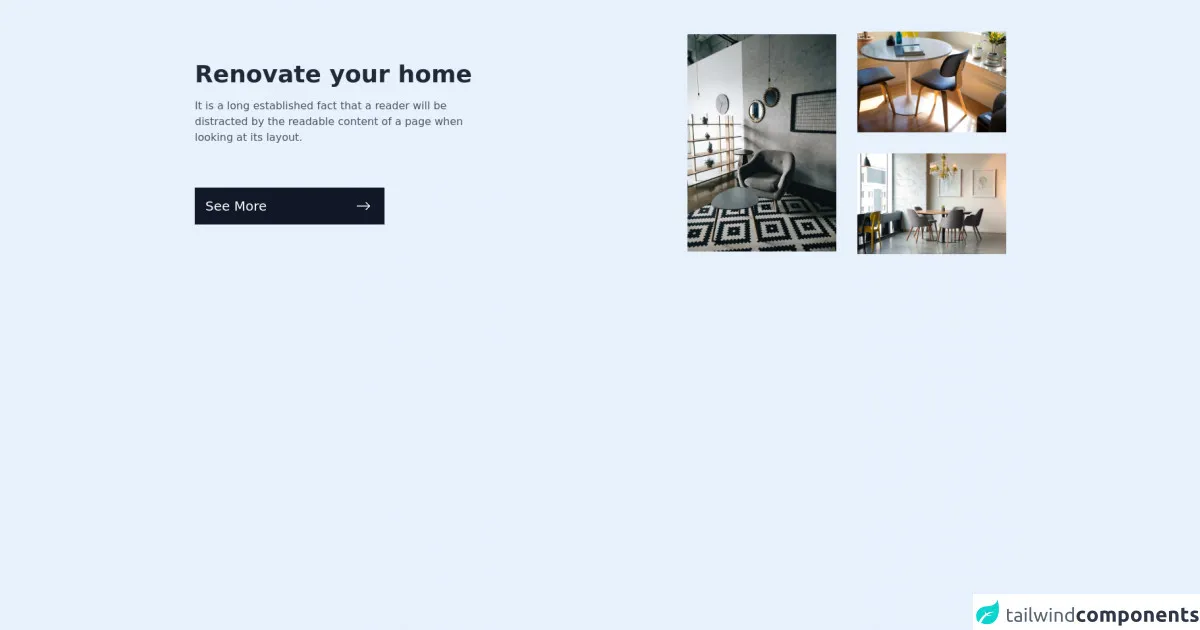
The preview of Free Tailwind CSS ECommerce CTA Component ui component.
The Free Tailwind CSS ECommerce CTA Component is a pre-designed CTA button that you can use on your eCommerce website. It is fully customizable and can be easily integrated into your website.
Free download of the Free Tailwind CSS ECommerce CTA Component's source code
The source code of Free Tailwind CSS ECommerce CTA Component ui component.
If you want to customize the Free Tailwind CSS ECommerce CTA Component, you can use the source code provided below.
<div class="mx-auto container flex justify-center items-center py-12 px-4 sm:px-6 2xl:px-0">
<!--- more free and premium Tailwind CSS components at https://tailwinduikit.com/ --->
            <div class="flex flex-col lg:flex-row justify-center items-center space-y-6 lg:space-y-0">
                <div class="w-80 sm:w-auto flex flex-col justify-start items-start">
                    <div>
                        <p class="text-3xl xl:text-4xl font-semibold leading-9 text-gray-800 dark:text-white">Renovate your home</p>
                    </div>
                    <div class="mt-4 lg:w-4/5 xl:w-3/5">
                        <p class="text-base leading-6 text-gray-600 dark:text-white">It is a long established fact that a reader will be distracted by the readable content of a page when looking at its layout.</p>
                    </div>
                    <div class="mt-16 w-full">
                        <button class="px-4 bg-gray-900 dark:bg-white dark:text-gray-900 dark:hover:bg-gray-200  flex justify-between items-center w-full lg:w-72 h-14 text-white hover:bg-gray-700 focus:ring-2 outline-none focus:ring-2 focus:ring-offset-2 focus:ring-gray-800 dark:hover:bg-gray-100">
                            <p class="text-xl font-medium leading-5 ">See More</p>
                            <svg class="dark:text-gray-900" width="32" height="32" viewBox="0 0 32 32" fill="none" xmlns="http://www.w3.org/2000/svg">
                                <path d="M6.66663 16H25.3333" stroke="currentColor" stroke-width="1.5" stroke-linecap="round" stroke-linejoin="round" />
                                <path d="M20 21.3333L25.3333 16" stroke="currentColor" stroke-width="1.5" stroke-linecap="round" stroke-linejoin="round" />
                                <path d="M20 10.6667L25.3333 16" stroke="currentColor" stroke-width="1.5" stroke-linecap="round" stroke-linejoin="round" />
                            </svg>
                        </button>
                    </div>
                </div>

                <div class="flex flex-col sm:flex-row jusitfy-center items-center sm:space-x-5 xl:space-x-8 space-y-4 sm:space-y-0">
                    <div class="">
                        <img class="hidden lg:block" src="https://i.ibb.co/61TfVVW/olena-sergienko-gx-KL334b-UK4-unsplash-1.png" alt="sofa" />
                        <img class="w-80 sm:w-auto lg:hidden" src="https://i.ibb.co/QvxmJjB/olena-sergienko-gx-KL334b-UK4-unsplash-1-1.png" alt="sofa" />
                    </div>
                    <div class="flex flex-col justify-center items-center space-y-4 sm:space-y-0 sm:space-y-5 lg:space-y-5 xl:space-y-8">
                        <div>
                            <img class="hidden lg:block" src="https://i.ibb.co/1MY5P3y/nirzar-pangarkar-Csw-Kf-D546-Z8-unsplash-1.png" alt="chairs" />
                            <img class="w-80 sm:w-auto lg:hidden" src="https://i.ibb.co/r0rvcCh/behzad-ghaffarian-nh-Wg-ZNV85-LQ-unsplash-1-1-1.png" alt="chairs" />
                        </div>
                        <div>
                            <img class="hidden lg:block" src="https://i.ibb.co/9N7ZX2C/behzad-ghaffarian-nh-Wg-ZNV85-LQ-unsplash-1-1.png" alt="chairs" />
                            <img class="w-80 sm:w-auto lg:hidden" src="https://i.ibb.co/0BFt400/nirzar-pangarkar-Csw-Kf-D546-Z8-unsplash-2.png" alt="chairs" />
                        </div>
                    </div>
                </div>
            </div>
        </div>
How to create a Free Tailwind CSS ECommerce CTA Component with Tailwind CSS?
Here are six ideas to help you create a Free Tailwind CSS ECommerce CTA Component with Tailwind CSS like a pro:
Idea 1: Choose the right color
The color of your CTA button is crucial. It should stand out from the rest of the website and be easily visible. Choose a color that matches the overall design of your website. You can use the pre-defined colors provided by Tailwind CSS or create your own custom color.
Idea 2: Use the right font size
The font size of your CTA button should be large enough to be easily readable. It should also be consistent with the font size used on the rest of the website. You can use the pre-defined font sizes provided by Tailwind CSS or create your own custom font size.
Idea 3: Use the right font weight
The font weight of your CTA button should be bold enough to stand out from the rest of the website. It should also be consistent with the font weight used on the rest of the website. You can use the pre-defined font weights provided by Tailwind CSS or create your own custom font weight.
Idea 4: Use the right border radius
The border radius of your CTA button should be consistent with the design of the website. You can use the pre-defined border radius provided by Tailwind CSS or create your own custom border radius.
Idea 5: Use the right hover effect
The hover effect of your CTA button should be consistent with the design of the website. You can use the pre-defined hover effects provided by Tailwind CSS or create your own custom hover effect.
Idea 6: Use the right size
The size of your CTA button should be consistent with the design of the website. You can use the pre-defined sizes provided by Tailwind CSS or create your own custom size.
Conclusion
The Free Tailwind CSS ECommerce CTA Component is a pre-designed CTA button that you can use on your eCommerce website. It is built using Tailwind CSS and is fully customizable. By following the six ideas mentioned above, you can create a custom CTA button that matches the design of your website. Tailwind CSS is a powerful tool that allows you to create custom designs without writing any CSS code.