- Published on
6 Critical Skills To Make A Free Invoice With Tailwind CSS Remarkably Well
- What is Tailwind CSS?
- The description of Free Invoice ui component
- Why use Tailwind CSS to create a Free Invoice ui component?
- The preview of Free Invoice ui component.
- The source code of Free Invoice ui component.
- How to create a Free Invoice with Tailwind CSS?
- 1. Define the structure of the invoice
- 2. Style the invoice header
- 3. Style the invoice body
- 4. Add custom styles
- 5. Test the invoice
- 6. Deploy the invoice
- Conclusion
In today's digital age, creating a free invoice is a crucial task for businesses of all sizes. While there are many tools available to create invoices, creating a custom invoice with Tailwind CSS can be a great way to showcase your brand and stand out from the competition. In this article, we'll discuss the critical skills needed to create a free invoice with Tailwind CSS.
What is Tailwind CSS?
Tailwind CSS is a utility-first CSS framework that allows developers to quickly create custom designs without writing custom CSS. It provides a set of pre-defined classes that can be used to style HTML elements. Tailwind CSS is easy to learn and use, making it a popular choice among developers.
The description of Free Invoice ui component
A free invoice UI component is a pre-designed user interface that can be used to create an invoice. It typically includes fields for the invoice number, date, client information, and itemized charges. The UI component can be customized to match the brand of the business.
Why use Tailwind CSS to create a Free Invoice ui component?
Tailwind CSS provides a set of pre-defined classes that can be used to create a custom invoice UI component quickly. It allows developers to focus on the design and functionality of the component rather than writing custom CSS. Additionally, Tailwind CSS is responsive, making it easy to create a UI component that looks great on all devices.
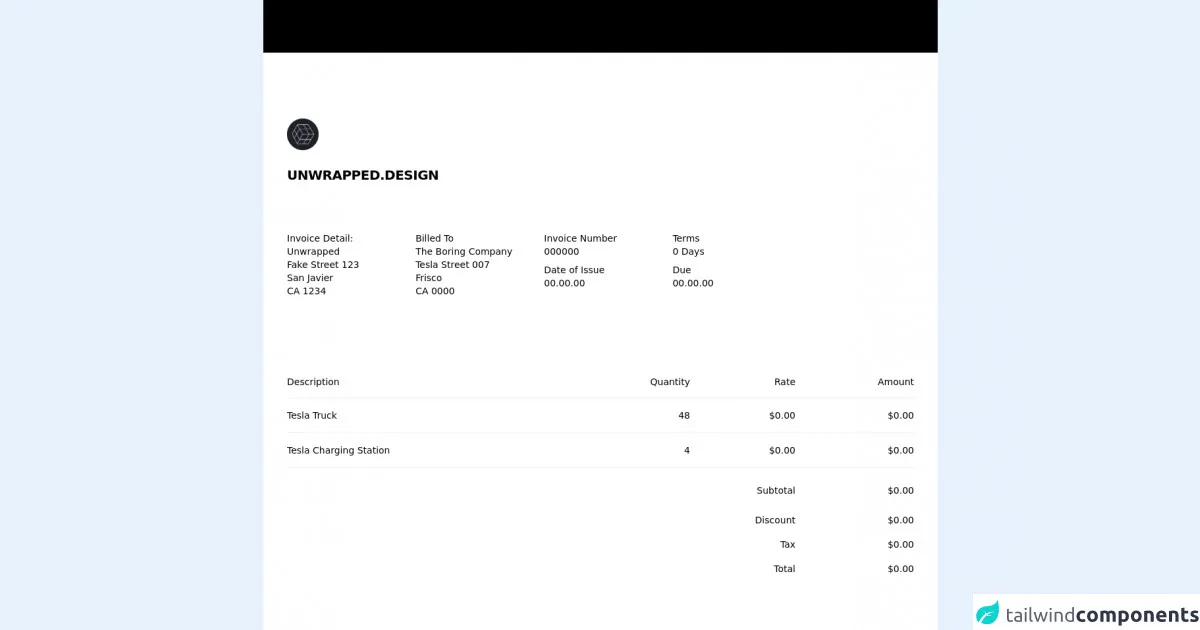
The preview of Free Invoice ui component.
Creating a custom invoice UI component with Tailwind CSS is easy. With just a few lines of code, you can create a professional-looking invoice that matches your brand.
Free download of the Free Invoice's source code
The source code of Free Invoice ui component.
To create a custom invoice UI component with Tailwind CSS, you'll need to have a basic understanding of HTML and CSS. The following code shows an example of a simple invoice UI component created with Tailwind CSS.
<section class="py-20 bg-black">
 <div class="max-w-5xl mx-auto py-16 bg-white">
  <article class="overflow-hidden">
   <div class="bg-[white] rounded-b-md">
    <div class="p-9">
     <div class="space-y-6 text-slate-700">
      <img class="object-cover h-12" src="https://pbs.twimg.com/profile_images/1513243060834123776/dL8-d7zI_400x400.png" />

      <p class="text-xl font-extrabold tracking-tight uppercase font-body">
       Unwrapped.design
      </p>
     </div>
    </div>
    <div class="p-9">
     <div class="flex w-full">
      <div class="grid grid-cols-4 gap-12">
       <div class="text-sm font-light text-slate-500">
        <p class="text-sm font-normal text-slate-700">
         Invoice Detail:
        </p>
        <p>Unwrapped</p>
        <p>Fake Street 123</p>
        <p>San Javier</p>
        <p>CA 1234</p>
       </div>
       <div class="text-sm font-light text-slate-500">
        <p class="text-sm font-normal text-slate-700">Billed To</p>
        <p>The Boring Company</p>
        <p>Tesla Street 007</p>
        <p>Frisco</p>
        <p>CA 0000</p>
       </div>
       <div class="text-sm font-light text-slate-500">
        <p class="text-sm font-normal text-slate-700">Invoice Number</p>
        <p>000000</p>

        <p class="mt-2 text-sm font-normal text-slate-700">
         Date of Issue
        </p>
        <p>00.00.00</p>
       </div>
       <div class="text-sm font-light text-slate-500">
        <p class="text-sm font-normal text-slate-700">Terms</p>
        <p>0 Days</p>

        <p class="mt-2 text-sm font-normal text-slate-700">Due</p>
        <p>00.00.00</p>
       </div>
      </div>
     </div>
    </div>

    <div class="p-9">
     <div class="flex flex-col mx-0 mt-8">
      <table class="min-w-full divide-y divide-slate-500">
       <thead>
        <tr>
         <th scope="col" class="py-3.5 pl-4 pr-3 text-left text-sm font-normal text-slate-700 sm:pl-6 md:pl-0">
          Description
         </th>
         <th scope="col" class="hidden py-3.5 px-3 text-right text-sm font-normal text-slate-700 sm:table-cell">
          Quantity
         </th>
         <th scope="col" class="hidden py-3.5 px-3 text-right text-sm font-normal text-slate-700 sm:table-cell">
          Rate
         </th>
         <th scope="col" class="py-3.5 pl-3 pr-4 text-right text-sm font-normal text-slate-700 sm:pr-6 md:pr-0">
          Amount
         </th>
        </tr>
       </thead>
       <tbody>
        <tr class="border-b border-slate-200">
         <td class="py-4 pl-4 pr-3 text-sm sm:pl-6 md:pl-0">
          <div class="font-medium text-slate-700">Tesla Truck</div>
          <div class="mt-0.5 text-slate-500 sm:hidden">
           1 unit at $0.00
          </div>
         </td>
         <td class="hidden px-3 py-4 text-sm text-right text-slate-500 sm:table-cell">
          48
         </td>
         <td class="hidden px-3 py-4 text-sm text-right text-slate-500 sm:table-cell">
          $0.00
         </td>
         <td class="py-4 pl-3 pr-4 text-sm text-right text-slate-500 sm:pr-6 md:pr-0">
          $0.00
         </td>
        </tr>
        <tr class="border-b border-slate-200">
         <td class="py-4 pl-4 pr-3 text-sm sm:pl-6 md:pl-0">
          <div class="font-medium text-slate-700">
           Tesla Charging Station
          </div>
          <div class="mt-0.5 text-slate-500 sm:hidden">
           1 unit at $75.00
          </div>
         </td>
         <td class="hidden px-3 py-4 text-sm text-right text-slate-500 sm:table-cell">
          4
         </td>
         <td class="hidden px-3 py-4 text-sm text-right text-slate-500 sm:table-cell">
          $0.00
         </td>
         <td class="py-4 pl-3 pr-4 text-sm text-right text-slate-500 sm:pr-6 md:pr-0">
          $0.00
         </td>
        </tr>

        <!-- Here you can write more products/tasks that you want to charge for-->
       </tbody>
       <tfoot>
        <tr>
         <th scope="row" colspan="3" class="hidden pt-6 pl-6 pr-3 text-sm font-light text-right text-slate-500 sm:table-cell md:pl-0">
          Subtotal
         </th>
         <th scope="row" class="pt-6 pl-4 pr-3 text-sm font-light text-left text-slate-500 sm:hidden">
          Subtotal
         </th>
         <td class="pt-6 pl-3 pr-4 text-sm text-right text-slate-500 sm:pr-6 md:pr-0">
          $0.00
         </td>
        </tr>
        <tr>
         <th scope="row" colspan="3" class="hidden pt-6 pl-6 pr-3 text-sm font-light text-right text-slate-500 sm:table-cell md:pl-0">
          Discount
         </th>
         <th scope="row" class="pt-6 pl-4 pr-3 text-sm font-light text-left text-slate-500 sm:hidden">
          Discount
         </th>
         <td class="pt-6 pl-3 pr-4 text-sm text-right text-slate-500 sm:pr-6 md:pr-0">
          $0.00
         </td>
        </tr>
        <tr>
         <th scope="row" colspan="3" class="hidden pt-4 pl-6 pr-3 text-sm font-light text-right text-slate-500 sm:table-cell md:pl-0">
          Tax
         </th>
         <th scope="row" class="pt-4 pl-4 pr-3 text-sm font-light text-left text-slate-500 sm:hidden">
          Tax
         </th>
         <td class="pt-4 pl-3 pr-4 text-sm text-right text-slate-500 sm:pr-6 md:pr-0">
          $0.00
         </td>
        </tr>
        <tr>
         <th scope="row" colspan="3" class="hidden pt-4 pl-6 pr-3 text-sm font-normal text-right text-slate-700 sm:table-cell md:pl-0">
          Total
         </th>
         <th scope="row" class="pt-4 pl-4 pr-3 text-sm font-normal text-left text-slate-700 sm:hidden">
          Total
         </th>
         <td class="pt-4 pl-3 pr-4 text-sm font-normal text-right text-slate-700 sm:pr-6 md:pr-0">
          $0.00
         </td>
        </tr>
       </tfoot>
      </table>
     </div>
    </div>

    <div class="mt-48 p-9">
     <div class="border-t pt-9 border-slate-200">
      <div class="text-sm font-light text-slate-700">
       <p>
        Payment terms are 14 days. Please be aware that according to the
        Late Payment of Unwrapped Debts Act 0000, freelancers are
        entitled to claim a 00.00 late fee upon non-payment of debts
        after this time, at which point a new invoice will be submitted
        with the addition of this fee. If payment of the revised invoice
        is not received within a further 14 days, additional interest
        will be charged to the overdue account and a statutory rate of
        8% plus Bank of England base of 0.5%, totalling 8.5%. Parties
        cannot contract out of the Act’s provisions.
       </p>
      </div>
     </div>
    </div>
   </div>
  </article>
 </div>
</section>
How to create a Free Invoice with Tailwind CSS?
To create a free invoice with Tailwind CSS, you'll need to follow these critical skills:
1. Define the structure of the invoice
Before you start styling the invoice, you'll need to define the structure of the invoice. This includes adding HTML elements for the invoice number, date, client information, and itemized charges. You can use the pre-defined classes provided by Tailwind CSS to style these elements.
2. Style the invoice header
The invoice header typically includes the business name, logo, and contact information. You can use Tailwind CSS to style these elements and ensure they are aligned correctly.
3. Style the invoice body
The invoice body includes the itemized charges and totals. You can use Tailwind CSS to style the table and ensure it is responsive on all devices.
4. Add custom styles
To make the invoice unique to your brand, you can add custom styles using Tailwind CSS. This includes changing the font, color, and background of the invoice.
5. Test the invoice
Before sending the invoice to clients, you should test it on different devices to ensure it looks great and is easy to use.
6. Deploy the invoice
Once you've tested the invoice, you can deploy it to your website or send it to clients via email.
Conclusion
Creating a custom invoice with Tailwind CSS is a great way to showcase your brand and stand out from the competition. With the critical skills discussed in this article, you can create a professional-looking invoice that is easy to use and looks great on all devices. Whether you're a freelancer or a large business, creating a custom invoice with Tailwind CSS can help you streamline your invoicing process and improve your brand image.