- Published on
6 Ideas To Help You Make A File Upload DropZone With Tailwind CSS Like A Pro
- What is Tailwind CSS?
- The description of File Upload DropZone ui component
- Why use Tailwind CSS to create a File Upload DropZone ui component?
- The preview of File Upload DropZone ui component
- The source code of File Upload DropZone ui component
- How to create a File Upload DropZone with Tailwind CSS?
- 1. Use the bg-gray-100 class to set the background color of the DropZone
- 2. Use the border-dashed class to create a dashed border around the DropZone
- 3. Use the text-gray-400 class to set the text color of the DropZone
- 4. Use the py-12 class to set the padding of the DropZone
- 5. Use JavaScript to handle the file upload
- 6. Use the transition class to add a smooth transition to the DropZone
- Conclusion
What is Tailwind CSS?
Tailwind CSS is a utility-first CSS framework that allows you to quickly and easily style your website without writing any custom CSS. It provides a set of pre-defined classes that you can use to apply styles to your HTML elements. Tailwind CSS is highly customizable and can be used to create complex UI components like a file upload DropZone.
The description of File Upload DropZone ui component
A file upload DropZone is a UI component that allows users to drag and drop files from their computer to a designated area on a webpage. It is a popular UI component used in many web applications, especially those that deal with file uploads.
Why use Tailwind CSS to create a File Upload DropZone ui component?
Tailwind CSS provides a set of pre-defined classes that can be used to style a file upload DropZone quickly and easily. It also allows for easy customization of the DropZone's appearance and behavior.
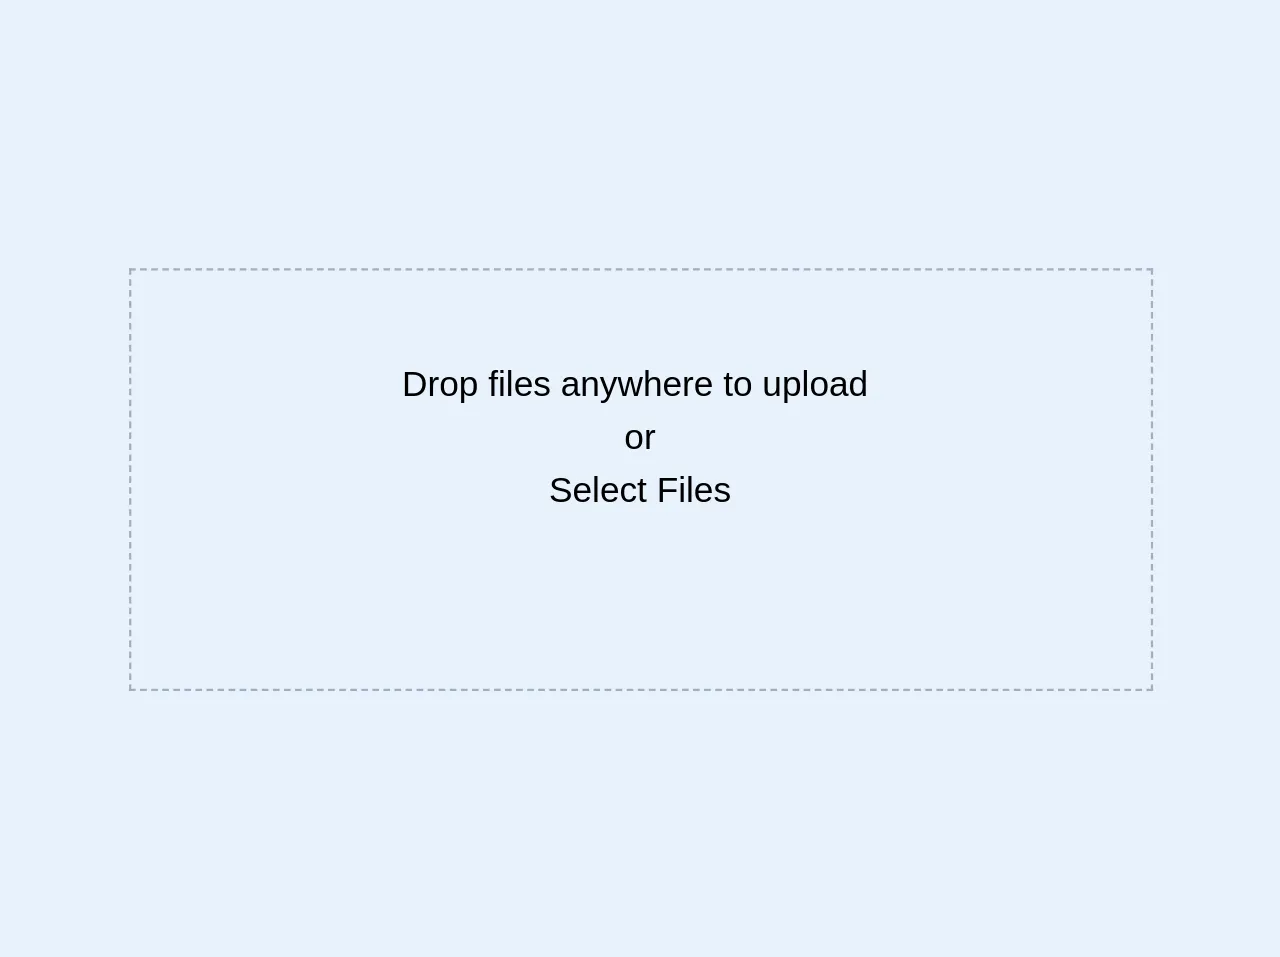
The preview of File Upload DropZone ui component
A file upload DropZone typically consists of a designated area on a webpage where users can drag and drop files. The area is usually highlighted to indicate that it is a DropZone. Once the user drops a file into the DropZone, the file is uploaded to the server.
Free download of the File Upload DropZone's source code
The source code of File Upload DropZone ui component
Creating a file upload DropZone with Tailwind CSS is relatively easy. You can use HTML, CSS, and JavaScript to create the DropZone. The HTML provides the structure of the DropZone, the CSS provides the styling, and the JavaScript provides the behavior.
<div class="border border-dashed border-gray-500 relative">
    <input type="file" multiple class="cursor-pointer relative block opacity-0 w-full h-full p-20 z-50">
    <div class="text-center p-10 absolute top-0 right-0 left-0 m-auto">
        <h4>
            Drop files anywhere to upload
            <br/>or
        </h4>
        <p class="">Select Files</p>
    </div>
</div>
How to create a File Upload DropZone with Tailwind CSS?
Here are six ideas to help you create a file upload DropZone with Tailwind CSS like a pro:
1. Use the bg-gray-100 class to set the background color of the DropZone
The bg-gray-100 class sets the background color of the DropZone to a light gray color. You can use this class to make the DropZone stand out on the page.
2. Use the border-dashed class to create a dashed border around the DropZone
The border-dashed class creates a dashed border around the DropZone. You can use this class to make the DropZone look like a designated area for file uploads.
3. Use the text-gray-400 class to set the text color of the DropZone
The text-gray-400 class sets the text color of the DropZone to a light gray color. You can use this class to make the text inside the DropZone stand out.
4. Use the py-12 class to set the padding of the DropZone
The py-12 class sets the top and bottom padding of the DropZone to 12 pixels. You can use this class to add some space around the DropZone.
5. Use JavaScript to handle the file upload
You can use JavaScript to handle the file upload when the user drops a file into the DropZone. You can use the ondrop event to detect when a file is dropped into the DropZone and then use the FormData object to send the file to the server.
6. Use the transition class to add a smooth transition to the DropZone
The transition class adds a smooth transition to the DropZone when the user hovers over it. You can use this class to add some visual feedback to the DropZone.
Conclusion
Creating a file upload DropZone with Tailwind CSS is a great way to add a user-friendly file upload feature to your web application. With Tailwind CSS, you can create a DropZone quickly and easily, and customize it to fit your needs. By using the six ideas outlined in this article, you can create a DropZone that looks and behaves like a pro.