- Published on
The Ultimate Guide To Help You Build A Event Ticket With QR Code With Tailwind CSS
- What is Tailwind CSS?
- The description of Event Ticket with QR Code ui component
- Why use Tailwind CSS to create a Event Ticket with QR Code ui component?
- The preview of Event Ticket with QR Code ui component
- The source code of Event Ticket with QR Code ui component
- How to create a Event Ticket with QR Code with Tailwind CSS?
- Step 1: Set up your HTML structure
- Step 2: Style your HTML with Tailwind CSS
- Step 3: Add Tailwind CSS classes to your HTML
- Conclusion
Are you looking to create an event ticket with a QR code? Look no further! In this guide, we will walk you through the process of creating an event ticket with a QR code using Tailwind CSS.
What is Tailwind CSS?
Tailwind CSS is a utility-first CSS framework that allows you to rapidly build custom user interfaces. It provides a set of pre-defined CSS classes that you can use to style your HTML elements. With Tailwind CSS, you can create complex designs without writing custom CSS.
The description of Event Ticket with QR Code ui component
An event ticket with a QR code is a popular UI component used in event management systems. It contains information about an event, such as the event name, date, time, and location, as well as a unique QR code that can be scanned to verify the ticket's authenticity. The UI component is usually designed to be printed on a physical ticket or displayed on a digital device.
Why use Tailwind CSS to create a Event Ticket with QR Code ui component?
Tailwind CSS is an excellent choice for creating an event ticket with a QR code UI component for several reasons:
- Rapid prototyping: Tailwind CSS provides a set of pre-defined CSS classes that you can use to style your HTML elements. This allows you to quickly prototype your UI components without writing custom CSS.
- Consistent design: Tailwind CSS provides a consistent design system that ensures your UI components look and feel consistent across your application.
- Responsive design: Tailwind CSS provides a set of responsive utility classes that allow you to create responsive UI components that adapt to different screen sizes.
- Customization: Tailwind CSS allows you to customize your design system by adding or modifying CSS classes to suit your needs.
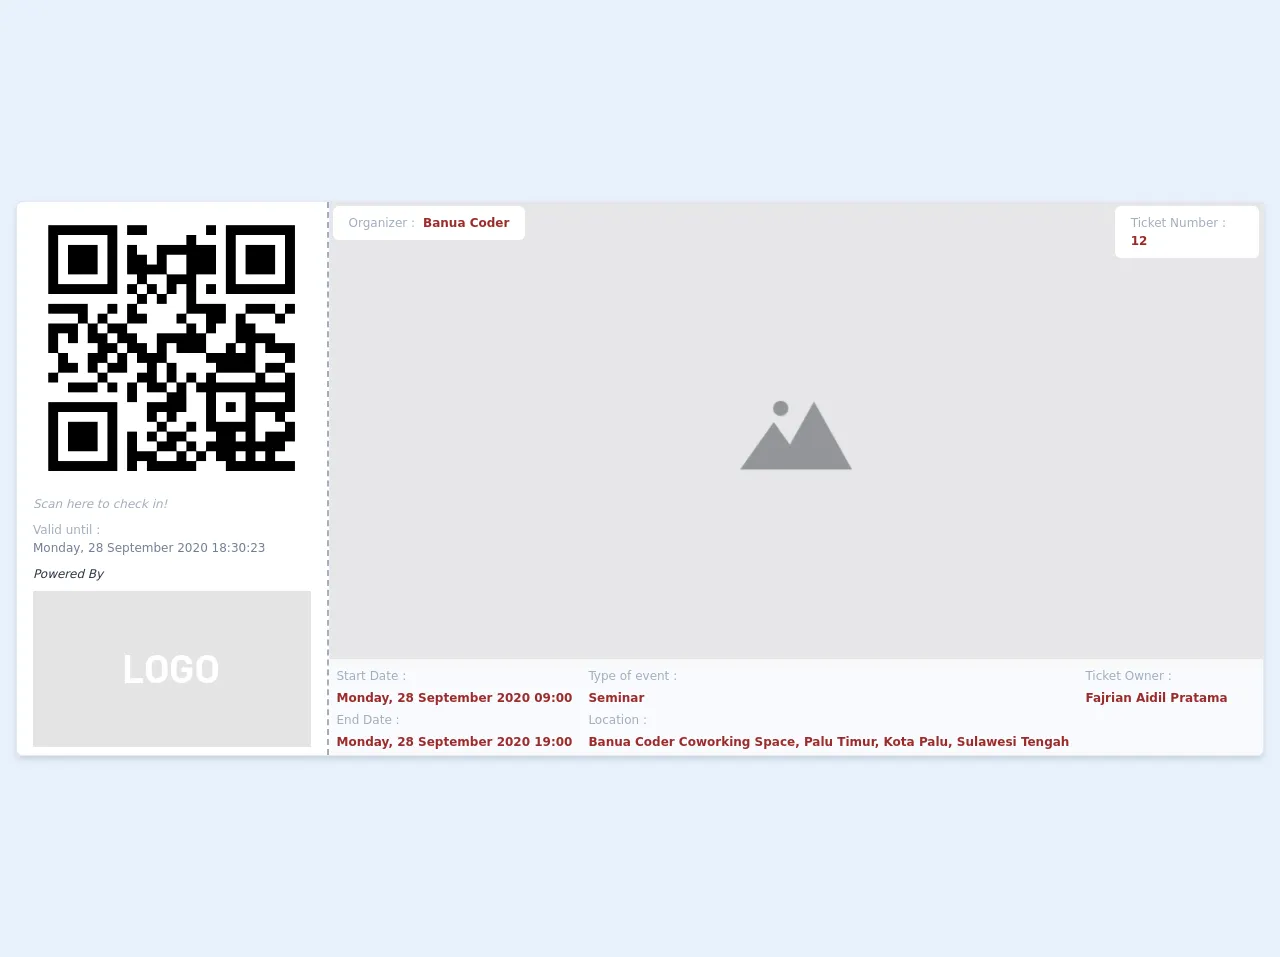
The preview of Event Ticket with QR Code ui component
In this section, we will provide a preview of what the event ticket with a QR code UI component looks like.
Free download of the Event Ticket with QR Code's source code
The source code of Event Ticket with QR Code ui component
In this section, we will provide the source code for the event ticket with a QR code UI component.
<div class="px-4 py-2 text-gray-800">
  <div class="hidden xl:flex flex-row justify-between shadow-md border rounded-md">
    <div
      class="flex flex-col items-center justify-between w-1/4 px-4 py-2 bg-white border-r-2 border-gray-500 border-dashed rounded-l-md"
    >
      <div class="flex-col">
        <img
          src="https://store-images.s-microsoft.com/image/apps.33967.13510798887182917.246b0a3d-c3cc-46fc-9cea-021069d15c09.392bf5f5-ade4-4b36-aa63-bb15d5c3817a"
        />
        <p class="my-2 text-xs italic font-light text-gray-500">
          Scan here to check in!
        </p>
        <div class="text-xs mb-2 text-gray-600">
          <span class="text-gray-500">Valid until :</span>
          <br />
          Monday, 28 September 2020 18:30:23
        </div>
      </div>
      <div class="text-left">
        <p class="pb-2 text-xs italic">Powered By</p>
        <img
          src="https://ad-venture.org.uk/wp-content/uploads/2017/05/logo-placeholder.png"
        />
      </div>
    </div>
    <div class="relative flex flex-col w-3/4">
      <img
        src="https://www.unfe.org/wp-content/uploads/2019/04/SM-placeholder-1024x512.png"
      />
      <div class="absolute p-1 bottom-24">
        <div
          class="flex flex-row px-4 py-2 text-xs font-bold text-red-800 bg-white rounded-md "
        >
          <span class="mr-2 font-normal text-gray-500">Organizer :</span>
          <p class="font-semibold text-red-800">Banua Coder</p>
        </div>
      </div>
      <div class="absolute self-end mr-1 mt-1">
        <p
          class="px-4 py-2 text-xs font-bold text-red-800 bg-white rounded-md "
        >
          <span class="font-normal text-gray-500">Ticket Number :</span>
          12
        </p>
      </div>
      <div class="absolute bottom-0 flex flex-col w-full h-24">
        <div class="w-full h-full bg-white opacity-75 rounded-br-md"></div>
        <div class="absolute flex flex-row p-2 text-gray-800 opacity-100">
          <div class="flex flex-col">
            <div class="flex flex-col">
              <p class="mb-1 text-xs text-gray-500">Start Date :</p>
              <p class="text-xs font-semibold text-red-800">
                Monday, 28 September 2020 09:00
              </p>
            </div>
            <div class="hidden md:flex flex-col mt-1">
              <p class="mb-1 text-xs text-gray-500">End Date :</p>
              <p class="text-xs font-semibold text-red-800">
                Monday, 28 September 2020 19:00
              </p>
            </div>
          </div>
          <div class="flex flex-col ml-4">
            <div class="hidden md:flex flex-col">
              <p class="mb-1 text-xs text-gray-500">Type of event :</p>
              <p class="text-xs font-semibold text-red-800">Seminar</p>
            </div>
            <div class="flex flex-col mt-1">
              <p class="mb-1 text-xs text-gray-500">Location :</p>
              <p class="text-xs font-semibold text-red-800">
                Banua Coder Coworking Space, Palu Timur, Kota Palu, Sulawesi
                Tengah
              </p>
            </div>
          </div>
          <div class="flex flex-col ml-4">
            <div class="flex flex-col">
              <p class="mb-1 text-xs text-gray-500">Ticket Owner :</p>
              <p class="text-xs font-semibold text-red-800">
                Fajrian Aidil Pratama
              </p>
            </div>
          </div>
        </div>
      </div>
    </div>
  </div>
  <div class="xl:hidden flex flex-col bg-white border rounded-md shadow-md">
   <div class="py-2 px-4 flex-col flex text-center">
      <img class="mx-auto"
          src="https://store-images.s-microsoft.com/image/apps.33967.13510798887182917.246b0a3d-c3cc-46fc-9cea-021069d15c09.392bf5f5-ade4-4b36-aa63-bb15d5c3817a"
        />
        <p class="font-bold text-lg md:text-3xl">Scan here to check in!</p>
   </div>
   <hr class="border-dashed border-2 border-gray-400"/>
    <img
        src="https://www.unfe.org/wp-content/uploads/2019/04/SM-placeholder-1024x512.png"
      />
   <div class="py-2 px-4 flex flex-col text-sm md:text-2xl">
     <p class="self-start font-bold text-gray-500">Mulai</p>
     <div class="flex text-sm justify-between my-2 md:text-xl">
       <svg class="w-6 h-6" fill="none" stroke="currentColor" viewBox="0 0 24 24" xmlns="http://www.w3.org/2000/svg"><path stroke-linecap="round" stroke-linejoin="round" stroke-width="2" d="M8 7V3m8 4V3m-9 8h10M5 21h14a2 2 0 002-2V7a2 2 0 00-2-2H5a2 2 0 00-2 2v12a2 2 0 002 2z"></path></svg>
       <p class="font-bold text-red-800">Senin, 29 September 2020</p>
     </div>
     <div class="flex text-sm justify-between my-2 md:text-xl">
       <svg class="w-6 h-6" fill="none" stroke="currentColor" viewBox="0 0 24 24" xmlns="http://www.w3.org/2000/svg"><path stroke-linecap="round" stroke-linejoin="round" stroke-width="2" d="M12 8v4l3 3m6-3a9 9 0 11-18 0 9 9 0 0118 0z"></path></svg>
       <p class="font-bold text-red-800">10:30</p>
     </div>
   </div>
   <div class="py-2 px-4 flex flex-col text-sm md:text-2xl">
     <p class="self-start font-bold text-gray-500">Selesai</p>
     <div class="flex text-sm md:text-xl justify-between my-2">
       <svg class="w-6 h-6" fill="none" stroke="currentColor" viewBox="0 0 24 24" xmlns="http://www.w3.org/2000/svg"><path stroke-linecap="round" stroke-linejoin="round" stroke-width="2" d="M8 7V3m8 4V3m-9 8h10M5 21h14a2 2 0 002-2V7a2 2 0 00-2-2H5a2 2 0 00-2 2v12a2 2 0 002 2z"></path></svg>
       <p class="font-bold text-red-800">Senin, 29 September 2020</p>
     </div>
     <div class="flex text-sm md:text-xl justify-between my-2">
       <svg class="w-6 h-6" fill="none" stroke="currentColor" viewBox="0 0 24 24" xmlns="http://www.w3.org/2000/svg"><path stroke-linecap="round" stroke-linejoin="round" stroke-width="2" d="M12 8v4l3 3m6-3a9 9 0 11-18 0 9 9 0 0118 0z"></path></svg>
       <p class="font-bold text-red-800">15:30</p>
     </div>
   </div>
   <div class="py-2 px-4 flex flex-col text-sm md:text-2xl">
     <p class="self-start font-bold text-gray-500">Lokasi</p>
     <div class="flex text-sm md:text-xl justify-between my-2">
       <svg class="w-6 h-6 mr-2" fill="none" stroke="currentColor" viewBox="0 0 24 24" xmlns="http://www.w3.org/2000/svg"><path stroke-linecap="round" stroke-linejoin="round" stroke-width="2" d="M17.657 16.657L13.414 20.9a1.998 1.998 0 01-2.827 0l-4.244-4.243a8 8 0 1111.314 0z"></path><path stroke-linecap="round" stroke-linejoin="round" stroke-width="2" d="M15 11a3 3 0 11-6 0 3 3 0 016 0z"></path></svg>
       <p class="font-bold text-red-800">Banua Coder Coworking Space, Palu, Sulawesi Tengah, Indonesia</p>
     </div>
   </div>
   <hr class="border-gray-400"/>
   <div class="py-2 px-4 flex flex-col text-sm md:text-2xl">
     <p class="self-start font-bold text-gray-500">Powered By</p>
     <img
     class="mx-auto my-2"
          src="https://ad-venture.org.uk/wp-content/uploads/2017/05/logo-placeholder.png"
        />
   </div>
  </div>
</div>
How to create a Event Ticket with QR Code with Tailwind CSS?
Now that you understand the benefits of using Tailwind CSS to create an event ticket with a QR code UI component, let's walk through the steps to create one.
Step 1: Set up your HTML structure
The first step is to set up your HTML structure. Here is an example of what your HTML might look like:
<div class="ticket">
  <div class="ticket-header">
    <h1 class="ticket-title">Event Name</h1>
    <p class="ticket-date">Date: 12/31/2021</p>
    <p class="ticket-time">Time: 8:00 PM</p>
    <p class="ticket-location">Location: 123 Main St, Anytown USA</p>
  </div>
  <div class="ticket-body">
    <img src="qr-code.png" alt="QR Code" class="ticket-qr-code">
  </div>
</div>
Step 2: Style your HTML with Tailwind CSS
The next step is to style your HTML with Tailwind CSS. Here is an example of what your CSS might look like:
.ticket {
  border: 1px solid #ccc;
  border-radius: 4px;
  padding: 1rem;
}

.ticket-header {
  margin-bottom: 1rem;
}

.ticket-title {
  font-size: 2rem;
  font-weight: bold;
  margin-bottom: 0.5rem;
}

.ticket-date,
.ticket-time,
.ticket-location {
  margin-bottom: 0.5rem;
}

.ticket-qr-code {
  max-width: 100%;
  height: auto;
}
Step 3: Add Tailwind CSS classes to your HTML
The final step is to add Tailwind CSS classes to your HTML. Here is an example of what your HTML might look like with Tailwind CSS classes added:
<div class="ticket border border-gray-300 rounded-lg p-4">
  <div class="ticket-header mb-4">
    <h1 class="ticket-title text-2xl font-bold mb-2">Event Name</h1>
    <p class="ticket-date mb-2">Date: 12/31/2021</p>
    <p class="ticket-time mb-2">Time: 8:00 PM</p>
    <p class="ticket-location mb-2">Location: 123 Main St, Anytown USA</p>
  </div>
  <div class="ticket-body">
    <img src="qr-code.png" alt="QR Code" class="ticket-qr-code max-w-full h-auto">
  </div>
</div>
As you can see, we have replaced our custom CSS with Tailwind CSS classes. This allows us to rapidly prototype our UI component without writing custom CSS.
Conclusion
In this guide, we have shown you how to create an event ticket with a QR code using Tailwind CSS. We hope this guide has been helpful and that you are now able to create your own event ticket UI components with ease. Remember, Tailwind CSS is a powerful tool that can help you rapidly prototype and build custom user interfaces. Happy coding!