- Published on
Make A E-Commerce Registration Page With Tailwind CSS Like A Pro With The Help Of These 6 Tips
- What is Tailwind CSS?
- The description of E-Commerce Registration Page ui component
- Why use Tailwind CSS to create a E-Commerce Registration Page ui component?
- The preview of E-Commerce Registration Page ui component
- The source code of E-Commerce Registration Page ui component
- How to create a E-Commerce Registration Page with Tailwind CSS?
- Step 1: Set up your project
- Step 2: Create the HTML structure
- Step 3: Add Tailwind CSS classes
- Step 4: Customize the design
- Step 5: Add responsive design classes
- Step 6: Test your UI component
- Conclusion
As a FrontEnd technology blogger, it is important to stay up-to-date with the latest trends and tools in the industry. One such tool that has gained popularity in recent times is Tailwind CSS. In this article, we will explore how to create a E-Commerce Registration Page with Tailwind CSS and provide you with 6 tips to make it look like a pro.
What is Tailwind CSS?
Tailwind CSS is a utility-first CSS framework that allows you to rapidly build custom user interfaces. It provides a set of pre-defined CSS classes that you can use to style your HTML elements. With Tailwind CSS, you can create complex layouts and designs without writing any custom CSS.
The description of E-Commerce Registration Page ui component
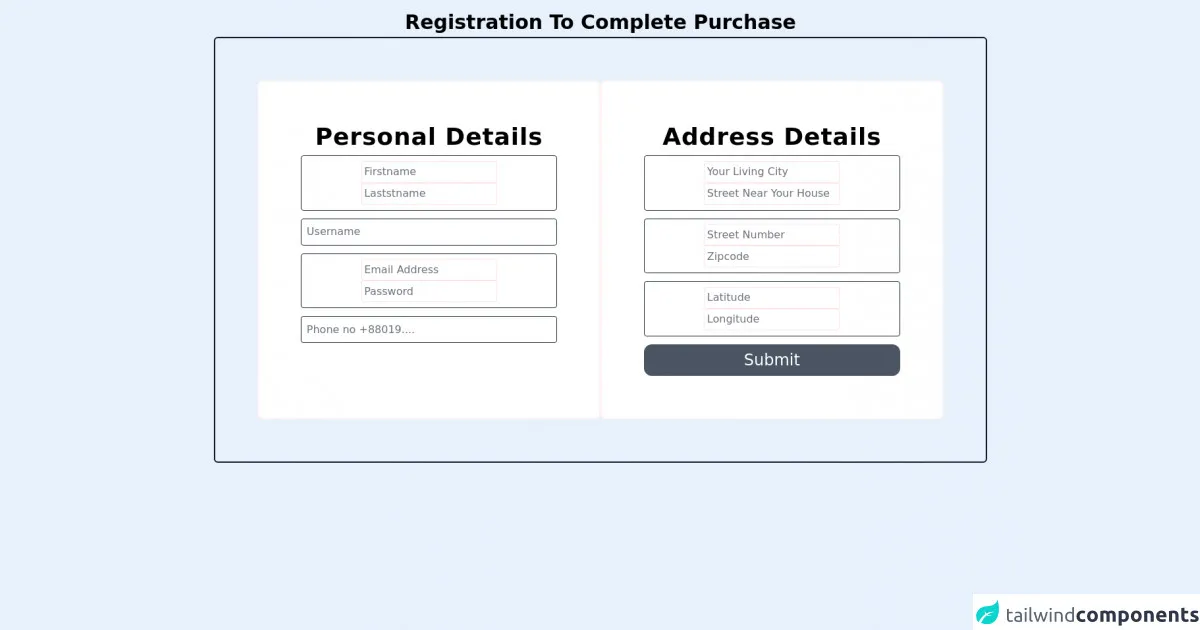
A E-Commerce Registration Page is a UI component that allows users to create an account on an e-commerce website. It typically includes form fields for the user to enter their personal details, such as name, email, and password. The page may also include additional fields for shipping and billing information.
Why use Tailwind CSS to create a E-Commerce Registration Page ui component?
Tailwind CSS provides a number of benefits when it comes to creating a E-Commerce Registration Page. Here are a few reasons why you should consider using Tailwind CSS:
- Rapid development: Tailwind CSS allows you to quickly build custom user interfaces without writing any custom CSS. This can save you a lot of time and effort in the development process.
- Consistent design: Tailwind CSS provides a set of pre-defined CSS classes that ensure a consistent design across your entire application.
- Flexibility: Tailwind CSS allows you to easily customize the design of your UI components by modifying the pre-defined CSS classes or creating your own.
- Responsive design: Tailwind CSS provides a number of responsive design classes that allow you to create UI components that look great on any device.
The preview of E-Commerce Registration Page ui component
To give you an idea of what the E-Commerce Registration Page UI component looks like, here is a preview:
Free download of the E-Commerce Registration Page's source code
The source code of E-Commerce Registration Page ui component
Here is the source code for the E-Commerce Registration Page UI component:
<!-- Registration Page -->
       <section class="max-w-10/12 h-screen m-auto bg-rose-50 mt-3">
           <div class="text-center">
               <h1 class=" mx-auto sm:text-3xl font-semibold px-2 py-1 5 whitespace-pre-wrap">Registration To Complete Purchase</h1>
               <form action="#" class="w-11/12 mx-auto border-2 border-gray-900 rounded-md p-16 flex flex-col sm:flex-row sm:justify-evenly">
                    <div class="p-16 flex flex-col border-2 bg-white rounded-lg  border-red-50">
                        <h1 class="text-lg sm:text-4xl font-semibold tracking-wide mb-2">Personal Details</h1>
                        <div class="p-2 border-[0.75px] border-gray-800 rounded">
                            <input type="text" placeholder="Firstname" class=" rounded-sm border-[0.5px] border-red-100 placeholder:text-center placeholder:text-lg focus:outline-none p-1">
                            <input type="text" placeholder="Laststname" class=" rounded-sm border-[0.5px] border-red-100 placeholder:text-center placeholder:text-lg focus:outline-none p-1">
                        </div>
                        <input type="text" placeholder="Username" class=" border-[0.5px] border-gray-800 rounded placeholder:text-center placeholder:text-lg focus:outline-none p-2 mt-3">
                        <div class="p-2 border-[0.75px] border-gray-800 rounded mt-3">
                            <input type="email" placeholder="Email Address" class=" rounded-sm border-[0.5px] border-red-100 placeholder:text-center placeholder:text-lg focus:outline-none p-1">
                            <input type="password" placeholder="Password" class=" rounded-sm border-[0.5px] border-red-100 placeholder:text-center placeholder:text-lg focus:outline-none p-1">
                        </div>
                        <input type="text" placeholder="Phone no +88019...." class=" border-[0.5px] border-gray-800 rounded placeholder:text-center focus:outline-none p-2 mt-3">
                    </div>

                    <!-- address start -->
                    <div class="p-16 flex flex-col border-2 bg-white rounded-lg  border-red-50">
                        <h1 class="text-lg sm:text-4xl font-semibold tracking-wide mb-2">Address Details</h1>
                        <div class="p-2 border-[0.75px] border-gray-800 rounded">
                            <input type="text" placeholder="Your Living City" class=" rounded-sm border-[0.5px] border-red-100 placeholder:text-center placeholder:text-lg focus:outline-none p-1">
                            <input type="text" placeholder="Street Near Your House" class=" rounded-sm border-[0.5px] border-red-100 placeholder:text-center placeholder:text-lg focus:outline-none p-1">
                        </div>
                        <div class="p-2 border-[0.75px] border-gray-800 rounded mt-3">
                            <input type="text" placeholder="Street Number" class=" rounded-sm border-[0.5px] border-red-100 placeholder:text-center placeholder:text-lg focus:outline-none p-1">
                            <input type="text" placeholder="Zipcode" class=" rounded-sm border-[0.5px] border-red-100 placeholder:text-center placeholder:text-lg focus:outline-none p-1">
                        </div>
                        <div class="p-2 border-[0.75px] border-gray-800 rounded mt-3">
                            <input type="email" placeholder="Latitude" class=" rounded-sm border-[0.5px] border-red-100 placeholder:text-center placeholder:text-lg focus:outline-none p-1">
                            <input type="password" placeholder="Longitude" class=" rounded-sm border-[0.5px] border-red-100 placeholder:text-center placeholder:text-lg focus:outline-none p-1">
                        </div>
                        <button type="submit" class="w-full bg-gray-600 hover:bg-emerald-600 text-white text-2xl p-2 rounded-xl mt-3">Submit</button>
                    </div>
                    <!-- address End -->
               </form>
           </div>
       </section>
    <!-- End of Registration Page -->
How to create a E-Commerce Registration Page with Tailwind CSS?
Now that we have covered the basics of Tailwind CSS and the E-Commerce Registration Page UI component, let's dive into how to create one with Tailwind CSS.
Step 1: Set up your project
To get started, you will need to set up your project with Tailwind CSS. You can do this by following the installation instructions on the Tailwind CSS website.
Step 2: Create the HTML structure
Next, you will need to create the HTML structure for your E-Commerce Registration Page. This will typically include form fields for the user to enter their personal details, such as name, email, and password. You may also include additional fields for shipping and billing information.
Step 3: Add Tailwind CSS classes
Once you have created the HTML structure, you can start adding Tailwind CSS classes to style your UI components. For example, you can use the bg-gray-100 class to set the background color of your form fields to gray.
Step 4: Customize the design
Tailwind CSS provides a number of pre-defined CSS classes that you can use to customize the design of your UI components. For example, you can use the border class to add a border to your form fields.
Step 5: Add responsive design classes
To ensure that your E-Commerce Registration Page looks great on any device, you can use Tailwind CSS's responsive design classes. For example, you can use the sm:grid-cols-2 class to set the number of columns in your form fields to 2 on small screens.
Step 6: Test your UI component
Finally, you should test your E-Commerce Registration Page UI component to ensure that it looks and functions as expected. You can do this by previewing it in your web browser or using a testing tool such as Cypress.
Conclusion
In this article, we have explored how to create a E-Commerce Registration Page with Tailwind CSS and provided you with 6 tips to make it look like a pro. By following these tips, you can create a custom, responsive, and consistent E-Commerce Registration Page UI component that will enhance the user experience of your e-commerce website.