- Published on
6 Steps To Make A Div Bot With Tailwind CSS Like A Pro In Under An Hour
- What is Tailwind CSS?
- The description of div bot UI component
- Why use Tailwind CSS to create a div bot UI component?
- The preview of div bot UI component
- The source code of div bot UI component
- How to create a div bot with Tailwind CSS?
- Conclusion
As a FrontEnd technology blogger, I am always looking for ways to make designing and developing UI components easier and more efficient. Tailwind CSS is a utility-first CSS framework that allows you to quickly build custom designs without writing any CSS. In this article, I will show you how to create a Div Bot UI component using Tailwind CSS in just six easy steps.
What is Tailwind CSS?
Tailwind CSS is a utility-first CSS framework that provides a set of pre-defined classes that you can use to style your HTML elements. It is designed to be highly customizable and allows you to build complex designs without writing any CSS. Tailwind CSS is gaining popularity among developers due to its simplicity and flexibility.
The description of div bot UI component
A Div Bot is a UI component that is commonly used in chat applications. It is a chat bubble that contains a message from a user or a bot. The Div Bot UI component can be customized to match the design of your application.
Why use Tailwind CSS to create a div bot UI component?
Tailwind CSS provides a set of pre-defined classes that can be used to style the Div Bot UI component. This makes it easy to create a custom design without writing any CSS. Tailwind CSS also provides responsive design classes that allow you to create a design that is optimized for different screen sizes.
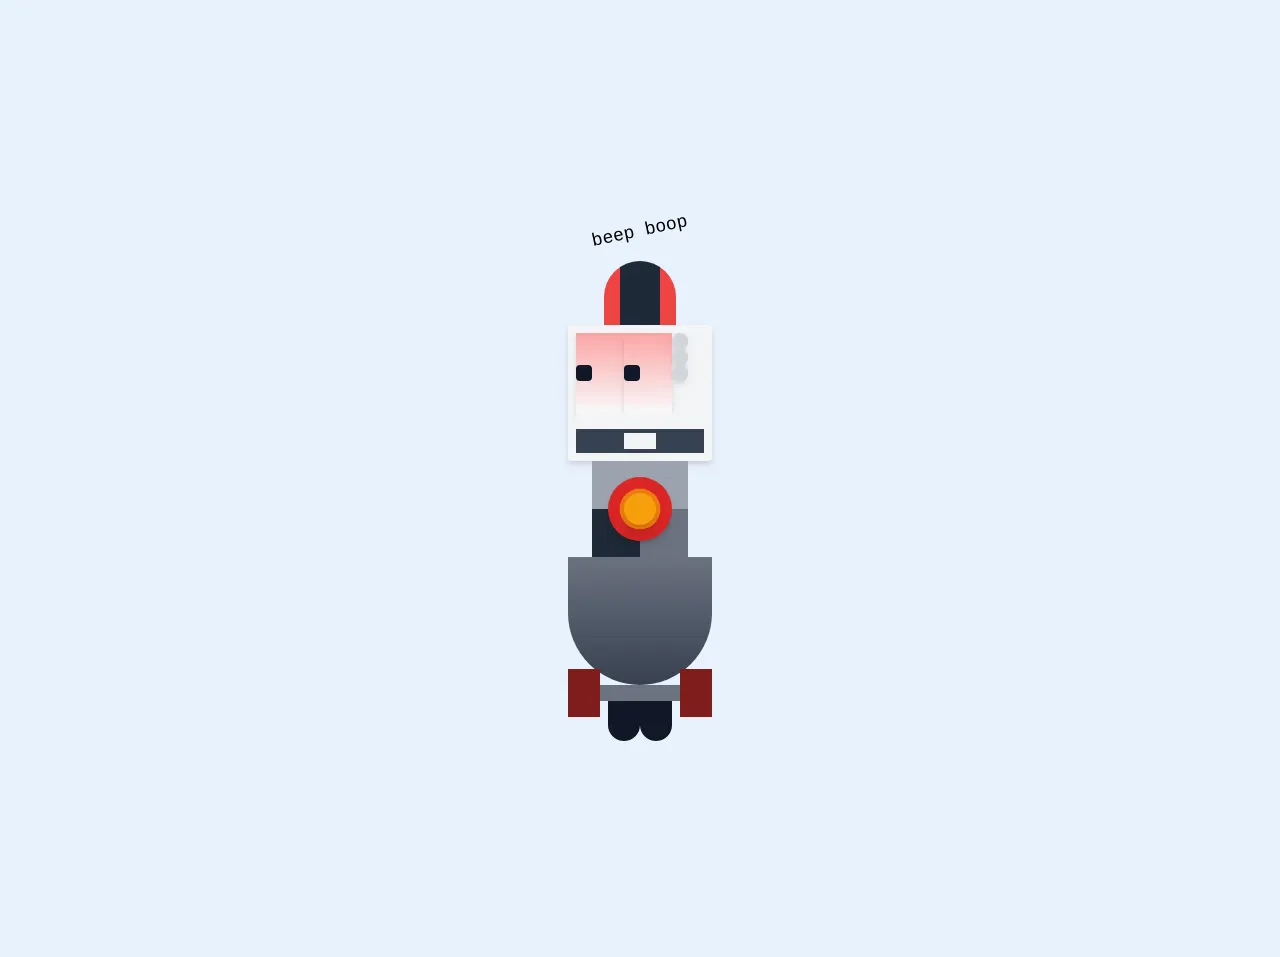
The preview of div bot UI component
To create a Div Bot UI component using Tailwind CSS, we will use a combination of flexbox and border-radius classes. The final result will look something like this:
Free download of the div bot's source code
The source code of div bot UI component
To create the Div Bot UI component, we will use the following HTML and Tailwind CSS classes:
<div class="grid place-items-center h-screen">
  <section class="grid justify-items-center">
    <h1 class="text-lg font-mono mb-4 transform -rotate-12">beep boop</h1>
    <div class="h-16 flex gap-5 overflow-hidden rounded-t-full shadow-inner">
      <div class="bg-red-500 w-2"></div>
      <div class="bg-red-500 w-2"></div>
      <div class="bg-gray-800 w-5"></div>
      <div class="bg-gray-800 w-5"></div>
      <div class="bg-red-500 w-2"></div>
      <div class="bg-red-500 w-2"></div>
    </div>
    <div class="bg-gray-100 rounded flex flex-col gap-2 p-2 shadow-md">
      <div class="flex gap-2">
        <div class="h-20 w-12 shadow-md bg-gradient-to-t from-gray-50 to-red-300 flex place-items-center overflow-hidden">
          <div class="rounded bg-gray-900 h-4 w-4"></div>
        </div>
        <div class="h-20 w-12 shadow-md bg-gradient-to-t from-gray-50 to-red-300 flex place-items-center overflow-hidden">
          <div class="rounded bg-gray-900 h-4 w-4"></div>
        </div>
        <div class="flex flex-col gap-3">
          <div class="h-4 w-4 bg-gray-300 rounded-full shadow-md"></div>
          <div class="h-4 w-4 bg-gray-300 rounded-full shadow-md"></div>
          <div class="h-4 w-4 bg-gray-300 rounded-full shadow-md"></div>
        </div>
      </div>
      <div class="h-10 w-32 bg-gray-700 flex flex-wrap gap-2 overflow-hidden justify-center">
        <div class="bg-gray-100 h-4 w-4"></div>
        <div class="bg-gray-100 h-4 w-4"></div>
        <div class="bg-gray-100 h-4 w-4"></div>
        <div class="bg-gray-100 h-4 w-4"></div>
        <div class="bg-gray-100 h-4 w-4"></div>
        <div class="bg-gray-100 h-4 w-4"></div>
        <div class="bg-gray-100 h-4 w-4"></div>
        <div class="bg-gray-100 h-4 w-4"></div>
        <div class="bg-gray-100 h-4 w-4"></div>
        <div class="bg-gray-100 h-4 w-4"></div>
      </div>
    </div>
    <div class="h-24 w-24 bg-red-500 relative">
      <div class="absolute h-16 w-16 rounded-full bg-red-600 shadow-md top-4 left-4"></div>
      <div class="animate-ping absolute h-8 w-8 rounded-full bg-yellow-500 shadow-lg top-8 left-8"></div>
      <div class="absolute h-8 w-8 rounded-full bg-yellow-500 shadow-lg top-8 left-8"></div>
      <div class="flex gap-5">
        <div class="h-12 w-12 bg-gray-400"></div>
        <div class="h-12 w-12 bg-gray-400"></div>
      </div>
      <div class="flex gap-5">
        <div class="h-12 w-12 bg-gray-800"></div>
        <div class="h-12 w-12 bg-gray-500"></div>
      </div>
    </div>
    <div class=" relative">
      <div class="h-32 w-36 bg-gradient-to-b from-gray-500 to-gray-700 rounded-b-full z-50"></div>
      <div class="bg-gray-500 h-4"></div>
      <div class="absolute h-12 w-8 bg-red-900 top-28 left-0 z-40"></div>
      <div class="absolute h-12 w-8 bg-red-900 top-28 right-0"></div>
    </div>
    <div class="flex gap-20">
      <div class="h-10 w-8 bg-gray-900 rounded-b-full"></div>
      <div class="h-10 w-8 bg-gray-900 rounded-b-full"></div>
    </div>
  </section>
</div>
How to create a div bot with Tailwind CSS?
Step 1: Create a new HTML file and add the following code:
<div class="flex items-start mb-4">
  <div class="bg-gray-300 text-gray-700 rounded-lg p-3">
    <p class="text-sm">Hello, how can I help you today?</p>
  </div>
</div>
Step 2: Add the Tailwind CSS CDN to your HTML file:
<head>
  <link rel="stylesheet" href="https://cdn.jsdelivr.net/npm/[email protected]/dist/tailwind.min.css">
</head>
Step 3: Add the following classes to the outer div element:
<div class="flex items-start mb-4">
The flex class will make the div element a flex container, while the items-start class will align the child elements to the top of the container.
Step 4: Add the following classes to the inner div element:
<div class="bg-gray-300 text-gray-700 rounded-lg p-3">
The bg-gray-300 class will set the background color of the div element to light gray, while the text-gray-700 class will set the text color to dark gray. The rounded-lg class will add rounded corners to the div element, and the p-3 class will add padding to the div element.
Step 5: Add the following class to the paragraph element:
<p class="text-sm">
The text-sm class will set the font size of the paragraph element to small.
Step 6: Add your own message text to the paragraph element:
<p class="text-sm">Hello, how can I help you today?</p>
Congratulations! You have successfully created a Div Bot UI component using Tailwind CSS.
Conclusion
Tailwind CSS is a powerful tool that can help you create custom designs quickly and easily. In this article, we have shown you how to create a Div Bot UI component using Tailwind CSS in just six easy steps. By using the pre-defined classes provided by Tailwind CSS, you can create complex designs without writing any CSS. We hope you found this tutorial helpful and that you will continue to explore the possibilities of Tailwind CSS in your own projects.