- Published on
How to Make A Dashboard Cards With Tailwindcss V1.0.3 With Tailwind CSS?
- What is Tailwind CSS?
- The description of Dashboard cards with Tailwindcss v1.0.3 ui component
- Why use Tailwind CSS to create a Dashboard cards with Tailwindcss v1.0.3 ui component?
- The preview of Dashboard cards with Tailwindcss v1.0.3 ui component.
- The source code of Dashboard cards with Tailwindcss v1.0.3 ui component.
- How to create a Dashboard cards with Tailwindcss v1.0.3 with Tailwind CSS?
- Conclusion
As a FrontEnd technology blogger, it is important to stay up-to-date with the latest trends and technologies. One of the most popular CSS frameworks currently available is Tailwind CSS. In this article, we will explore how to create a Dashboard cards with Tailwindcss v1.0.3 ui component using Tailwind CSS.
What is Tailwind CSS?
Tailwind CSS is a utility-first CSS framework that allows you to quickly and easily create custom designs without writing any CSS code. It provides a set of pre-defined classes that you can use to style your HTML elements.
The description of Dashboard cards with Tailwindcss v1.0.3 ui component
Dashboard cards are a popular UI component used in many web applications. They are used to display important information in a concise and visually appealing way. With Tailwind CSS, creating dashboard cards is easy and can be done in just a few lines of code.
Why use Tailwind CSS to create a Dashboard cards with Tailwindcss v1.0.3 ui component?
Tailwind CSS provides a set of pre-defined classes that make it easy to create custom designs without writing any CSS code. It also allows you to easily customize the design of your components by modifying the pre-defined classes or creating your own custom classes.
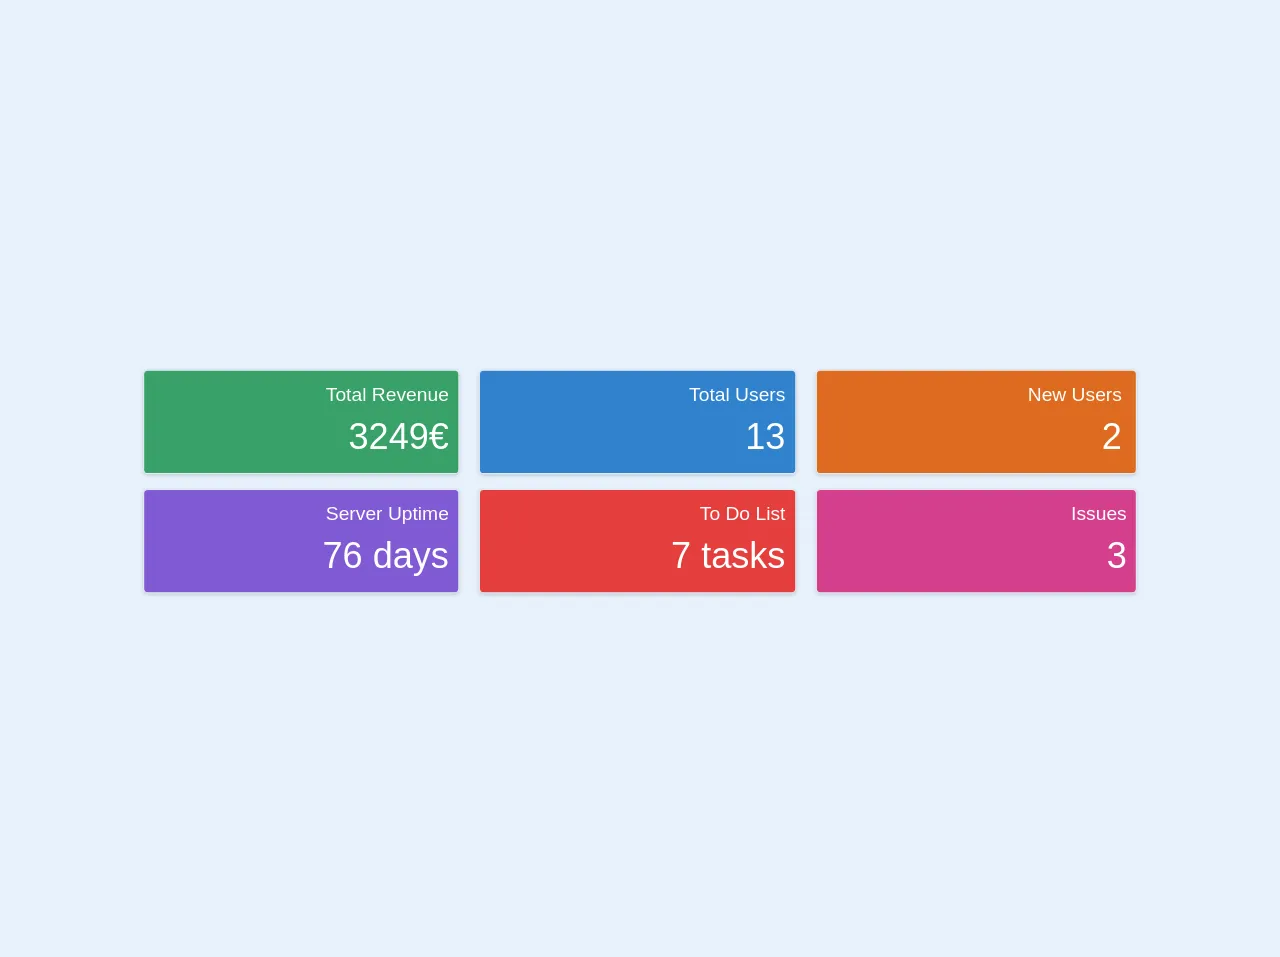
The preview of Dashboard cards with Tailwindcss v1.0.3 ui component.
To create a dashboard card with Tailwind CSS, we will use a combination of HTML and Tailwind CSS classes. The result will be a visually appealing and responsive dashboard card that can be easily customized to fit your needs.
Free download of the Dashboard cards with Tailwindcss v1.0.3's source code
The source code of Dashboard cards with Tailwindcss v1.0.3 ui component.
To create a dashboard card with Tailwind CSS, we will use a combination of HTML and Tailwind CSS classes. The following code snippet shows how to create a basic dashboard card with Tailwind CSS.
<div class="flex flex-wrap mb-2">
<div class="w-full md:w-1/2 xl:w-1/3 pt-3 px-3 md:pr-2">
<div class="bg-green-600 border rounded shadow p-2">
<div class="flex flex-row items-center">
<div class="flex-shrink pl-1 pr-4"><i class="fa fa-wallet fa-2x fa-fw fa-inverse"></i></div>
<div class="flex-1 text-right">
<h5 class="text-white">Total Revenue</h5>
<h3 class="text-white text-3xl">3249€<span class="text-green-400"><i class="fas fa-caret-down"></i></span></h3>
</div>
</div>
</div>
</div>
<div class="w-full md:w-1/2 xl:w-1/3 pt-3 px-3 md:pl-2">
<div class="bg-blue-600 border rounded shadow p-2">
<div class="flex flex-row items-center">
<div class="flex-shrink pl-1 pr-4"><i class="fas fa-users fa-2x fa-fw fa-inverse"></i></div>
<div class="flex-1 text-right">
<h5 class="text-white">Total Users</h5>
<h3 class="text-white text-3xl">13 <span class="text-blue-400"><i class="fas fa-caret-up"></i></span></h3>
</div>
</div>
</div>
</div>
<div class="w-full md:w-1/2 xl:w-1/3 pt-3 px-3 md:pr-2 xl:pr-3 xl:pl-1">
<div class="bg-orange-600 border rounded shadow p-2">
<div class="flex flex-row items-center">
<div class="flex-shrink pl-1 pr-4"><i class="fas fa-user-plus fa-2x fa-fw fa-inverse"></i></div>
<div class="flex-1 text-right pr-1">
<h5 class="text-white">New Users</h5>
<h3 class="text-white text-3xl">2 <span class="text-orange-400"><i class="fas fa-caret-up"></i></span></h3>
</div>
</div>
</div>
</div>
<div class="w-full md:w-1/2 xl:w-1/3 pt-3 px-3 md:pl-2 xl:pl-3 xl:pr-2">
<div class="bg-purple-600 border rounded shadow p-2">
<div class="flex flex-row items-center">
<div class="flex-shrink pl-1 pr-4"><i class="fas fa-server fa-2x fa-fw fa-inverse"></i></div>
<div class="flex-1 text-right">
<h5 class="text-white">Server Uptime</h5>
<h3 class="text-white text-3xl">76 days</h3>
</div>
</div>
</div>
</div>
<div class="w-full md:w-1/2 xl:w-1/3 pt-3 px-3 md:pr-2 xl:pl-2 xl:pr-3">
<div class="bg-red-600 border rounded shadow p-2">
<div class="flex flex-row items-center">
<div class="flex-shrink pl-1 pr-4"><i class="fas fa-tasks fa-2x fa-fw fa-inverse"></i></div>
<div class="flex-1 text-right">
<h5 class="text-white">To Do List</h5>
<h3 class="text-white text-3xl">7 tasks</h3>
</div>
</div>
</div>
</div>
<div class="w-full md:w-1/2 xl:w-1/3 pt-3 px-3 md:pl-2 xl:pl-1">
<div class="bg-pink-600 border rounded shadow p-2">
<div class="flex flex-row items-center">
<div class="flex-shrink pl-1 pr-4"><i class="fas fa-inbox fa-2x fa-fw fa-inverse"></i></div>
<div class="flex-1 text-right">
<h5 class="text-white">Issues</h5>
<h3 class="text-white text-3xl">3 <span class="text-pink-400"><i class="fas fa-caret-up"></i></span></h3>
</div>
</div>
</div>
</div>
</div>
How to create a Dashboard cards with Tailwindcss v1.0.3 with Tailwind CSS?
To create a dashboard card with Tailwind CSS, follow these steps:
- Create a new HTML file and add the following code:
<div class="bg-white rounded-lg shadow-lg p-6">
  <h2 class="text-lg font-medium mb-4">Dashboard Card Title</h2>
  <p class="text-gray-600">Lorem ipsum dolor sit amet, consectetur adipiscing elit. Sed ac velit eget nunc eleifend commodo.</p>
</div>
Add the necessary Tailwind CSS classes to the HTML elements to style the dashboard card. For example, we can add the
bg-whiteclass to set the background color of the card to white, therounded-lgclass to add rounded corners to the card, and theshadow-lgclass to add a drop shadow to the card.Add the title and content of the dashboard card using HTML elements such as
h2andp. Use thetext-lgandtext-gray-600classes to style the text.Customize the design of the dashboard card by modifying the existing Tailwind CSS classes or creating your own custom classes.
Conclusion
Creating a dashboard card with Tailwind CSS is easy and can be done in just a few lines of code. Tailwind CSS provides a set of pre-defined classes that make it easy to create custom designs without writing any CSS code. By following the steps outlined in this article, you can create visually appealing and responsive dashboard cards that can be easily customized to fit your needs.