- Published on
6 Tips To Build A Dashboard With Tailwind CSS
- What is Tailwind CSS?
- The description of Dashboard UI component
- Why use Tailwind CSS to create a Dashboard UI component?
- The preview of Dashboard UI component
- The source code of Dashboard UI component
- How to create a Dashboard with Tailwind CSS?
- 1. Plan the layout
- 2. Use pre-defined utility classes
- 3. Create custom styles
- 4. Use responsive design
- 5. Use data visualization libraries
- 6. Test and iterate
- Conclusion
What is Tailwind CSS?
Tailwind CSS is a utility-first CSS framework that helps developers to quickly build custom user interfaces. It provides a set of pre-defined CSS classes that can be used to style HTML elements. With Tailwind CSS, developers can create complex layouts and designs without the need to write custom CSS code.
The description of Dashboard UI component
A dashboard is a user interface component that displays important information and metrics in a single view. Dashboards are commonly used in web applications to provide users with a quick overview of the status of their data or business. A dashboard typically contains charts, tables, and other data visualizations.
Why use Tailwind CSS to create a Dashboard UI component?
Tailwind CSS is an excellent choice for building dashboard UI components due to its flexibility and ease of use. With Tailwind CSS, developers can quickly create custom styles for each dashboard element, ensuring that the dashboard looks and feels unique. Additionally, Tailwind CSS provides a set of pre-defined utility classes that can be used to create complex layouts and designs.
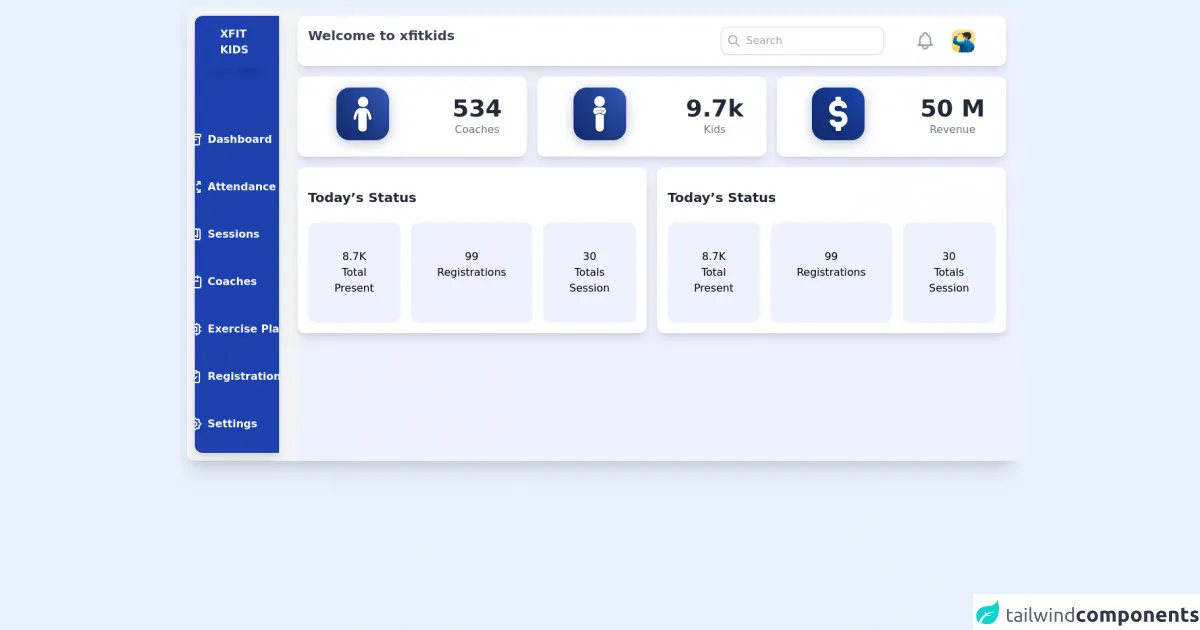
The preview of Dashboard UI component
Creating a dashboard UI component with Tailwind CSS is a straightforward process. By using Tailwind CSS's pre-defined utility classes, developers can quickly create a responsive and visually appealing dashboard.
Free download of the Dashboard's source code
The source code of Dashboard UI component
To create a dashboard UI component with Tailwind CSS, developers can use HTML and CSS. By using Tailwind CSS's pre-defined utility classes, developers can quickly style each dashboard element.
<div class="flex bg-gray-100 rounded-xl m-3 shadow-xl">
  <aside class="flex px-16 space-y-16 overflow-hidden m-3 pb-4 flex-col items-center justify-center rounded-tl-xl rounded-bl-xl bg-blue-800 shadow-lg">
    <div class="flex items-center justify-center p-4 shadow-lg">
      <div>
        <img src="https://i.imgur.com/c6U7KtF.png" alt="" class="h-8 mb-2" />
      </div>
      <h1 class="text-white font-bold mr-2 cursor-pointer">XFIT KIDS</h1>
    </div>
    <ul>
      <li class="flex space-x-2 mt-4 px-6 py-4 text-white hover:bg-white hover:text-blue-800 font-bold hover:rounded-br-3xl transition duration-100 cursor-pointer">
        <svg xmlns="http://www.w3.org/2000/svg" class="h-6 w-6" fill="none" viewBox="0 0 24 24" stroke="currentColor">
          <path stroke-linecap="round" stroke-linejoin="round" stroke-width="2" d="M5 8h14M5 8a2 2 0 110-4h14a2 2 0 110 4M5 8v10a2 2 0 002 2h10a2 2 0 002-2V8m-9 4h4" /></svg
        ><a href="">Dashboard</a>
      </li>
      <li class="flex space-x-2 mt-4 px-6 py-4 text-white hover:bg-white hover:text-blue-800 font-bold hover:rounded-br-3xl transition duration-100 cursor-pointer">
        <svg xmlns="http://www.w3.org/2000/svg" class="h-6 w-6" fill="none" viewBox="0 0 24 24" stroke="currentColor">
          <path stroke-linecap="round" stroke-linejoin="round" stroke-width="2" d="M4 8V4m0 0h4M4 4l5 5m11-1V4m0 0h-4m4 0l-5 5M4 16v4m0 0h4m-4 0l5-5m11 5l-5-5m5 5v-4m0 4h-4" /></svg
        ><a href="">Attendance</a>
      </li>
      <li class="flex space-x-2 mt-4 px-6 py-4 text-white hover:bg-white hover:text-blue-800 font-bold hover:rounded-br-3xl transition duration-100 cursor-pointer">
        <svg xmlns="http://www.w3.org/2000/svg" class="h-6 w-6" fill="none" viewBox="0 0 24 24" stroke="currentColor">
          <path stroke-linecap="round" stroke-linejoin="round" stroke-width="2" d="M16 4v12l-4-2-4 2V4M6 20h12a2 2 0 002-2V6a2 2 0 00-2-2H6a2 2 0 00-2 2v12a2 2 0 002 2z" /></svg
        ><a href="">Sessions</a>
      </li>
      <li class="flex space-x-2 mt-4 px-6 py-4 text-white hover:bg-white hover:text-blue-800 font-bold hover:rounded-br-3xl transition duration-100 cursor-pointer">
        <svg xmlns="http://www.w3.org/2000/svg" class="h-6 w-6" fill="none" viewBox="0 0 24 24" stroke="currentColor">
          <path stroke-linecap="round" stroke-linejoin="round" stroke-width="2" d="M8 7V3m8 4V3m-9 8h10M5 21h14a2 2 0 002-2V7a2 2 0 00-2-2H5a2 2 0 00-2 2v12a2 2 0 002 2z" /></svg
        ><a href="">Coaches</a>
      </li>
      <li class="flex space-x-2 mt-4 px-6 py-4 text-white hover:bg-white hover:text-blue-800 font-bold hover:rounded-br-3xl transition duration-100 cursor-pointer">
        <svg xmlns="http://www.w3.org/2000/svg" class="h-6 w-6" fill="none" viewBox="0 0 24 24" stroke="currentColor">
          <path stroke-linecap="round" stroke-linejoin="round" stroke-width="2" d="M9 3v2m6-2v2M9 19v2m6-2v2M5 9H3m2 6H3m18-6h-2m2 6h-2M7 19h10a2 2 0 002-2V7a2 2 0 00-2-2H7a2 2 0 00-2 2v10a2 2 0 002 2zM9 9h6v6H9V9z" /></svg
        ><a href="">Exercise Plan</a>
      </li>
      <li class="flex space-x-2 mt-4 px-6 py-4 text-white hover:bg-white hover:text-blue-800 font-bold hover:rounded-br-3xl transition duration-100 cursor-pointer">
        <svg xmlns="http://www.w3.org/2000/svg" class="h-6 w-6" fill="none" viewBox="0 0 24 24" stroke="currentColor">
          <path stroke-linecap="round" stroke-linejoin="round" stroke-width="2" d="M9 5H7a2 2 0 00-2 2v12a2 2 0 002 2h10a2 2 0 002-2V7a2 2 0 00-2-2h-2M9 5a2 2 0 002 2h2a2 2 0 002-2M9 5a2 2 0 012-2h2a2 2 0 012 2m-6 9l2 2 4-4" /></svg
        ><a href="">Registrations</a>
      </li>
      <li class="flex space-x-2 mt-4 px-6 py-4 text-white hover:bg-white hover:text-blue-800 font-bold hover:rounded-br-3xl transition duration-100 cursor-pointer">
        <svg xmlns="http://www.w3.org/2000/svg" class="h-6 w-6" fill="none" viewBox="0 0 24 24" stroke="currentColor">
          <path stroke-linecap="round" stroke-linejoin="round" stroke-width="2" d="M10.325 4.317c.426-1.756 2.924-1.756 3.35 0a1.724 1.724 0 002.573 1.066c1.543-.94 3.31.826 2.37 2.37a1.724 1.724 0 001.065 2.572c1.756.426 1.756 2.924 0 3.35a1.724 1.724 0 00-1.066 2.573c.94 1.543-.826 3.31-2.37 2.37a1.724 1.724 0 00-2.572 1.065c-.426 1.756-2.924 1.756-3.35 0a1.724 1.724 0 00-2.573-1.066c-1.543.94-3.31-.826-2.37-2.37a1.724 1.724 0 00-1.065-2.572c-1.756-.426-1.756-2.924 0-3.35a1.724 1.724 0 001.066-2.573c-.94-1.543.826-3.31 2.37-2.37.996.608 2.296.07 2.572-1.065z" />
          <path stroke-linecap="round" stroke-linejoin="round" stroke-width="2" d="M15 12a3 3 0 11-6 0 3 3 0 016 0z" /></svg
        ><a href="">Settings</a>
      </li>
    </ul>
  </aside>
  <main class="flex-col bg-indigo-50 w-full ml-4 pr-6">
    <div class="flex justify-between p-4 bg-white mt-3 rounded-xl shadow-lg">
      <h1 class="text-xl font-bold text-gray-700">Welcome to xfitkids</h1>
      <div class="flex justify-between w-2/5">
        <div class="flex items-center border-2 p-2 rounded-xl">
          <svg xmlns="http://www.w3.org/2000/svg" class="h-6 w-6 text-gray-400" fill="none" viewBox="0 0 24 24" stroke="currentColor">
            <path stroke-linecap="round" stroke-linejoin="round" stroke-width="2" d="M21 21l-6-6m2-5a7 7 0 11-14 0 7 7 0 0114 0z" />
          </svg>
          <input type="text" placeholder="Search" class="ml-2 outline-none w-full" />
        </div>
        <div class="flex items-center space-x-6 pr-8">
          <svg xmlns="http://www.w3.org/2000/svg" class="h-8 w-8 cursor-pointer text-gray-400" fill="none" viewBox="0 0 24 24" stroke="currentColor">
            <path stroke-linecap="round" stroke-linejoin="round" stroke-width="2" d="M15 17h5l-1.405-1.405A2.032 2.032 0 0118 14.158V11a6.002 6.002 0 00-4-5.659V5a2 2 0 10-4 0v.341C7.67 6.165 6 8.388 6 11v3.159c0 .538-.214 1.055-.595 1.436L4 17h5m6 0v1a3 3 0 11-6 0v-1m6 0H9" />
          </svg>
          <img src="https://i.imgur.com/iH7hkQb.png" alt="" class="cursor-pointer" />
        </div>
      </div>
    </div>
    <div class="flex justify-between mt-4 space-x-4 s">
      <div class="bg-white w-1/3 rounded-xl shadow-lg flex items-center justify-around">
        <img src="https://i.imgur.com/VHc5SJE.png" alt="" />
        <div class="text-center">
          <h1 class="text-4xl font-bold text-gray-800">534</h1>
          <span class="text-gray-500">Coaches</span>
        </div>
      </div>
      <div class="bg-white w-1/3 rounded-xl shadow-lg flex items-center justify-around">
        <img src="https://i.imgur.com/Qnmqkil.png" alt="" />
        <div class="text-center">
          <h1 class="text-4xl font-bold text-gray-800">9.7k</h1>
          <span class="text-gray-500">Kids</span>
        </div>
      </div>
      <div class="bg-white w-1/3 rounded-xl shadow-lg flex items-center justify-around">
        <img src="https://i.imgur.com/dJeEVcO.png" alt="" />
        <div class="text-center">
          <h1 class="text-4xl font-bold text-gray-800">50 M</h1>
          <span class="text-gray-500">Revenue</span>
        </div>
      </div>
    </div>
    <div class="flex space-x-4">
      <div class="justify-between rounded-xl mt-4 p-4 bg-white shadow-lg">
        <h1 class="text-xl font-bold text-gray-800 mt-4">Today’s Status</h1>
        <div class="flex justify-between space-x-4 text-center mt-6">
          <div class="bg-indigo-50 rounded-xl p-10">
            <h3>8.7K</h3>
            <spnan>Total Present</spnan>
          </div>
          <div class="bg-indigo-50 rounded-xl p-10">
            <h3>99</h3>
            <spnan>Registrations</spnan>
          </div>
          <div class="bg-indigo-50 rounded-xl p-10">
            <h3>30</h3>
            <spnan>Totals Session</spnan>
          </div>
        </div>
      </div>
    </div>
  </main>
</div>
How to create a Dashboard with Tailwind CSS?
Here are six tips for building a dashboard UI component with Tailwind CSS:
1. Plan the layout
Before starting to code, it's essential to plan the layout of the dashboard. Determine which elements will be displayed and how they will be arranged on the screen. Sketching out a wireframe can be helpful in this process.
2. Use pre-defined utility classes
Tailwind CSS provides a set of pre-defined utility classes that can be used to style HTML elements. By using these classes, developers can quickly create custom styles for each dashboard element. For example, the "bg-gray-200" class can be used to set the background color of an element to gray.
3. Create custom styles
While Tailwind CSS provides a set of pre-defined utility classes, developers can also create custom styles for each dashboard element. By using Tailwind CSS's "custom" feature, developers can define their own CSS classes and apply them to HTML elements.
4. Use responsive design
Dashboards are often viewed on different devices, such as desktops, tablets, and smartphones. To ensure that the dashboard looks great on all devices, developers should use responsive design techniques. Tailwind CSS provides a set of pre-defined utility classes that can be used to create responsive designs.
5. Use data visualization libraries
To display charts and other data visualizations, developers can use data visualization libraries such as Chart.js or D3.js. These libraries provide pre-defined chart types and styles that can be easily integrated into a dashboard UI component.
6. Test and iterate
After creating the dashboard UI component, it's essential to test it thoroughly on different devices and browsers. Developers should also gather feedback from users and iterate on the design to improve the user experience.
Conclusion
Tailwind CSS is an excellent choice for building dashboard UI components. With its pre-defined utility classes and custom styling features, developers can quickly create responsive and visually appealing dashboards. By following the tips outlined in this article, developers can create effective dashboard UI components that provide users with valuable insights and information.