- Published on
The Ultimate Guide To Help You Make A Contact Page With Tailwind CSS
- What is Tailwind CSS?
- The description of Contact Page ui component
- Why use Tailwind CSS to create a Contact Page ui component?
- The preview of Contact Page ui component.
- The source code of Contact Page ui component.
- How to create a Contact Page with Tailwind CSS?
- Step 1: Download the contact page UI component
- Step 2: Copy the HTML and Tailwind CSS classes
- Step 3: Customize the HTML and Tailwind CSS classes
- Step 4: Test the contact page
- Conclusion
As a FrontEnd technology blogger, I know how important it is to have a well-designed contact page on your website. A contact page is a crucial part of any website, as it allows your visitors to get in touch with you. In this article, I will guide you through the process of creating a contact page using Tailwind CSS.
What is Tailwind CSS?
Tailwind CSS is a utility-first CSS framework that allows you to quickly build custom user interfaces. It provides you with a set of pre-defined classes that you can use to style your HTML elements. With Tailwind CSS, you can create beautiful designs without having to write custom CSS code.
The description of Contact Page ui component
A contact page is a web page that allows visitors to get in touch with the website owner. It typically contains a contact form, contact information, and a map. A well-designed contact page can help you build trust with your visitors and increase the chances of them getting in touch with you.
Why use Tailwind CSS to create a Contact Page ui component?
Tailwind CSS is an excellent choice for creating a contact page because it allows you to quickly style your HTML elements. With Tailwind CSS, you can create a responsive and mobile-friendly contact page without having to write custom CSS code.
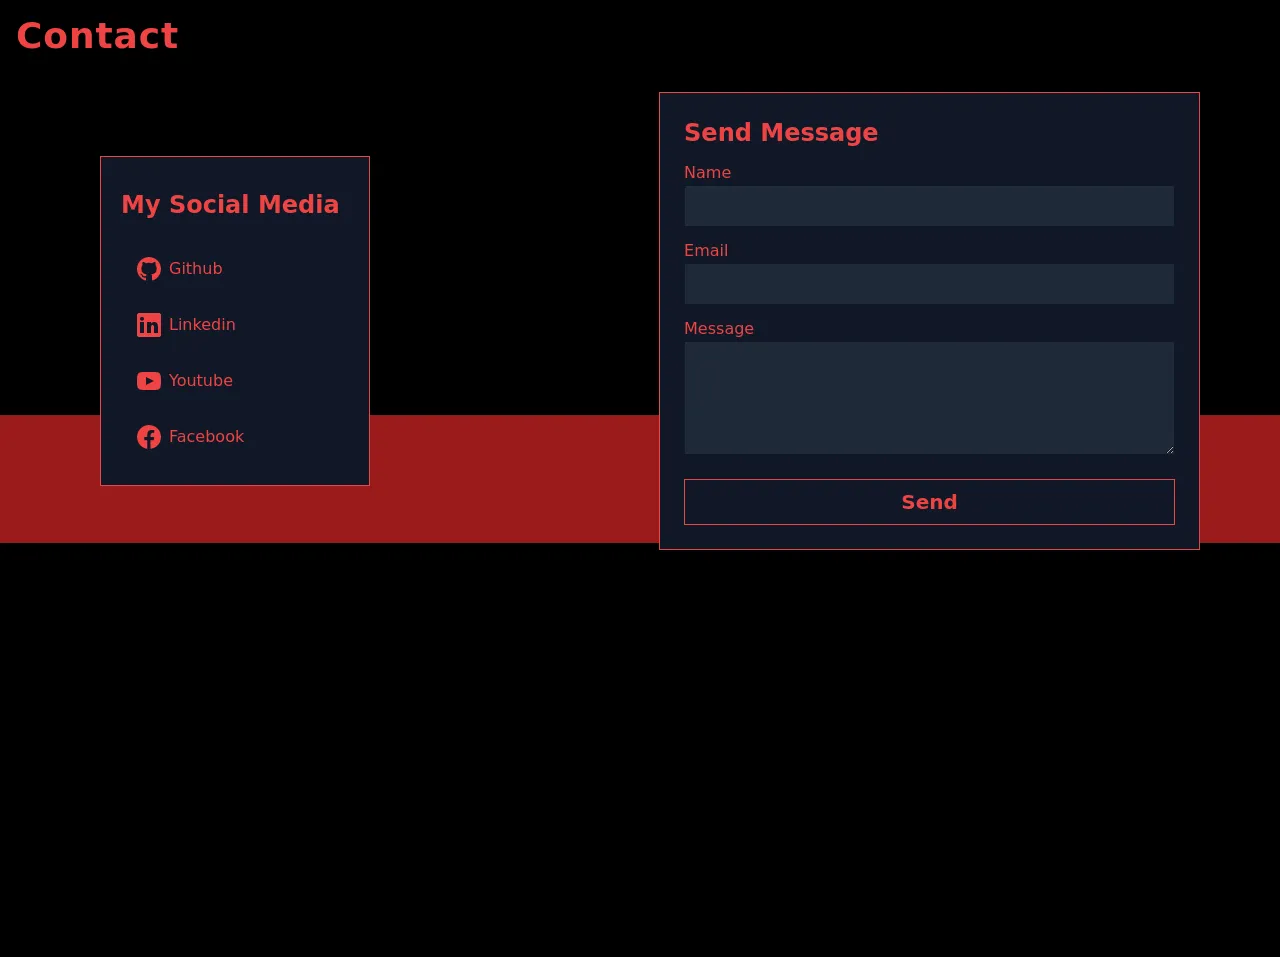
The preview of Contact Page ui component.
To create a contact page with Tailwind CSS, we will use a pre-designed contact page UI component. This component contains a contact form, contact information, and a map. Here is a preview of what the contact page will look like:
Free download of the Contact Page's source code
The source code of Contact Page ui component.
To create the contact page UI component, we will use HTML and Tailwind CSS classes. Here is the source code for the contact page UI component:
<section id="contact" class="relative w-full min-h-screen bg-black text-red-500">
<h1 class="text-4xl p-4 font-bold tracking-wide">
    Contact
</h1>
<div class="absolute top-1/2 left-1/2 transform -translate-x-1/2 -translate-y-1/2 bg-red-800 h-32 w-full"></div>

<!-- wrapper -->
<div class="relative p-5 lg:px-20 flex flex-col md:flex-row items-center justify-center">

    <!-- Social Media -->
    <div class="w-full md:w-1/2 p-5 md:px-0 mx-5">
    <div class="bg-gray-900 border border-red-500 w-full lg:w-1/2 h-full p-5 pt-8">
        <h3 class="text-2xl font-semibold mb-5">
        My Social Media
        </h3>
        <!-- list -->
        <div class="flex flex-col gap-3">
        <a href="#" class="flex items-center hover:text-white hover:bg-red-500 p-2">
            <svg fill="currentColor" class="w-6 h-6 m-2" xmlns="http://www.w3.org/2000/svg" width="24" height="24" viewBox="0 0 24 24">
            <path d="M12 0c-6.626 0-12 5.373-12 12 0 5.302 3.438 9.8 8.207 11.387.599.111.793-.261.793-.577v-2.234c-3.338.726-4.033-1.416-4.033-1.416-.546-1.387-1.333-1.756-1.333-1.756-1.089-.745.083-.729.083-.729 1.205.084 1.839 1.237 1.839 1.237 1.07 1.834 2.807 1.304 3.492.997.107-.775.418-1.305.762-1.604-2.665-.305-5.467-1.334-5.467-5.931 0-1.311.469-2.381 1.236-3.221-.124-.303-.535-1.524.117-3.176 0 0 1.008-.322 3.301 1.23.957-.266 1.983-.399 3.003-.404 1.02.005 2.047.138 3.006.404 2.291-1.552 3.297-1.23 3.297-1.23.653 1.653.242 2.874.118 3.176.77.84 1.235 1.911 1.235 3.221 0 4.609-2.807 5.624-5.479 5.921.43.372.823 1.102.823 2.222v3.293c0 .319.192.694.801.576 4.765-1.589 8.199-6.086 8.199-11.386 0-6.627-5.373-12-12-12z"/>
            </svg>
            Github
        </a>
        <a href="#" class="flex items-center hover:text-white hover:bg-red-500 p-2">
            <svg fill="currentColor" class="w-6 h-6 m-2" xmlns="http://www.w3.org/2000/svg" viewBox="0 0 24 24" >
            <path d="M 21.800781 0 L 2.199219 0 C 1 0 0 1 0 2.199219 L 0 21.800781 C 0 23 1 24 2.199219 24 L 21.800781 24 C 23 24 24 23 24 21.800781 L 24 2.199219 C 24 1 23 0 21.800781 0 Z M 7 20 L 3 20 L 3 9 L 7 9 Z M 5 7.699219 C 3.800781 7.699219 3 6.898438 3 5.898438 C 3 4.800781 3.800781 4 5 4 C 6.199219 4 7 4.800781 7 5.800781 C 7 6.898438 6.199219 7.699219 5 7.699219 Z M 21 20 L 17 20 L 17 14 C 17 12.398438 15.898438 12 15.601563 12 C 15.300781 12 14 12.199219 14 14 C 14 14.199219 14 20 14 20 L 10 20 L 10 9 L 14 9 L 14 10.601563 C 14.601563 9.699219 15.601563 9 17.5 9 C 19.398438 9 21 10.5 21 14 Z"/>
            </svg>
            Linkedin
        </a>
        <a href="#" class="flex items-center hover:text-white hover:bg-red-500 p-2">
            <svg fill="currentColor" class="w-6 h-6 m-2" xmlns="http://www.w3.org/2000/svg" width="24" height="24" viewBox="0 0 24 24" >
            <path d="M19.615 3.184c-3.604-.246-11.631-.245-15.23 0-3.897.266-4.356 2.62-4.385 8.816.029 6.185.484 8.549 4.385 8.816 3.6.245 11.626.246 15.23 0 3.897-.266 4.356-2.62 4.385-8.816-.029-6.185-.484-8.549-4.385-8.816zm-10.615 12.816v-8l8 3.993-8 4.007z"/>
            </svg>
            Youtube
        </a>
        <a href="#" class="flex items-center hover:text-white hover:bg-red-500 p-2">
            <svg fill="currentColor" class="w-6 h-6 m-2" xmlns="http://www.w3.org/2000/svg" viewBox="0 0 24 24" >
            <path d="M12,0C5.373,0,0,5.373,0,12c0,6.016,4.432,10.984,10.206,11.852V15.18H7.237v-3.154h2.969V9.927c0-3.475,1.693-5,4.581-5 c1.383,0,2.115,0.103,2.461,0.149v2.753h-1.97c-1.226,0-1.654,1.163-1.654,2.473v1.724h3.593L16.73,15.18h-3.106v8.697 C19.481,23.083,24,18.075,24,12C24,5.373,18.627,0,12,0z"/>
            </svg>
            Facebook
        </a>
        </div>
    </div>
    </div>

    <!-- Contact Me -->
    <form action="#" class="w-full md:w-1/2 border border-red-500 p-6 bg-gray-900">
    <h2 class="text-2xl pb-3 font-semibold">
        Send Message
    </h2>
    <div>
        <div class="flex flex-col mb-3">
        <label for="name">Name</label>
        <input
            type="text" id="name"
            class="px-3 py-2 bg-gray-800 border border-gray-900 focus:border-red-500 focus:outline-none focus:bg-gray-800 focus:text-red-500"
            autocomplete="off"
        >
        </div>
        <div class="flex flex-col mb-3">
        <label for="email">Email</label>
        <input
            type="text" id="email"
            class="px-3 py-2 bg-gray-800 border border-gray-900 focus:border-red-500 focus:outline-none focus:bg-gray-800 focus:text-red-500"
            autocomplete="off"
        >
        </div>
        <div class="flex flex-col mb-3">
        <label for="message">Message</label>
        <textarea
            rows="4" id="message"
            class="px-3 py-2 bg-gray-800 border border-gray-900 focus:border-red-500 focus:outline-none focus:bg-gray-800 focus:text-red-500"
        ></textarea>
        </div>
    </div>
    <div class="w-full pt-3">
        <button type="submit" class="w-full bg-gray-900 border border-red-500 px-4 py-2 transition duration-50 focus:outline-none font-semibold hover:bg-red-500 hover:text-white text-xl cursor-pointer">
        Send
        </button>
    </div>
    </form>
</div>
</section>
How to create a Contact Page with Tailwind CSS?
To create a contact page with Tailwind CSS, follow these steps:
- Download the contact page UI component from a website that provides UI components.
- Copy the HTML and Tailwind CSS classes from the UI component and paste them into your HTML file.
- Customize the HTML and Tailwind CSS classes to match your website's design.
- Test the contact page to ensure that it works correctly.
Let's take a closer look at each step.
Step 1: Download the contact page UI component
There are many websites that provide pre-designed UI components that you can use in your projects. Some popular websites include Tailwind UI, Creative Tim, and Material Design for Bootstrap. You can download the contact page UI component from one of these websites.
Step 2: Copy the HTML and Tailwind CSS classes
Once you have downloaded the contact page UI component, copy the HTML and Tailwind CSS classes from the component and paste them into your HTML file. Make sure to include the necessary CSS and JavaScript files as well.
Step 3: Customize the HTML and Tailwind CSS classes
After pasting the HTML and Tailwind CSS classes into your HTML file, you can customize them to match your website's design. You can change the colors, fonts, and layout of the contact page to match your website's design.
Step 4: Test the contact page
Before publishing your contact page, make sure to test it to ensure that it works correctly. Test the contact form to ensure that it sends emails correctly and that the map displays correctly.
Conclusion
Creating a contact page with Tailwind CSS is a straightforward process. By using a pre-designed contact page UI component, you can quickly create a responsive and mobile-friendly contact page without having to write custom CSS code. With a well-designed contact page, you can build trust with your visitors and increase the chances of them getting in touch with you.