- Published on
6 Easy Ways To Create A Checkout With Tailwind CSS
- What is Tailwind CSS?
- The description of checkout UI component
- Why use Tailwind CSS to create a checkout UI component?
- The preview of checkout UI component
- The source code of checkout UI component
- How to create a checkout with Tailwind CSS?
- Step 1: Set up your HTML structure
- Step 2: Add a header
- Step 3: Add a product summary
- Step 4: Add a shipping address section
- Step 5: Add a payment section
- Step 6: Add a submit button
- Conclusion
What is Tailwind CSS?
Tailwind CSS is a utility-first CSS framework that helps developers to create responsive and customizable user interfaces with ease. It provides a set of pre-defined CSS classes that can be used to style HTML elements. Unlike other CSS frameworks, Tailwind CSS does not have pre-built components, but rather provides a set of building blocks that can be combined to create any type of UI component.
The description of checkout UI component
A checkout UI component is an essential part of any e-commerce website. It allows users to review their order details, enter shipping and payment information, and complete their purchase. A well-designed checkout UI component can help to improve the user experience and increase the conversion rate.
Why use Tailwind CSS to create a checkout UI component?
Tailwind CSS provides a set of pre-defined CSS classes that can be used to style HTML elements. This makes it easy to create a responsive and customizable checkout UI component without writing custom CSS. Additionally, Tailwind CSS is highly modular and can be easily customized to match the branding and design of any website.
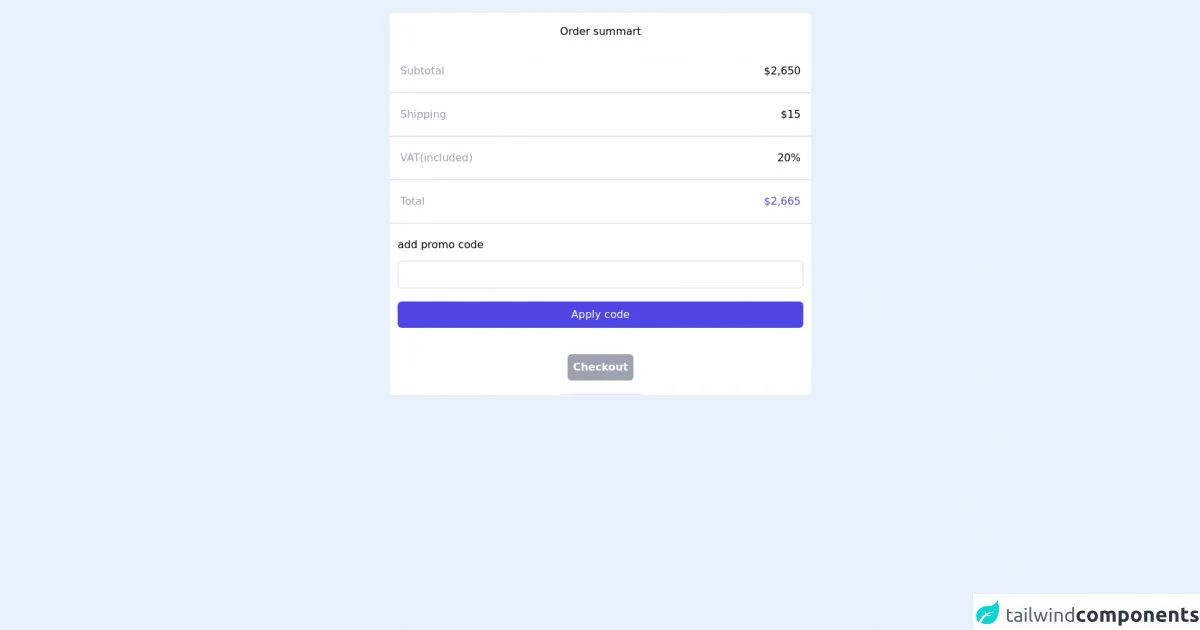
The preview of checkout UI component
Creating a checkout UI component with Tailwind CSS is easy. In this article, we will show you how to create a simple and responsive checkout UI component with six easy steps.
Free download of the checkout's source code
The source code of checkout UI component
To create a checkout UI component with Tailwind CSS, you only need to add a few CSS classes to your HTML elements. Here is the source code for our simple and responsive checkout UI component.
<div class="container">
      <div class="mt-5">
        <div class="w-1/2 mx-auto bg-white rounded-md">
          <!-- first -->
          <div class="flex flex-col justify-center items-center">
            <h6 class="text-black font-medium my-4">Order summart</h6>
            <div
              class="
                flex
                justify-between
                items-center
                w-full
                py-5
                border-b-2 border-gray-200
              "
            >
              <p class="text-gray-400 ml-4">Subtotal</p>
              <p class="text-black mr-4">$2,650</p>
            </div>
            <div
              class="
                flex
                justify-between
                items-center
                w-full
                py-5
                border-b-2 border-gray-200
              "
            >
              <p class="text-gray-400 ml-4">Shipping</p>
              <p class="text-black mr-4">$15</p>
            </div>
            <div
              class="
                flex
                justify-between
                items-center
                w-full
                py-5
                border-b-2 border-gray-200
              "
            >
              <p class="text-gray-400 ml-4">VAT(included)</p>
              <p class="text-black mr-4">20%</p>
            </div>
            <div
              class="
                flex
                justify-between
                items-center
                w-full
                py-5
                border-b-2 border-gray-200
              "
            >
              <p class="text-gray-400 ml-4">Total</p>
              <p class="text-indigo-600 mr-4">$2,665</p>
            </div>

            <div
              class="
                flex flex-col
                justify-between
                items-center
                px-3
                py-5
                w-full
              "
            >
              <div class="mb-5 flex flex-col min-w-full">
                <label for="code" class="font-medium text-black"
                  >add promo code</label
                >
                <input
                  type="text"
                  id="code"
                  class="w-full py-2 border mt-3 border-gray-300 rounded-md"
                />
              </div>
              <button
                class="w-full bg-indigo-600 text-white px-2 py-2 rounded-md"
              >
                Apply code
              </button>
            </div>
            <div class="px-3 py-5 border-b-2 border-gray-200">
              <button
                class="
                  min-w-full
                  bg-gray-400
                  font-semibold
                  text-white
                  px-2
                  py-2
                  rounded-md
                "
              >
                Checkout
              </button>
            </div>
          </div>
          <!-- end -->
        </div>
      </div>
    </div>
How to create a checkout with Tailwind CSS?
Step 1: Set up your HTML structure
The first step is to set up the HTML structure for your checkout UI component. We will use a simple form element to collect user information. Here is the HTML code:
<form class="w-full max-w-lg mx-auto">
  <!-- form elements here -->
</form>
Step 2: Add a header
Next, we will add a header to our checkout UI component. The header will display the name of the website and the current step in the checkout process. Here is the HTML code:
<div class="bg-gray-100 py-4 px-4">
  <h1 class="text-xl font-bold">Checkout</h1>
  <p class="text-gray-600">Step 1 of 3</p>
</div>
Step 3: Add a product summary
In this step, we will add a product summary section to our checkout UI component. This section will display the name and price of the product that the user is purchasing. Here is the HTML code:
<div class="bg-white py-4 px-4 mt-4">
  <h2 class="text-lg font-bold">Product Summary</h2>
  <div class="flex justify-between items-center mt-4">
    <p class="text-gray-600">Product name</p>
    <p class="text-gray-600">$19.99</p>
  </div>
</div>
Step 4: Add a shipping address section
The next step is to add a shipping address section to our checkout UI component. This section will allow the user to enter their shipping address. Here is the HTML code:
<div class="bg-white py-4 px-4 mt-4">
  <h2 class="text-lg font-bold">Shipping Address</h2>
  <div class="mt-4">
    <label class="block text-gray-700 font-bold mb-2" for="name">
      Name
    </label>
    <input class="appearance-none border rounded w-full py-2 px-3 text-gray-700 leading-tight focus:outline-none focus:shadow-outline" id="name" type="text" placeholder="Enter your name">
  </div>
  <!-- more form elements here -->
</div>
Step 5: Add a payment section
In this step, we will add a payment section to our checkout UI component. This section will allow the user to enter their payment information. Here is the HTML code:
<div class="bg-white py-4 px-4 mt-4">
  <h2 class="text-lg font-bold">Payment Information</h2>
  <div class="mt-4">
    <label class="block text-gray-700 font-bold mb-2" for="card">
      Credit Card Number
    </label>
    <input class="appearance-none border rounded w-full py-2 px-3 text-gray-700 leading-tight focus:outline-none focus:shadow-outline" id="card" type="text" placeholder="Enter your credit card number">
  </div>
  <!-- more form elements here -->
</div>
Step 6: Add a submit button
The final step is to add a submit button to our checkout UI component. This button will allow the user to complete their purchase. Here is the HTML code:
<div class="mt-8">
  <button class="bg-blue-500 hover:bg-blue-700 text-white font-bold py-2 px-4 rounded focus:outline-none focus:shadow-outline" type="button">
    Complete Purchase
  </button>
</div>
Conclusion
In this article, we have shown you how to create a simple and responsive checkout UI component with Tailwind CSS. By following these six easy steps, you can create a checkout UI component that is both functional and visually appealing. With Tailwind CSS, creating UI components has never been easier.