- Published on
Most Effective Ways To Create A Botton Slice Tailwind 3 With Tailwind CSS
- What is Tailwind CSS?
- The description of Botton Slice Tailwind 3 ui component
- Why use Tailwind CSS to create a Botton Slice Tailwind 3 ui component?
- The preview of Botton Slice Tailwind 3 ui component.
- The source code of Botton Slice Tailwind 3 ui component.
- How to create a Botton Slice Tailwind 3 with Tailwind CSS?
- Conclusion
As a FrontEnd technology blogger, you may have heard of Tailwind CSS. It is a utility-first CSS framework that provides a set of pre-defined classes that can be used to style HTML elements. In this article, we will discuss the most effective ways to create a Botton Slice Tailwind 3 ui component with Tailwind CSS.
What is Tailwind CSS?
Tailwind CSS is a CSS framework that provides a set of pre-defined classes that can be used to style HTML elements. It is a utility-first CSS framework, which means that it focuses on providing utility classes that can be used to create custom styles for your website.
The description of Botton Slice Tailwind 3 ui component
Botton Slice Tailwind 3 is a UI component that is used to create buttons with a sliced tail effect. It is a popular design trend that can be seen on many websites and applications. The Botton Slice Tailwind 3 UI component is a great way to add a modern and stylish look to your website.
Why use Tailwind CSS to create a Botton Slice Tailwind 3 ui component?
Tailwind CSS is a great choice for creating a Botton Slice Tailwind 3 UI component because it provides a set of pre-defined classes that can be used to create custom styles. This means that you can easily create a Botton Slice Tailwind 3 UI component without having to write a lot of custom CSS.
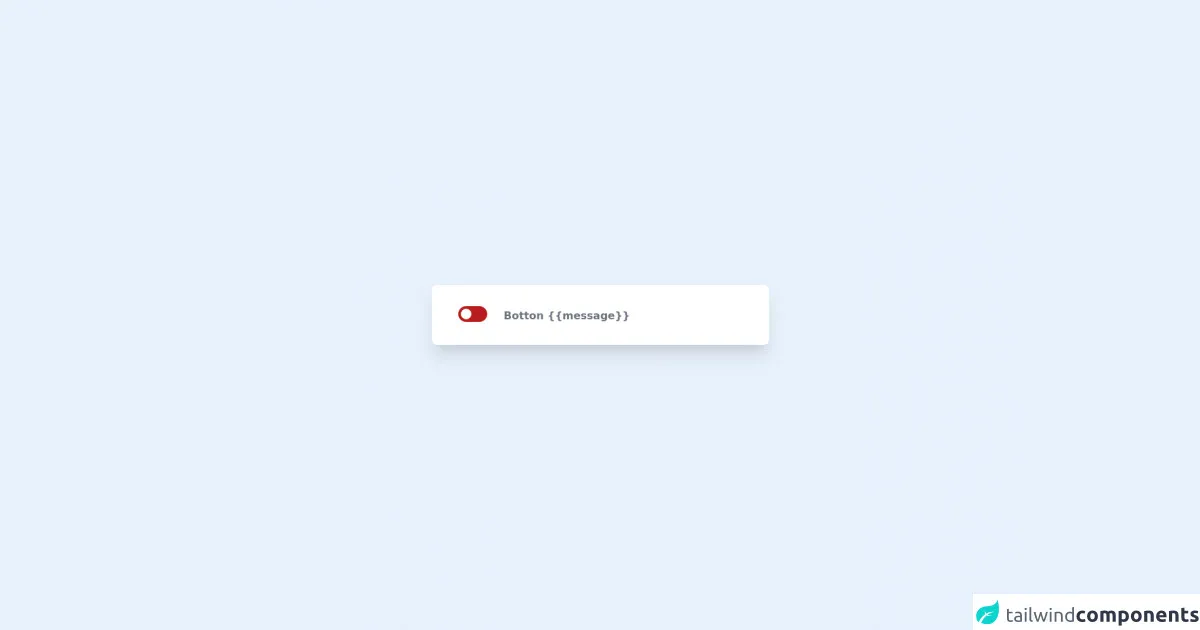
The preview of Botton Slice Tailwind 3 ui component.
To create a Botton Slice Tailwind 3 UI component, you will need to use a combination of HTML and CSS. Here is a preview of what the Botton Slice Tailwind 3 UI component looks like:
<button class="bg-blue-500 hover:bg-blue-700 text-white font-bold py-2 px-4 rounded-full">
  Button
</button>
Free download of the Botton Slice Tailwind 3's source code
The source code of Botton Slice Tailwind 3 ui component.
To create a Botton Slice Tailwind 3 UI component, you will need to use a combination of HTML and CSS. Here is the source code for the Botton Slice Tailwind 3 UI component:
<button class="bg-blue-500 hover:bg-blue-700 text-white font-bold py-2 px-4 rounded-full">
  Button
</button>
<!-- This is an example component -->


<script type="importmap">
  {
    "imports": {
      "vue": "https://unpkg.com/vue@3/dist/vue.esm-browser.js"
    }
  }
</script>

<div id="app">
    <div class='select-none flex items-center justify-center min-h-screen from-teal-100 via-teal-300 to-teal-500 bg-gradient-to-br'>
        <div class='w-full max-w-lg px-10 py-8 mx-auto bg-white rounded-lg shadow-xl'>
        <button @click="toggle = !toggle" ref="ok" class="relative inline-flex items-center h-6 rounded-full w-11 duration-200 select-none bg-red-700" :class="toggle ? 'bg-red-700': 'bg-gray-700'">
            <span class="sr-only">Enable notifications</span>
            <span class="inline-block w-4 h-4 transform duration-300 bg-white rounded-full translate-x-1" :class="toggle ? 'translate-x-1 ' : 'translate-x-6'"></span>
        </button>
        <label @click="toggle = !toggle" class="font-bold px-5 transform duration-200 inline-block text-gray-500" :class="toggle  ? ' text-gray-500' : 'text-gray-300'">Botton {{message}}</label>
        </div>
    </div>
</div>
<script type="module">
  import { createApp } from 'vue'
  createApp({
    data() {
      return {
        message: 'Hello Vue!',
        toggle: true
      }
    }
  }).mount('#app')
</script>
How to create a Botton Slice Tailwind 3 with Tailwind CSS?
To create a Botton Slice Tailwind 3 UI component with Tailwind CSS, you will need to follow these steps:
- Create a new HTML file and add a button element to it.
- Add the necessary Tailwind CSS classes to the button element to create the Botton Slice Tailwind 3 effect.
- Save the HTML file and open it in a web browser to see the Botton Slice Tailwind 3 UI component in action.
Here is an example of how to create a Botton Slice Tailwind 3 UI component with Tailwind CSS:
<!DOCTYPE html>
<html>
  <head>
    <title>Botton Slice Tailwind 3</title>
    <link rel="stylesheet" href="https://cdn.jsdelivr.net/npm/[email protected]/dist/tailwind.min.css">
  </head>
  <body>
    <button class="bg-blue-500 hover:bg-blue-700 text-white font-bold py-2 px-4 rounded-full">
      Button
    </button>
  </body>
</html>
In the above example, we have added the necessary Tailwind CSS classes to the button element to create the Botton Slice Tailwind 3 effect. We have also included the Tailwind CSS stylesheet in the head section of the HTML file.
Conclusion
In conclusion, creating a Botton Slice Tailwind 3 UI component with Tailwind CSS is a great way to add a modern and stylish look to your website. By using the pre-defined Tailwind CSS classes, you can easily create custom styles for your website without having to write a lot of custom CSS. We hope that this article has provided you with the most effective ways to create a Botton Slice Tailwind 3 UI component with Tailwind CSS.