- Published on
How To Build A Basic Post With Tailwind CSS In 6 Easy Steps?
- What is Tailwind CSS?
- The description of Basic Post ui component
- Why use Tailwind CSS to create a Basic Post ui component?
- The preview of Basic Post ui component
- The source code of Basic Post ui component
- How to create a Basic Post with Tailwind CSS?
- Step 1: Set up a new HTML file
- Step 2: Add the title
- Step 3: Add the body
- Step 4: Add the additional information
- Step 5: Style the container
- Step 6: Add some spacing
- Conclusion
What is Tailwind CSS?
Tailwind CSS is a utility-first CSS framework that provides a set of pre-defined classes to help you quickly build custom user interfaces. It allows you to create complex designs without writing custom CSS code, which can save you a lot of time and effort.
The description of Basic Post ui component
A basic post UI component is a common element in many websites and applications. It typically consists of a title, a body of text, and some additional information such as the author and date. In this tutorial, we will show you how to create a basic post UI component using Tailwind CSS.
Why use Tailwind CSS to create a Basic Post ui component?
Tailwind CSS makes it easy to create custom UI components without writing custom CSS code. It provides a set of pre-defined classes that you can use to style your components, which can save you a lot of time and effort. Additionally, Tailwind CSS is highly customizable, which means you can easily modify the default styles to match your design requirements.
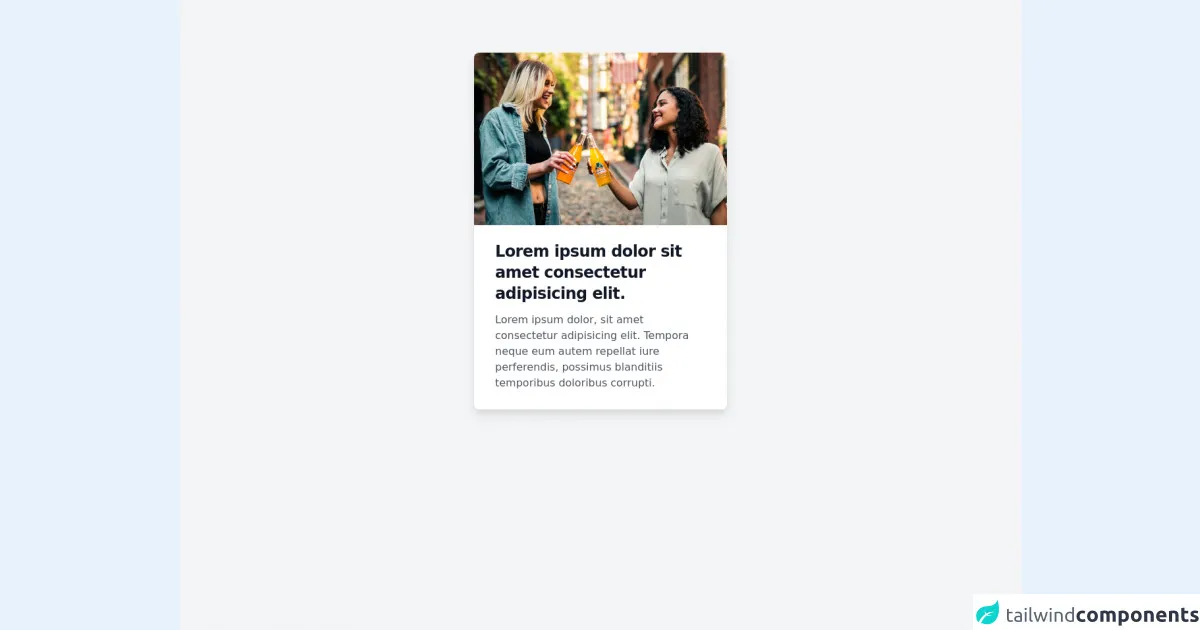
The preview of Basic Post ui component
To create a basic post UI component, we will use Tailwind CSS classes to style the title, body, and additional information. Here's what the final result will look like:
Free download of the Basic Post's source code
The source code of Basic Post ui component
Here's the HTML and CSS code for the basic post UI component:
<div class="min-h-screen bg-gray-100 pt-20">
  <div class=" bg-white  mx-auto shadow-lg rounded-lg hover:shadow-xl transition duration-200 max-w-sm">
    <img class="rounded-t-lg" src="https://images.unsplash.com/photo-1622495894307-93143fc57155" alt="" />
    <div class="py-4 px-8">
      <h1 class="hover:cursor-pointer mt-2 text-gray-900 font-bold text-2xl tracking-tight">Lorem ipsum dolor sit amet consectetur adipisicing elit.</h1>
      <p class="hover:cursor-pointer py-3 text-gray-600 leading-6">Lorem ipsum dolor, sit amet consectetur adipisicing elit. Tempora neque eum autem repellat iure perferendis, possimus blanditiis temporibus doloribus corrupti.</p>
    </div>
  </div>
</div>
How to create a Basic Post with Tailwind CSS?
Now that you have an idea of what the final result will look like and what code you need to create it, let's dive into the steps to create a basic post UI component using Tailwind CSS.
Step 1: Set up a new HTML file
Create a new HTML file and add the basic structure of an HTML document. You can also link to the Tailwind CSS stylesheet in the head section of your HTML file.
<!DOCTYPE html>
<html lang="en">
  <head>
    <meta charset="UTF-8" />
    <meta name="viewport" content="width=device-width, initial-scale=1.0" />
    <title>Basic Post UI Component</title>
    <link rel="stylesheet" href="https://cdn.jsdelivr.net/npm/[email protected]/dist/tailwind.min.css" />
  </head>
  <body>
    <!-- Your HTML code goes here -->
  </body>
</html>
Step 2: Add the title
Add the title of the post using the text-3xl class to make it larger and more prominent. You can also use the font-bold class to make it bold.
<h1 class="text-3xl font-bold">Title of the Post</h1>
Step 3: Add the body
Add the body of the post using the text-lg class to make it readable. You can also use the text-gray-700 class to make it a darker shade of gray.
<p class="text-lg text-gray-700">
  Lorem ipsum dolor sit amet, consectetur adipiscing elit. Sed euismod, ligula vitae bibendum feugiat, eros
  turpis ultrices velit, vel malesuada nibh quam a ipsum. Nullam quis risus eget urna mollis ornare vel eu
  leo. Sed posuere, magna vel faucibus interdum, felis massa sodales velit, non lacinia ante lorem eget
  mauris.
</p>
Step 4: Add the additional information
Add the additional information about the post using the text-sm class to make it smaller. You can also use the text-gray-500 class to make it a lighter shade of gray.
<div class="text-sm text-gray-500">
  <span>By John Doe</span>
  <span>on January 1, 2021</span>
</div>
Step 5: Style the container
Style the container of the post using the p-4 class to add some padding and the bg-white class to make it white.
<div class="p-4 bg-white">
  <!-- Your HTML code for the post goes here -->
</div>
Step 6: Add some spacing
Add some spacing between the title, body, and additional information using the my-4 class to add vertical margin.
<h1 class="text-3xl font-bold my-4">Title of the Post</h1>
<p class="text-lg text-gray-700 my-4">
  Lorem ipsum dolor sit amet, consectetur adipiscing elit. Sed euismod, ligula vitae bibendum feugiat, eros
  turpis ultrices velit, vel malesuada nibh quam a ipsum. Nullam quis risus eget urna mollis ornare vel eu
  leo. Sed posuere, magna vel faucibus interdum, felis massa sodales velit, non lacinia ante lorem eget
  mauris.
</p>
<div class="text-sm text-gray-500 my-4">
  <span>By John Doe</span>
  <span>on January 1, 2021</span>
</div>
Conclusion
In this tutorial, we showed you how to create a basic post UI component using Tailwind CSS in 6 easy steps. With Tailwind CSS, you can quickly and easily create custom UI components without writing custom CSS code. We hope you found this tutorial helpful and that you can use these techniques to create your own custom UI components.